Messy Vinyl Records? This Affordable Storage Trick Keeps Them Organized
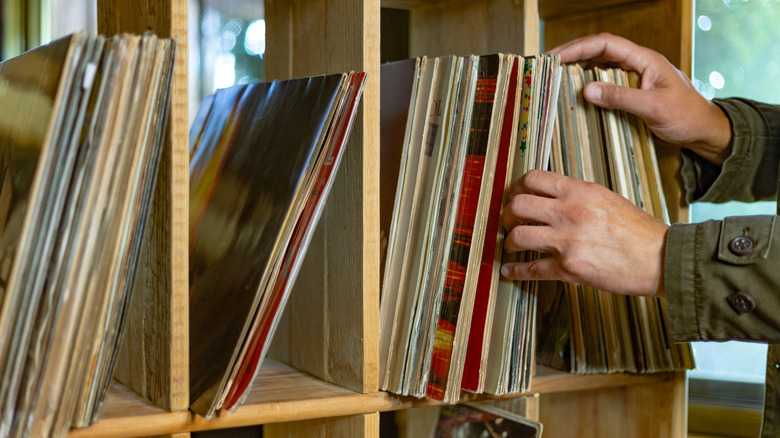
If you are a serious vinyl record collector, you know the satisfaction of curating and displaying your collection with clever vinyl record storage solutions. Many enthusiasts prefer the look of open shelving units, like the ever-popular IKEA KALLAX or similar cube-style shelving, to show off their albums. Open shelves are a terrific storage option for displaying and protecting vinyl. However, the design comes with a flaw: open shelving with no back panel means the records have a tendency to slide backward, making them uneven and hard to organize (and they can also fall out the back, depending on where you put yours. From the front, this creates a messy appearance that detracts from the clean and minimalist vibes these shelves are known for. This nightmarish struggle for neatly aligned albums has a dream solution, though: shelf backstops.
With these small, affordable DIY stoppers at the back of each shelf, you can keep your vinyl tidy and easy to access. After all, part of having an enormous vinyl record collection is enjoying how good it looks once you have figured out how to sort your vinyl records and display them. This project is a clever idea that will make a big impact on the overall feel of your space, elevating your hobby from a simple collection to a truly eye-catching display.
How to build the vinyl storage DIY
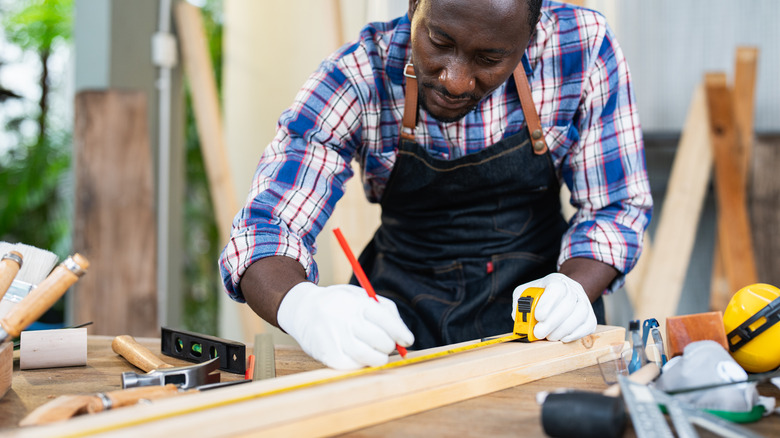
This storage trick solves the problem of uneven, sliding records with a quick and affordable DIY project. All it takes is a thin strip of wood to create a sufficient-enough barrier that keeps your albums aligned and prevents them from falling out the back of each cubby. For this project, you will need a 1-by-3 inch wood strip and just one of these adhesive methods: wood glue, wood screws, or heavy-duty double-sided tape (like Gorilla Glue Mounting tape). For tools, grab a handsaw or miter saw (if you are cutting the wood yourself), clamps, and a drill or screwdriver if you opted for using screws.
@vinylplayground Here's a vinyl record DIY project that'll cost almost next to nothing and greatly improve your setup! You can find all the materials for under $10 at your local hardware store and ALSO have them cut the boards down to size if it's something you're uncomfortable with. #VinylTok #VinylTikTok #Vinyl #VinylRecords #DIY #Records #RecordCollection #VinylStorage
To start, measure the internal width of each shelf area, and cut the wood strips into segments of that length, one for each cubby section. Next, it is time to attach the stopper segments to the back of each cubby. For a no-mess, semi-permanent solution, place a strip of double-sided tape on the back of the wood and firmly press it into place at the rear of the shelf. If you want a permanent solution, apply a thin bead of wood glue along the back of the wood, press it into place, and use clamps or weights to hold it firmly until the glue dries. Another option is wood screws. Once you position them, use a drill or screwdriver to drive two per segment through the wood and into the back of the shelf. With a simple bit of material and a little time, you can get a perfectly organized record collection that looks great from every angle for years to come.

