The Easy DIY Garden Trellis That'll Change Your Plant Growing Game
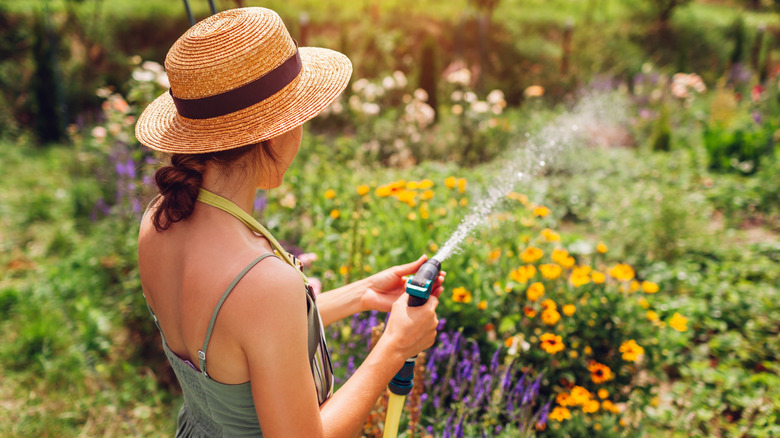
Garden trellises not only look beautiful and add dimension to a garden, but they also have several functional benefits. They can help improve the health of your plants by lifting them off the ground and allowing more air to circulate around them, keeping the plants drier and making overwatering less likely. A trellis also allows you to better use your space by growing plants upwards instead of outwards along the ground. Keeping produce off the ground means that it will rot less quickly, giving you more time to harvest. Finally, despite taking up less ground space, the plants will be able to receive adequate sunlight and will even be easier for you to access for care and harvesting. If your garden does not yet have a trellis, then it may be time to build one and improve your garden. There are several styles of trellises that you can DIY, but a favorite that is both visually appealing and easy to create is the A-frame.
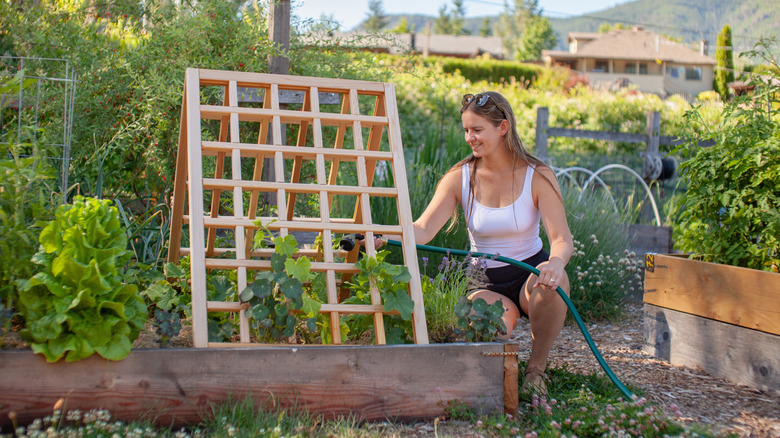
A-frame trellises have a simple shape, but the two-panel design has some specific benefits compared to other trellis styles. For example, an A-frame trellis can have twice as much surface area as one that is a vertical wall because the A-frame consists of two panels. Additionally, both sides of both panels are accessible, which is an improvement on round trellises or other structures with closed shapes. Another major pro of A-frames is that they can be completed as a DIY project, even by beginners.
How to build a DIY A-frame garden trellis
There are many trellis ideas to maximize your outdoor space, but if you've settled on a DIY A-frame trellis, you might start by deciding how large you want your structure to be. Consider your available space and the types of plants you're growing. If you have raised garden beds where you want to place the trellis, then measure the garden beds to ensure your trellis will fit inside. Also, consider the growth of your plants. Some plants will benefit from the extra space a taller trellis provides, while the height is not necessary for other plants.
Next, you can consider which materials you want to use. You can create your trellis using only wood, or you can use wooden posts with baling wire, which is a bit more approachable for beginners. With your ideal measurements and material selection in mind, you should have an idea of how much of each material you will need. Once you have your materials and tools, you can start on your trellis.
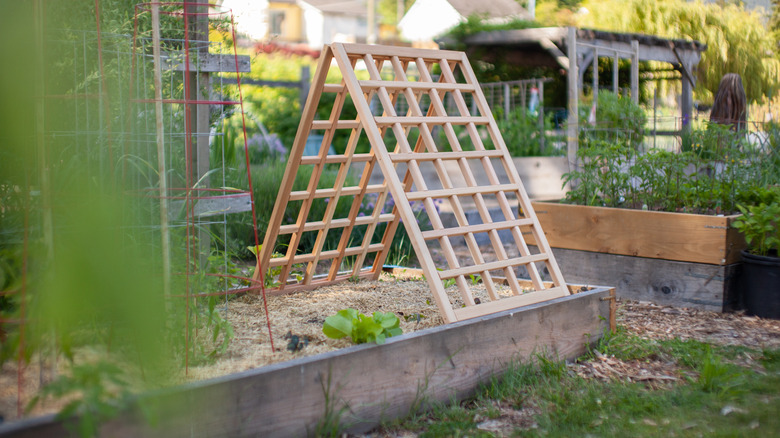
For a wood and wire trellis, start by measuring and cutting a wooden beam to the length you want your trellis to be. Next, use your measurements of desired height and width to determine the angle and length your four wooden legs need to be. You'll connect pairs of these legs to create two A-shapes, one for each end. Each pair of legs will connect to the top beam to connect them and create the basic structure, but you will also want to add a smaller wooden piece between the two legs on either side of the beam for increased stability. A longer, lower crossbar will be more stable, while a smaller, higher one makes the inside more accessible.
Using your new DIY garden trellis
Once your two A-shaped sides are tightened using screws, you can stand them up and secure both to the top beam. Then, you can fill in the sides using baling wire or a trellis net and lock it in place with staples. You can also use pieces of wood or a wood trellis panel to cover the sides. Once your structure is complete, pick out plants perfect for using with a garden trellis and begin planting. To get your vertical garden started, plant vining plants at the base of the trellis. Be sure to space the seeds or plants as you regularly would. As the plants grow, weave the vines through the trellis wire. Over time, the plant should begin to grow through the trellis on its own, and you will be able to admire your handiwork and relish the easier care process. You might even want to check out more outdoor features that make every gardener's life easier once you get used to the benefits of your trellis.
While it is hard to estimate the cost of DIYing a trellis since the size determines how much you will need of each material, knowing some prices can help you get a better understanding. A single 96-inch-long wooden stud costs under $4, and a 5-foot by 8-foot piece of trellis netting costs about $9. Overall, depending on the scale of your trellis, this DIY project can be quite affordable. Plus, it is likely to be more affordable than many available pre-built A-frame trellis options, especially ones with wooden framing like your DIY build will have.