The Affordable DIY Ceiling Design That'll Instantly Transform Any Room In Your Home
We may receive a commission on purchases made from links.
Gone are the days of simply slapping a coat of white paint on your ceiling. What was once an overlooked surface in the home is now increasingly being seen as a design focal point. Many even refer to the ceiling as the "fifth wall", believing it deserves just as much attention as the rest of a room. If you're in this camp and looking to add some much-needed character and charm to a plain ceiling, there are a number of unique ceiling design choices to consider. One of the top trending options is to install wood planks with a clever cost-saving technique. By ripping plywood into planks of equal width, you can put together a surprisingly affordable and stunning DIY ceiling design that will elevate any room in your home.
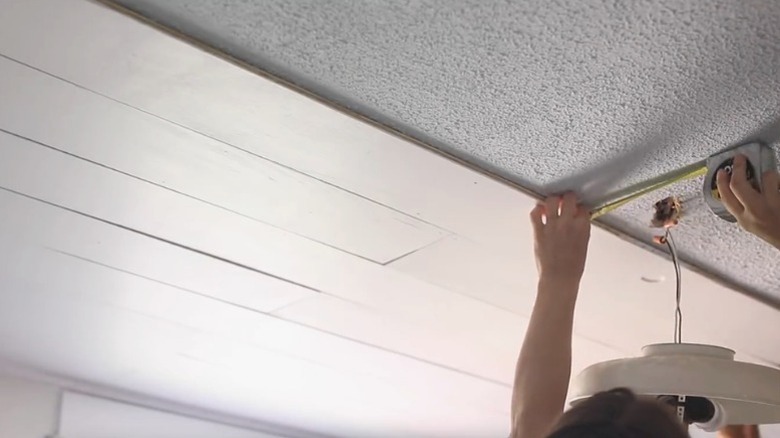
Installing wood planks on a ceiling is a great way to add warmth to a space, and by ripping your own planks from wide plywood sheets, you have more ways to customize the look to fit your style. Depending on the stain of the wood and the width of the planks, a wood-planked ceiling can complement a wide range of design styles from coastal and modern to traditional, country, or rustic. It could also be a great option if you have damaged or popcorn ceilings that you would like to cover up. While this DIY project can be a bit time-consuming, the impact will be dramatic. And depending on the size of the ceiling, it should only cost a few hundred dollars.
How to DIY a wood plank ceiling
To install your wood plank ceiling, you'll need 4-by-8 plywood sheets (¼-inch thick), which you can typically get for around $30 each. You'll also need trim pieces (basic wood options often cost less than $2 per linear foot) as well as Liquid Nails, a table saw, a sander and sandpaper, wood stain, rags, and a brad nailer with nails. You could also cut down large pieces of wood without a table saw if you have a circular saw and an appropriate straight-edge accessory.
The first step is to cut the plywood into strips using a saw, setting the width according to the look you want for your ceiling. Sand each piece using 220-grit sandpaper. Then, use a rag to apply stain to each plank. Once the stain is dry, apply a dot of Liquid Nails to the back of the board and press it onto the ceiling. Secure each plank using a nail gun, making sure to nail each piece into the ceiling joists. If you're not sure where the joists are, you can use a stud finder to locate them. If you're installing planks around a light fixture, turn off the electricity and remove the fixture before installation. Use a jigsaw (or other type of saw) to cut the planks to fit around the opening. Once you've finished attaching the planks, install the trim around the perimeter of the ceiling and reattach any light fixtures. With a bit of time and effort, your ceiling will be transformed, adding a beautiful dose of character and warmth to the space.

