Give Dollar Tree's Foam Pumpkins A Major Upgrade With A Simple DIY
We may receive a commission on purchases made from links.
What should you do when it's time to decorate for Halloween, but you prefer romantic toile to terrifying tombstones? You might be surprised how easy it is to transform basic pumpkins into an enchanting decoration for a front porch, fireplace mantle, or fantasy tablescape. The project involves giving Dollar Tree's foam pumpkins a major upgrade by decoupaging them with toile print tissue paper. If you're looking for cheap and easy Halloween decorations you can DIY, or a fun fall activity for your kids, this is an ideal craft project that can be completed in a single afternoon with minimal mess.
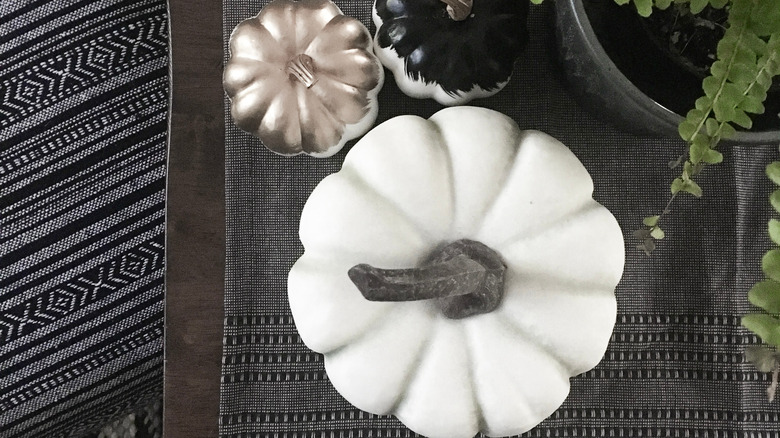
Start by gathering all your supplies. You can use foam (or real) pumpkins as your base. Although you can use any size gourd, it's best to stick with a mini if it's your first time trying decoupage. To smooth out any imperfections in the foam, use an acrylic primer, like Liquitex BASICS Gesso Surface Prep Medium from Amazon. For the decoupaging process itself, you'll need a bottle of waterproof glue and sealer. For the best results, use a product like Mod Podge in a glossy finish. Lastly, you'll need plenty of toile tissue paper for the decorative layer. There are countless patterns available, ranging from horses in the countryside to delicate Chinoiserie birds. It's helpful to select a print with clear, distinct elements. Finally, you'll need a sharp pair of craft scissors, a spray bottle, and two paintbrushes, one for your gesso and the other for your Mod Podge. Make sure to carefully cover your work surface in newspaper or butcher paper to make cleanup a breeze once you're finished decorating your pumpkins.
How to decoupage a pumpkin
Although you can find ceramic toile pumpkins that are mantel-ready, completing a budget-friendly Halloween craft saves money for costumes and candy. First, smooth your pumpkin's surface by coating it in acrylic gesso. Foam pumpkins may have imperfections that can interfere with a clean finish, making this step essential if you want the images to go on smooth.
While the gesso dries, prep your tissue paper. Wrapping a full sheet around your gourd creates creases and folds that distract from the natural ridges. Instead, use a patchwork method, overlapping smaller pieces that are easier to manipulate. One way to separate the images on the tissue paper is to trace along unique elements with a water-dipped paintbrush, softening the tissue paper so you can gently tear out each shape. Or simply use craft scissors. Either way, make sure to give yourself a little border around each design. Next, use your spray bottle to dampen the shapes lightly, one at a time. Slightly moistening the paper makes it more pliable, so it will wrap around the curve of the pumpkin well. Use a paintbrush to apply a thin layer of Mod Podge to the pumpkin before laying your tissue paper directly on top of it. Then, once you've got the piece exactly where you want it, gently brush more Mod Podge on top to seal it in place.
Although toile can turn a pumpkin from basic to beautiful, this technique works with any tissue paper pattern you like. For something more playful, try using bold prints like the Fuschia Flamingo or Leopard print WRAPAHOLIC Gift Wrapping Tissue Paper from Amazon. Or, keep it creepy with Bolsome's Vintage Skulls and Spiders. Paint the stem and add any other embellishments you want, like ribbons or raffia.