Give Yourself The Princess Bed You Deserve With A DIY Canopy
Did you know that to get your correct number of sleep hours every night, you'll spend about one-third of your life in bed. Despite this rather alarming statistic, many people's sleeping arrangements stick to the basics of a bed frame, mattress, and maybe a headboard. Those who really care about getting a good night's rest might take the time to learn how to choose the best mattress, while the aesthetically inclined might find or create a gorgeous headboard. But, there is more you can do to upgrade your sleeping space and make it both stunning and cozy while sticking to a budget. If you want to transform your basic bed into one that fits the aesthetic of princess bedrooms fit for royalty, then it is time to DIY a canopy using a thrifted lampshade.
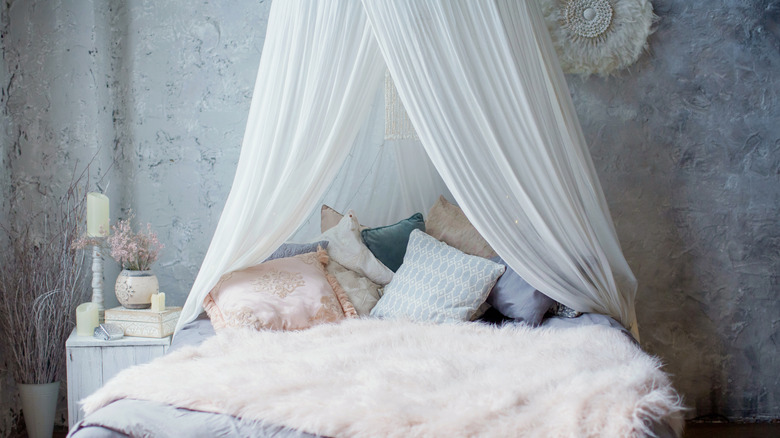
The process involves using the lampshade as a base for the fabric to flow down from, and the overall effect is that of a floating canopy bed, once the finished product is hung from the ceiling. This style has the elegance of traditional canopy beds without the need for floor-to-ceiling bed posts. It also gives you the same benefits of blocking light and sound, providing privacy, and keeping the temperature more stable in your bed, depending on the type of fabric you use for your canopy. While you can purchase canopies with similar shapes, this DIY project gives you far more creative freedom and control over the quality of your results. Plus, the process is simple and beginner-friendly, and can be quite affordable, especially if you already have some of the materials.
How to DIY a canopy for your bed
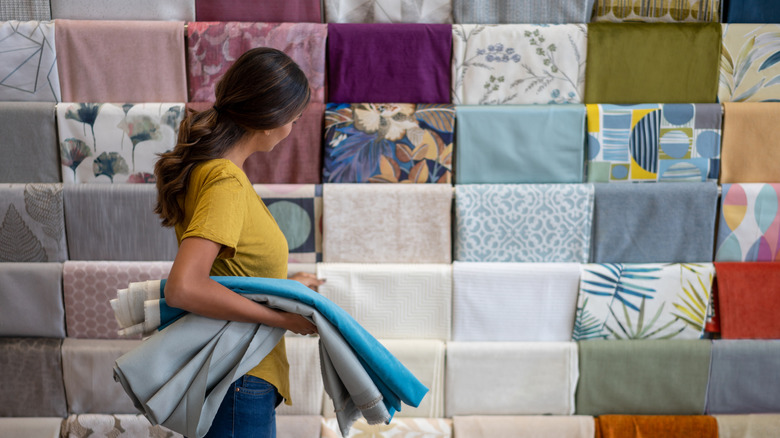
To create your own DIY princess bed canopy, you will need some supplies. First, you need to find a lampshade. Since the lampshade is not visible in the completed project, thrifting is a great option. You can find affordable lampshades with unique shapes that are perfect for this DIY. Plus, you also need fabric, and if you don't have a specific fabric in mind, you can even look for curtains at the thrift store. You'll need at least five curtain panels, though, and it may be tough to find that much matching fabric at a secondhand store. You also need a square of plywood, staples, and a staple gun. Finally, you'll need ceiling hooks to hang your canopy once it is finished.
Once you have your materials, you will start by tracing the bottom of your lampshade on the piece of plywood and cutting out the circle. Next, you will need to secure the lampshade to the plywood. One way to achieve this is by cutting out four sections from inside the circle so that the shape resembles a wheel with four spokes. This will reduce the weight of the fixture and allow you to wrap wire around the wood and through the lampshade to hold them together. Then, take one piece of fabric and staple it to the bottom, pleating it as you go, to cover the shade. For a more polished look, create your pleats and iron them before stapling them in place. Cut off and save any excess fabric, and tuck the ends into the top of the lampshade.
Creating that lovely draped canopy look
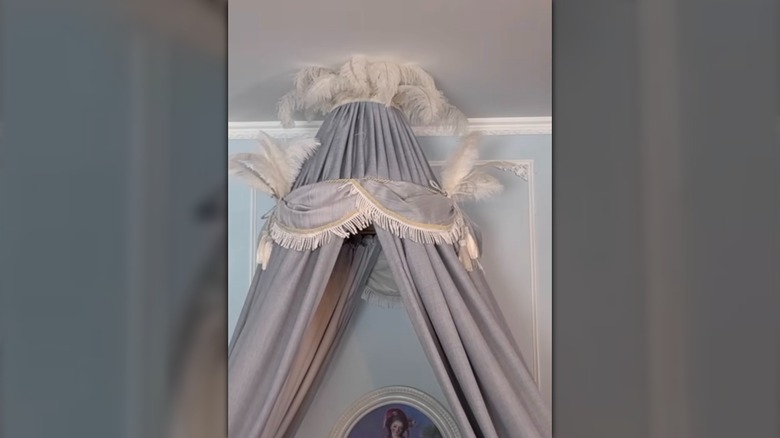
With the base completed, you can move on to stapling the four curtain panels to the wooden circle, so they will drape down nicely to envelop the top end of your bed. Using the excess fabric, you can create additional small draped pieces to hide the seam of the wooden circle. From this point, you can customize as you like. Adding feathers, beads, or pearls will lean into the historic look, and mixing in some fairy lights is one of many unique bedside lighting ideas to brighten up your space. You can also add additional layers of fabric to play more with color and texture. Staple a gauzy white inside of your other fabric for a breezy, gentle effect, or add a thicker fabric to block more light and provide some insulation. While buying curtains gives you the shortcut of already having equally sized panels in the right shape, you can also buy fabric and cut it to size.
If you have an old lampshade and curtains or fabric at home, or if you have a very lucky trip to the thrift store, this project can be incredibly affordable. However, fabric can get pricey. You will need about 15 yards of fabric, which will probably cost between about $3 and $10 per yard, depending on the material and quality. If you want to buy new curtain panels instead, it will likely cost at least $5 per curtain for the most basic ones. Extra decorations like frills, feathers, lights, or trim can also bump the total price of your project up, depending on where you purchase them. Overall, though, this project gives you a lavish result for a low cost.