Transform Dollar Tree's Stackable Pumpkins Into Scarecrow Yard Decor
When spooky season rolls around, you can always count on Dollar Tree's Halloween decor to leave you giddy over the DIY possibilities. Although plenty of the Dollar Store's decorations are good to use as is, many of them can be transformed into something entirely new with a little creativity. For example, you can quickly turn these three-piece stacking pumpkins into the cutest little scarecrow for your yard.
Outside of the stacking pumpkins, you will also need acrylic paint, a plaid patterned napkin, a wooden dowel, a bit of fake hay, some Mod Podge, and a hot glue gun. Common DIY tools like paint brushes and sponges will also be required. The best part of a project like this one is that you can take it in whatever creative direction feels right to you. For example, you could make your scarecrow wear blue jeans and a straw hat for a classic look, or switch things up with pink pants and a matching western hat. Either way, this outdoor halloween decor idea is sure to transform your yard this season.
Crafting the body of your scarecrow
To transform your plastic stackable pumpkins into a friendly scarecrow, start by painting the largest pumpkin — this will serve as the legs of your scarecrow. Mix a few shades of blue paint and use a sponge to achieve a denim look, or paint the base a color of your choosing. If you have issues getting the paint to adhere, try thoroughly washing and drying the plastic, then use a light sandpaper to rough up the surface — this will give the paint something to stick to. Alternatively, skip the paint altogether and glue some denim or fabric to the plastic pumpkin instead for a more realistic look.
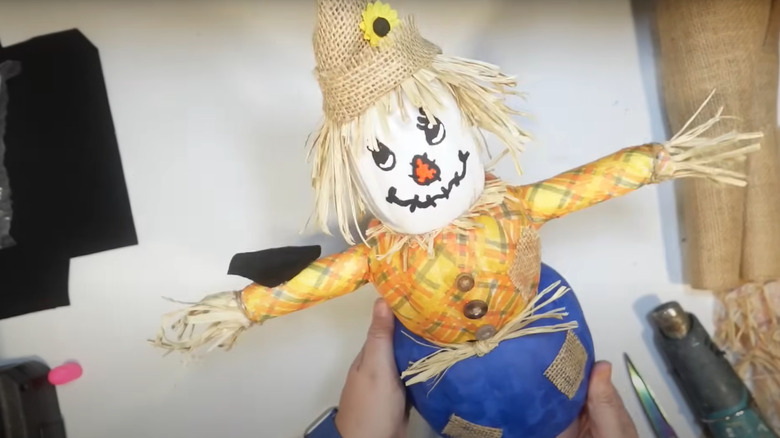
Then, take your plaid patterned napkin and tear it into strips. Attach those strips to the second largest pumpkin with Mod Podge to create your scarecrow's torso. Once dry, use a screwdriver or the hot tip of your glue gun to create two small holes on either side of the "torso." Stick your wooden dowel through this hole and secure it with a bit of hot glue. These are your scarecrow arms. If you want your arms to be plush, try gluing a bit of fabric or polyfill to the dowel, then cover the arms in the same napkin you used to create the shirt and add a little fake hay to the ends of each arm. Alternatively, you can make the arms out of fabric and glue them on to avoid making any holes in the plastic.
Making the face and finishing touches
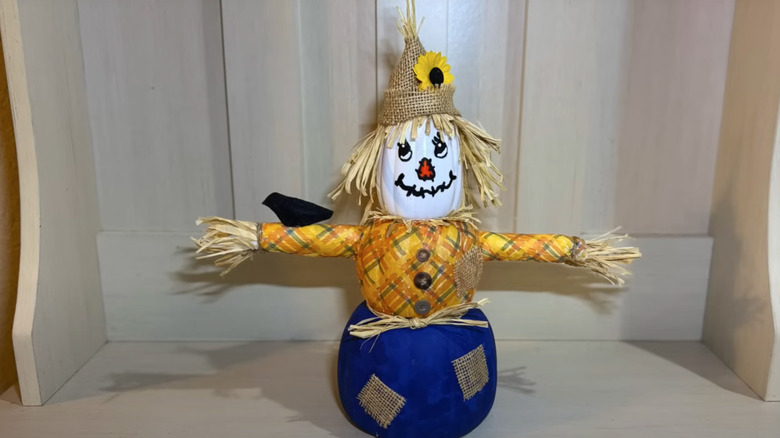
Finally, paint a scarecrow face onto the final, smallest pumpkin. Use a hot glue gun to add a hat and some hay to the head then glue all three pumpkin pieces together. You can DIY the hat or just pick up a pack of Honbay Mini Hand Knitting Doll Straw Hat for DIY Crafts instead. You can also add little decorative touches, like a sunflower on the hat or a small bird figurine on the arm, to give your scarecrow more visual interest. Buttons, patches, belts and other accessories can also be added or painted on.
If you were looking to make a scarecrow for your garden, this little DIY project is likely too small to scare off any actual birds. That said, it can still be placed outdoors with a little preparation. When your craft is complete, simply spray it with a protective sealant to help protect it from rain and UV rays. Even with a coating, in heavy rainstorms, it may be best to bring your decor in for the night.