How To Make A Scarecrow For Your Garden
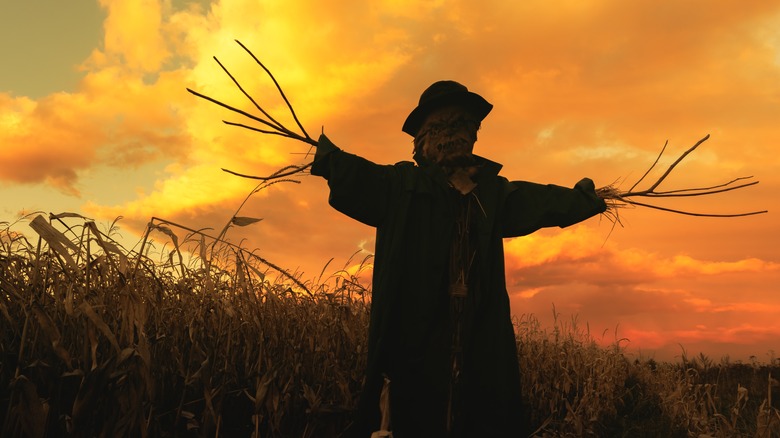
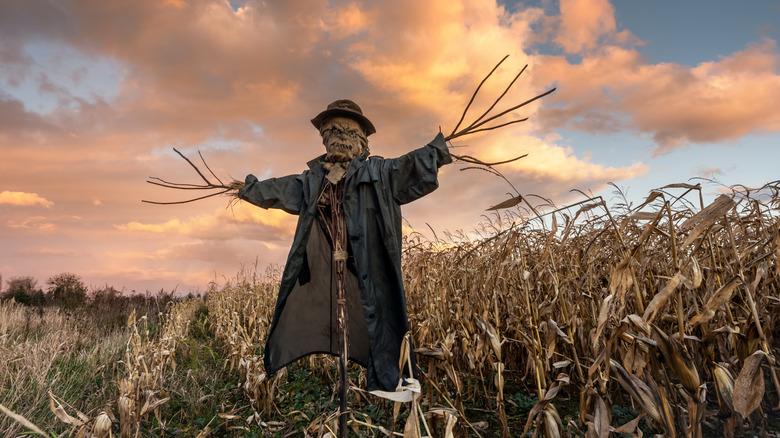
Scarecrows are such a fun fall accent, and they're helpful in your garden, too! The garden adornments have quite a long history, as explained by Concord Monitor. You may be surprised to learn that these garden decoys have been around for an astounding 3,000 years. The roots of the scarecrow go back to the Egyptians. According to ancient records, the Egyptians used them to protect their fields of wheat nestled along the Nile River, where flocks of quail were known to disturb their crop. The next recorded scarecrow was in 2,500 B.C. when Greek farmers made scarecrows out of wood in the image of Priapus, the son of Dionysus and Aphrodite. Allegedly, this wooden scarecrow was known to scare birds away from their vineyards thanks to its ugly appearance.
With that being said, scarecrows still have their part in the world today! While you could certainly buy a pre-made one for your yard or garden, what fun is that? Instead, fashion your own for something entirely unique for you and your style. This may seem like an undertaking, but it's actually quite easy to do.
Gather your materials
The first step in creating your own scarecrow is to gather your materials. According to The Home Depot, you'll need scissors, a hammer, old clothes, floral twine, nails, straw or hay, and a yardstick. You can also grab an old pillowcase or sack for the head. The clothes are what you're going to dress your scarecrow in, so pick something that you think will look good in your garden or yard.
If you're wondering where to source hay to stuff your scarecrow with, you have a few options to find it on the cheap. Frugal Reality shares a list of 25 places where you're sure to find hay at an affordable price. First, farm supply stores are a no-brainer. If you have one in the area, this is a great place to hit up for hay. If there's no farm store near you, try a home improvement store like Home Depot, Lowe's, Menards, or Ace Hardware. As a last resort, you can always order it online from a mega-retailer like Amazon, Target, or Walmart.
Decide where to put your scarecrow
After gathering all the necessary materials, it's time to figure out where you're going to place your scarecrow in your yard or garden. To do so, first, you need to decide if you will use your scarecrow the traditional way as a garden decoy or more as a decor piece in your yard. If your scarecrow is going to be used as a scare tactic in your garden, find a spot among your plans where the scarecrow is visible and where there's enough room for it.
Grit discusses the evolution of scarecrows and their deep historical ties. However, the site notes that while scarecrows are still used in the U.S. as a bird scare tactic, it's more common for homeowners to use chemical sprays or other bird-control technologies now. That said, it's not uncommon for individuals to use these as a symbol of fall or harvest. That means you can situate your scarecrow in many places — among your front shrubs, next to a tree, or even on your porch!
Set up the frame
Now that you know where your scarecrow will "live" in your yard, it's time to set up the frame. Take the shirt you're using for your scarecrow and button up the top few buttons. Weave a six-foot stake through the shirt sleeves and center it evenly for horizontal support. Then, place the horizontal stake over the vertical one at a 90-degree angle. While this stake will eventually be placed in the ground to keep your scarecrow upright, it also will hold your scarecrow's head at the top. Secure the overlapping stakes by affixing two nails into the wood through the scarecrow's shirt where the overlap occurs. From there, firmly insert the stake into the ground, using a hammer as needed.
As All Stake Supply notes, it's important to use sturdy stakes rather than reusing old ones that may be weakened. You want your scarecrow to stand up to elements such as wind and rain, so make sure your selected garden stake is ready for the job.
Make the top half of your scarecrow
Now is when the real fun starts! It's time to begin dressing your scarecrow and making the top half. Tie off the bottom of the scarecrow's shirt with your needle and thread or twine, as per eHow. However, make sure that the top is still open so that you can easily stuff it when the time comes. Also using twine, tie off both sleeves, so they're shut at the end. You may also choose to add a set of "hands" to your scarecrow with a pair of gloves, which you can add at this point. It's also time to use hay or straw to stuff the chest of your scarecrow, giving it a rounded-out shape that resembles a human body.
Choosing the clothes for your scarecrow is definitely part of the fun of your creation! This is a great chance to upcycle some old clothes from your closet. Panaprium discusses the benefits of upcycling clothing, of which there are many. First and foremost, it has a positive impact on the environment. That's because it's more ecologically friendly than recycling, reducing greenhouse gas emissions associated with recycling. Also, it reduces textile waste. Astoundingly, only about 13% of clothing gets recycled. Upcycling clothes helps diminish that startling number.
Stuff your scarecrow's pants
Now it's time to use your straw or hay to stuff the pants of your scarecrow to round his body out. This has to be done before the pants are attached to the rest of the scarecrow. Tie the bottom of each leg with twine, and then, from the waistline, begin stuffing the pants until they're the desired shape. At this point, you may choose to make some nifty and fashionable suspenders for your scarecrow to give him an extra sense of flair.
Diana Rambles provides a simple tutorial on how to make them. To do so, you'll only need two items: ribbon and ironing board cover fasteners. Typically, a ⅝ inch ribbon works best for this project. From there, the project is pretty self-explanatory. Affix the pins to the bottom of the ribbon and then measure it to reach over the shoulder and to the scarecrow's pants on the other side. Cut the ribbon and attach another fastener on the back. You can cross the ribbons in the back or leave them parallel. Extra style for your scarecrow comes easily with this DIY!
Use twine to attach the pants to the top of the scarecrow
Now it's time to attach the pants to the top part of your scarecrow, which is already attached to the stake. Your twine will come in handy once again! Tie twine to a belt loop on each side, then raise it above your scarecrow's shoulders and tie it to the belt loop on the other side. Take care to connect these well because you don't want the pants of your scarecrow to end up on the ground throughout the season!
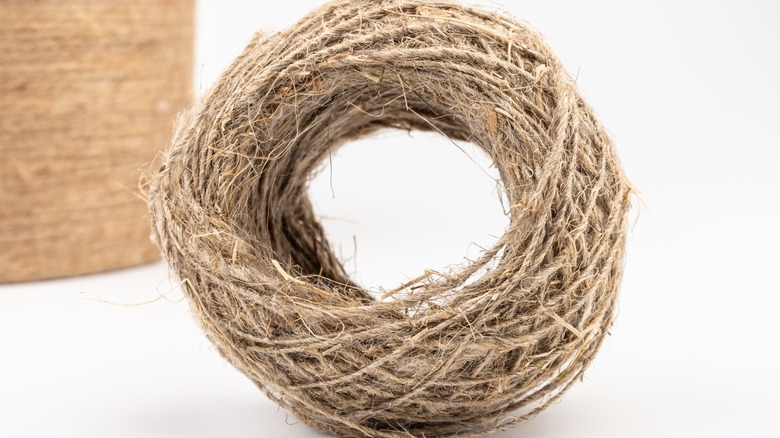
Twine is pretty important to making a scarecrow, which means that you'll want to choose the kind you use with care. Home Questions Answered discusses the different types of twine on the market. It can be made from a lot of other fibers. For instance, twine is commonly constructed from jute, cotton, or hemp, but more luxurious options can be made from uncoated silk. Twine made of synthetic materials could be made from nylon, polypropylene, or acrylic, and it can come in different strand counts. Keep this in mind as you buy some for your project, as you want to choose some that are strong and will stand the test of time.
Add boots and prepare them for rain
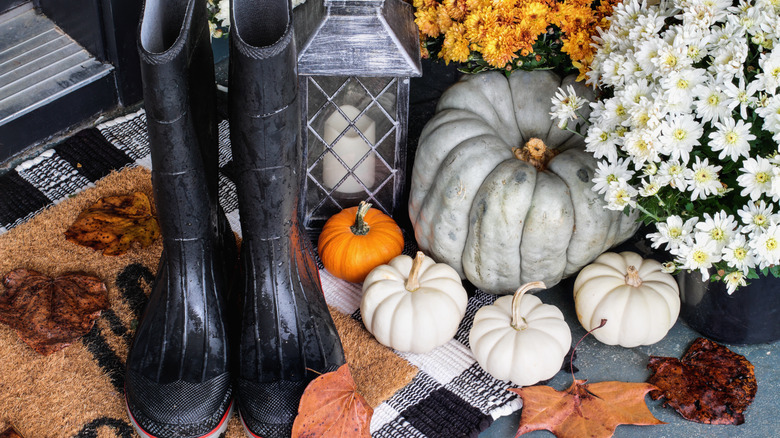
Now it's time to give your scarecrow some shoes! Boots are the best choice for a scarecrow. Since they reside outside, their shoes must be sturdy and resistant to rain and other elements. To allow the boots to drain rather than fill with water every time there's inclement weather, drill a couple of holes in each of them.
If you're not that comfortable using a drill, don't worry! VisionAware has a handy guide for power tool newbies. There are a few safety measures you should take before using your drill. For instance, keep the area you're working in clear and tidy, so debris or other tools don't fly off the surface and potentially hurt you. Also, be sure to wear safety glasses and closed-toed shoes. Remember that these holes are just for drainage, so they don't have to be evenly placed or cosmetically appealing. They'll be on the bottom of the shoes where no one will see them.
Add a head with a pillowcase
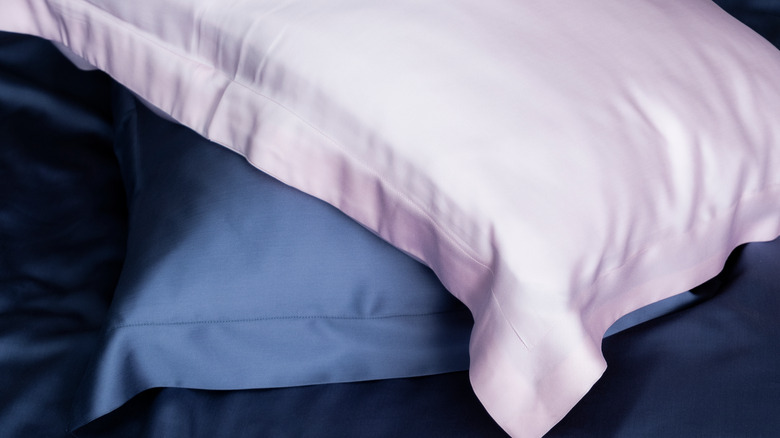
Give your scarecrow a head by using an old pillowcase. Take the pillowcase and stuff it with filling until it's the desired shape. Then, you need to affix it to the frame. Pull it down over the top where the stake sticks out. Using your twine, tie the "neck" of the scarecrow to the stake and form the shape. Then you'll want to create your scarecrow's facial features, giving them their own personality! You can draw a face and hair directly onto the pillowcase.
To draw these features, you can use either fabric markers or permanent markers like Sharpies. Art/New York shares a comparison between the two types of markers, which can help you determine which you want to use for your project. One difference is that while permanent markers are not washable, fabric markers can be purchased in both permanent and washable varieties. Also, although Sharpies are frequently used on fabric with success, they're not made for that purpose, so the drawings might fade after heavy rains or extremely sunny days.
Accessorize your scarecrow
Have some fun with your scarecrow by accessorizing it. For example, you can add some makeshift jewelry, glasses, or even a hat to top off this adornment in your garden or yard. If you want your scarecrow to look traditional, a hat is necessary — just think of the straw hat the scarecrow in "The Wizard of Oz" wore.
According to DesignrFix, you can find these at hundreds of different stores or online sellers, but not all of them are identical. Some curve at the top, while others are adorned with sunflowers. Some are more frayed, while others are more finished and tailored. The direction you choose for your scarecrow is truly up to you! You may even want to go in a different direction than a traditional scarecrow hat. If that's the case, a baseball cap, bucket hat, sombrero, or sun hat could all work, too.
Add something shiny to scare away birds
If your scarecrow's purpose is primarily to keep your garden safe, then you'll want to equip it to do that. Using something shiny on your scarecrow can effectively keep birds at bay. According to Northwest Exterminating, shiny, reflective objects are an excellent way to deter birds. Birds naturally shy away from the reflection of light.
You can add this to your scarecrow in a variety of ways. For instance, an old CD or recycled aluminum can are both practical additions that will achieve this goal. Even a piece of tin foil is a great — and affordable — way to add something shiny. If you're feeling extra creative, fashion a necklace or hat piece for your scarecrow out of a small mirror. Once you add some of these items, birds will be even less prone to enter your garden.
Add a jack-o-lantern as the head for Halloween vibes
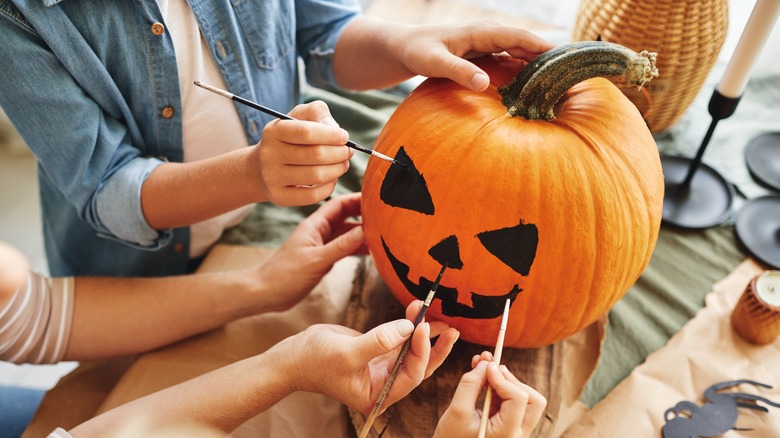
If you want to do something different and festive for your scarecrow's head, you can ditch the pillowcase and instead use a pumpkin. In this case, you'll be able to forget stuffing the head of your scarecrow and instead carve a hole at the bottom of the pumpkin and rest it on the shoulders of your scarecrow. To give your pumpkin scarecrow a face, either paint it or carve it into a jack-o-lantern.
Scout Life explains how you can carve the perfect jack-o-lantern. Start by drawing the face you want to carve on your pumpkin using a felt-tipped pen or water-based marker. The water-based marker can easily be erased if you're prone to making mistakes while drawing. When drawing the features, you will want to exaggerate them for a unique, cartoonish face that will really make a statement. After that, you'll need to cut off the top of the gourd to gain access to the inside and remove the filling. Then carve out your drawn features. Just like that, you'll have a holiday-centric scarecrow head!
Spruce up your scarecrow with buttons
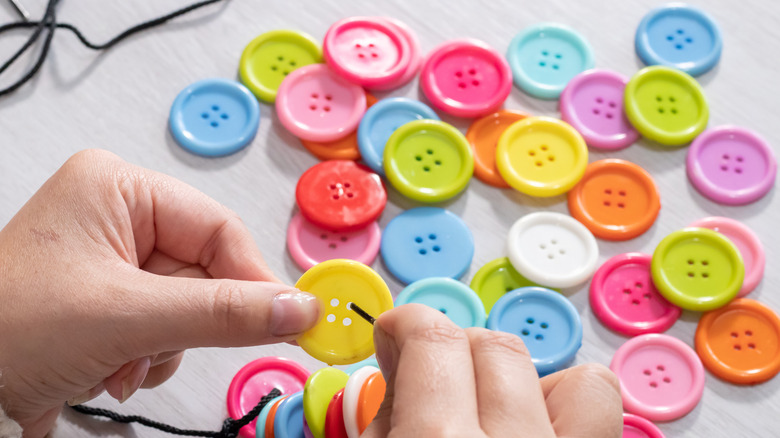
Another way to differentiate your scarecrow is to add buttons to it. This is a fun way to give your scarecrow its own personality and to reflect your personal style. The upside to this is that many different buttons are available, and they're usually pretty affordable. You can even add a line of buttons to your scarecrow's suspenders if you've chosen to add some. If not, replace the buttons on their shirt with those of your choosing.
ThreadCurve has a complete guide to the different types of buttons on the market. Lapel buttons could be interesting to add to your scarecrow. These are usually made out of a thin layer of metal and have logos or an emblem on them. These will also account for your shiny item that will aid in scaring away birds, giving your scarecrow fashion and function all at once.
Allow your scarecrow to sit on your porch
If your scarecrow is for aesthetic purposes rather than for scaring away pests from your garden, you may opt for it to sit on your porch to greet visitors. This is a fun fall touch for any home. To do this, you'll want to ensure there's somewhere for your scarecrow to sit. As Lemon Thistle points out, a bail of hay could provide the perfect seat. Not only is this an affordable option, but you can spruce up a hay seat with an old sheet or blanket, securing it in place with twine.
Once you have a spot for your scarecrow to sit, you need to set it up. To do this, you won't need to use a stake that goes into the ground. Instead, you'll want to create a cross out of the stakes for the top portion of the body, but it should cut off at the waist. From there, you will be able to position your scarecrow's legs to be "sitting" as your home's official greeter.
Style your scarecrow in your garden with fall plants
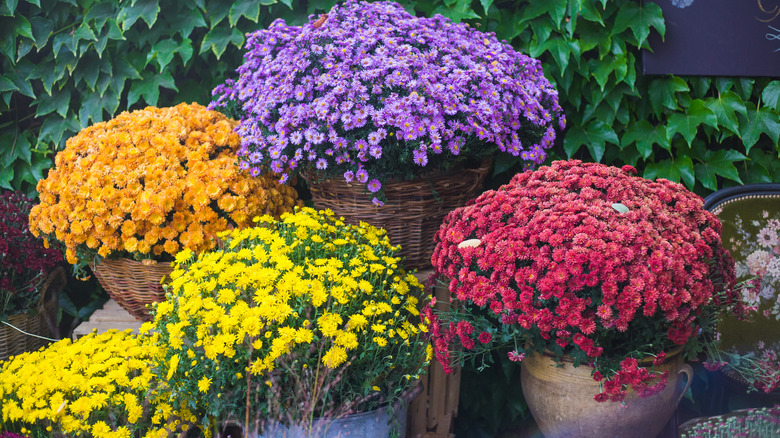
Whether your scarecrow is in your garden or standing among the landscaping of your home, pairing it with fall plants will make it stand out and is a wonderful way to make your outdoor area festive and eye-catching. Gardener's Path sheds some light on successful plantings for fall. Chrysanthemums, blanket flowers, or coreopsis are great options for fall-toned flowers since they come in shades of red, yellow, and orange. Virginia creeper or Japanese maple are wonderful choices to add foliage to your garden, while mums or sedums are great low-to-the-ground plants that add shape and texture while continuing the fall theme.
Add your scarecrow among these varied and colorful plants, and it'll top off the look you're going for to celebrate autumn. The motif will especially come together if you dress your scarecrow in warm plaid prints and rugged boots, cinching that fall vibe.
