The Overlooked Solution For Covering Up Ugly Popcorn Ceilings
We may receive a commission on purchases made from links.
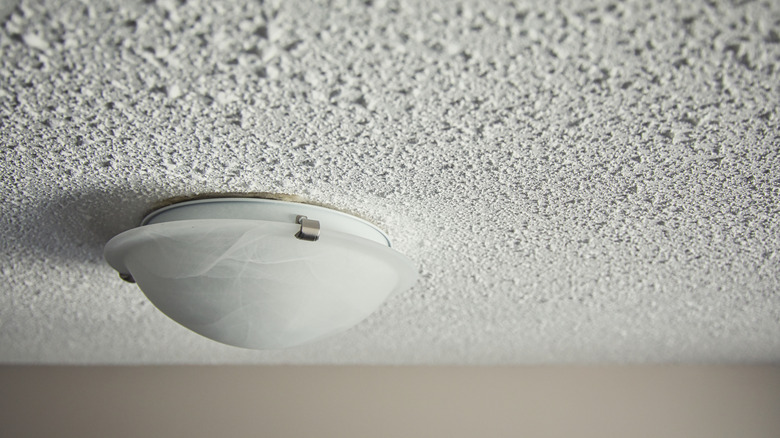
Popcorn ceilings, otherwise known as textured ceilings or cottage cheese ceilings, were popular in homes from the '50s to the '80s, eventually trailing off at the end of the '90s. Their name is pretty self-explanatory as the bumpy texture of the ceiling, created by spraying on paint and textured materials, imitates the look of crushed popcorn. Although they were common in the past, they are now perceived as a bit of an eyesore, and most homeowners are keen to get rid of them. However, removing popcorn ceilings entirely often involves calling in the help of a professional, which can end up being quite costly. For a fashionable and more affordable alternative, a great solution to cover dated popcorn ceiling without the hassle of scraping is to fix a grid plank system over the top of it.
A grid plank system, such as Armstrong CEILINGS Easy Up Ceiling Tracks (available at Home Depot and other home improvement retailers), offers an easy way to cover popcorn ceilings. It's a system of tracks and clips that let you install wooden planks without leaving visible nails, creating a paneled effect ideal for contemporary homes. With the tracks on the ceiling, clipping the boards in place is a quick process, and it's simple to remove and change the boards if needed. Measure your space, and get as many tracks and clips as you need to install planks over your popcorn ceiling. Then, you can choose whichever paneling you would like to fix on top of it. To complete its track system, Armstrong supplies WOODHAVEN Tongue and Groove Ceiling Planks in an array of different styles to suit your home, ranging from painted white to weathered wood finishes.
How to cover a popcorn ceiling with a grid plank system
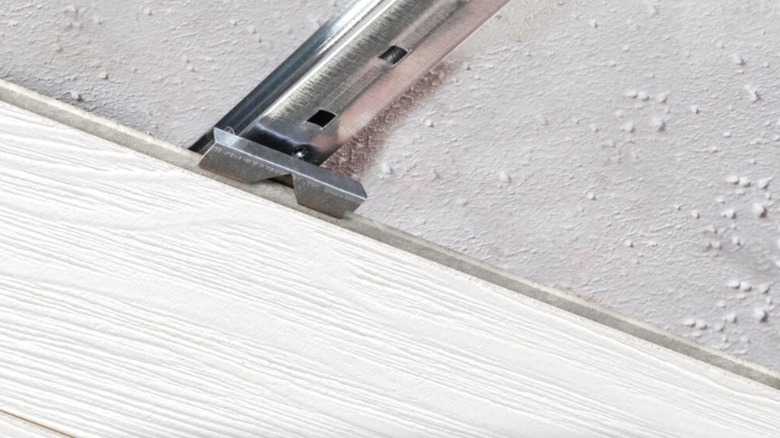
Before putting up planks to hide your popcorn ceiling, you need to attach the metal tracks to the joists. Ideally, you should use 2 ½-inch or longer coarse-thread screws for this. You can easily locate the ceiling joists with a stud finder. Make your life easier by marking the joists on your ceiling using a chalk line before installing the tracks. The tracks should be screwed in perpendicular to the snapped lines. You may need a level to ensure your tracks are even across the popcorn-textured surface, using shims when necessary to keep them straight before screwing them in place.
Once you've secured your tracks to your popcorn ceiling, attach the metal clips. You could just do one clip at a time per track as you install the boards, or you could put several clips on each track at once to help you put up the planks quicker. Take the plank that you've chosen, and position it by sliding it into the clips. Just like that, your first wooden panel has successfully been installed.
Carry on this process until your entire ceiling is covered. Keep in mind you'll likely need to use a circular saw or table saw to resize planks to make them fit cleanly. What's great about this method is that you won't have any holes to fill in your wooden planks from nails like you would if you were to attach them directly onto the ceiling without the tracks. You'll just need to put up trim to cover the small expansion gap around the edge for a seamless finish.