Organize Your Jewelry With A Rustic DIY You Can Start In Your Backyard
We may receive a commission on purchases made from links.
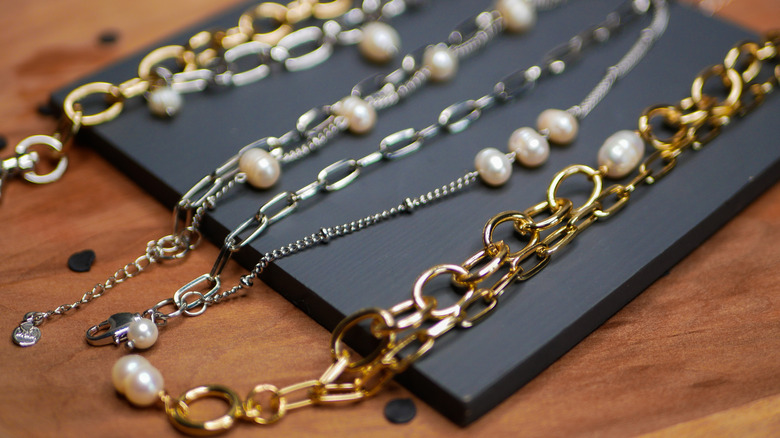
It is a universal truth that every jewelry owner is on a perpetual hunt for the perfect way to organize their pieces. However, finding the best jewelry organizer for your space at the right price can feel near impossible. The solution? Craft the perfect-for-you organizer with something that's right in your backyard: a stick.
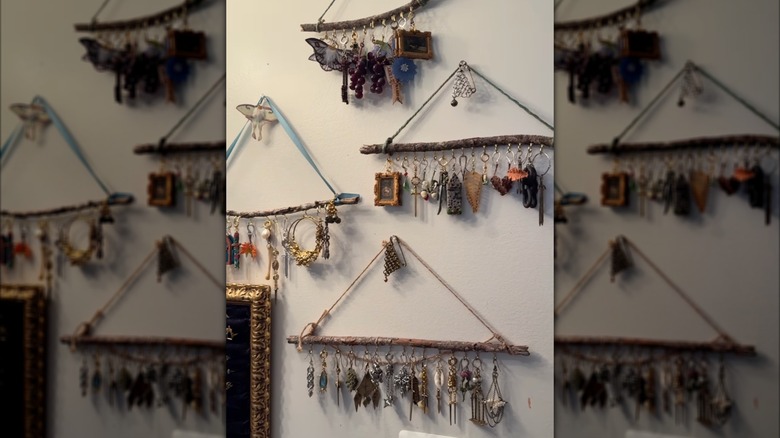
No, you read that right. It's possible to build your own stylish DIY hanging jewelry organizer by screwing hooks into the bottom side of a stick, then tying a ribbon around each end to hang it with. The brilliant thing about this DIY — besides its budget-friendly nature — is its customizability. Whether your home's aesthetic is more cottagecore or rustic, there's a way to make this DIY work for you. And let's not forget the satisfaction of creating something beautiful with items you likely already have on hand: screw-in hooks and ribbon. Grab your trusty stick and let's get started.
How to transform a stick into a rustic jewelry organizer
Which stick is the right one? It depends on how many pieces you want to organize and how heavy they are. Multiple and/or heavier pieces will likely need a small branch, where fewer or lighter pieces can be organized on a thin stick. Found the right one? Give it a quick once over to look for any damage, decay, or insects before you take it home.
There is some debate online on whether you should disinfect sticks before using them in your home to get rid of bacteria, bugs, and the like. We couldn't find a definitive answer, but recommend sanitizing it in some way to prevent introducing bugs into your home. Baking the sticks is the most popular option, but again, we found a wide variety of opinions on what temperature to bake at and how long. Whether you decide to bake at a low temperature or crank it up to 300 degrees, stay close by and check in at regular 10 to 15 minute intervals to prevent your sticks from catching fire.
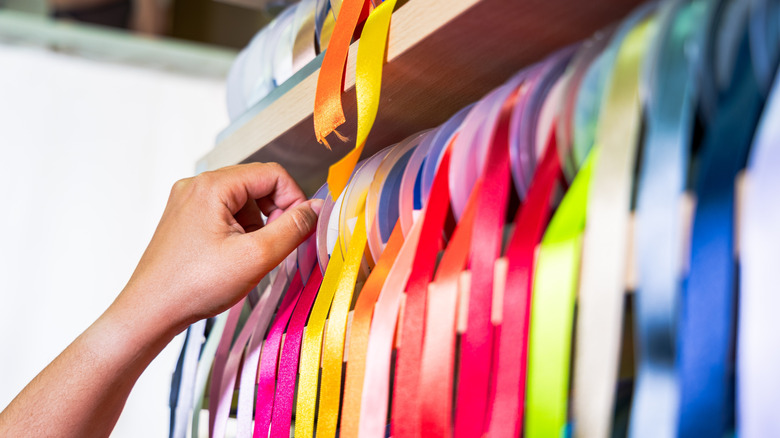
Once your sticks are ready to go, lay flat on your workspace and attach screw-in hooks, like these RELBRO Screw Hooks. Cut a piece of ribbon, such as Berwick Offray Satin Ribbon, to size, and tie to each end of the stick. Then, use a lighter to finish the edge of satin or grosgrain ribbon, or dab a bit of clear nail polish on the edge of others to prevent fraying. And voila! You've DIYed the perfect way to organize your jewelry.
Shake up this DIY's style with a few simple tips
Want to add a little polish or style to this DIY? It's just as simple as creating it. The key is to lean into different colors and textures. For example, for a witchy home decor aesthetic, use a darker green or purple ribbon and swap silver screw-in hooks for brass, copper, or even black. If your home has more beachy vibes, sand down the sticks first to create a smooth driftwood look, and use a macrame cord instead of a ribbon. Use 120 grit sandpaper to break down thinner bark, but if your stick's bark is thick, go for a coarser option. Or, for a full modern look, pick up some dowel rods, like Moukiween Wooden Dowel Rods, to use instead of the stick to add a touch of sleekness.
Paint, our trusty DIY standby, can help here to shift this DIY's look. Add a touch of gold paint to the edges of the stick, or spray paint the whole organizer to add some shimmer. You could even paint the piece an accent color to let it seamlessly blend into your space while showcasing (and organizing) your favorite jewelry.