The Best Way To Propagate Hibiscus Cuttings For Endless Free Plants
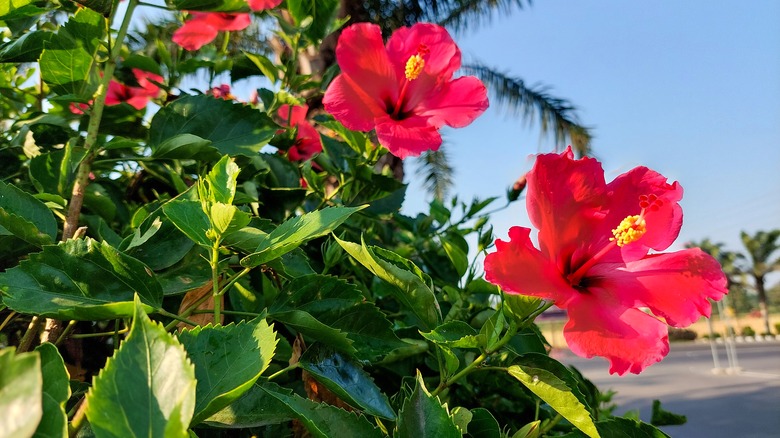
Hibiscus plants are undoubtedly one of the most attractive members of any garden. No wonder gardeners have come up with several tips and tricks to keep their hibiscus plant growing and thriving, and thereby, always have the company of their smiling blooms around. Although there are a number of methods for multiplying these plants, such as growing them from seeds, grafting, or air layering, propagating hibiscus from cuttings is always highly recommended and often considered the easiest way. All you need to do is take a few fresh and healthy cuttings (preferably during their growing period), let them form new roots in a potting medium, wait for a few weeks, and voila: You now have just as many colorful varieties of hibiscus plants that you can use for a tropical garden or for gifting a fellow gardener!
Because of the ease with which they can be propagated, hibiscus are often considered one of the best "pass-along" plants . Besides being convenient, propagating from stem cuttings also comes in handy when you are growing varieties like the cotton rose mallow (Hibiscus mutabilis), which can be very hard to access via nurseries or stores. Although spring is always the ideal time for rooting, you can use stem cuttings for propagation whenever you notice new growth in the plant.
How to pick the best stem cuttings for propagating hibiscus
Propagating hibiscus plants from stem cuttings is extremely reliable, especially when compared to growing them from seeds, which does not necessarily guarantee a progeny true to the parent plant. The first thing to do when propagating these plants like a pro is to take a close look at the plant you're taking the cuttings from and pick the most healthy shoots.
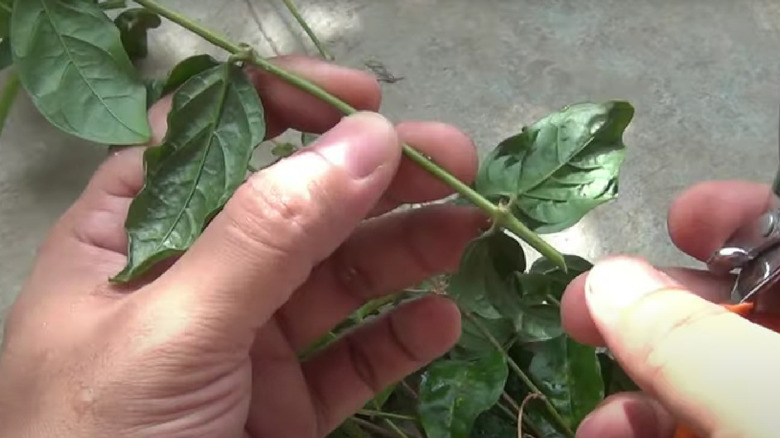
One sure shot way to pick the best shoots is to check if the selected region is already showing signs of fresh, new growth. This involves looking for soft and flexible shoots, with bright green tips as compared to the brown color of older wood. Make sure the stems are accompanied by two to three sets of fresh new leaves as well. Such shoots are especially suited for rooting and growing anew. Despite being very effective, this method is till not 100% reliable, so it is always a good idea to take a few extra cuttings than required.
Preparing and planting hibiscus cuttings
Start with cutting about 3 to 5 inches of the shoots, about as thick as a pencil, and using a pair of sharp and clean pruners, make a 45 degree cut at the base of the cutting (slightly below a node) to facilitate better absorption. Remove any leaves from the lower half of the cutting to reduce unnecessary loss of moisture. Next, dip the end of the cutting in a rooting compound. These compounds contain an auxin-based synthetic hormone, called IBA, which helps in accelerating and supporting the rooting process, increasing the quantity of roots, and enhancing uniformity.
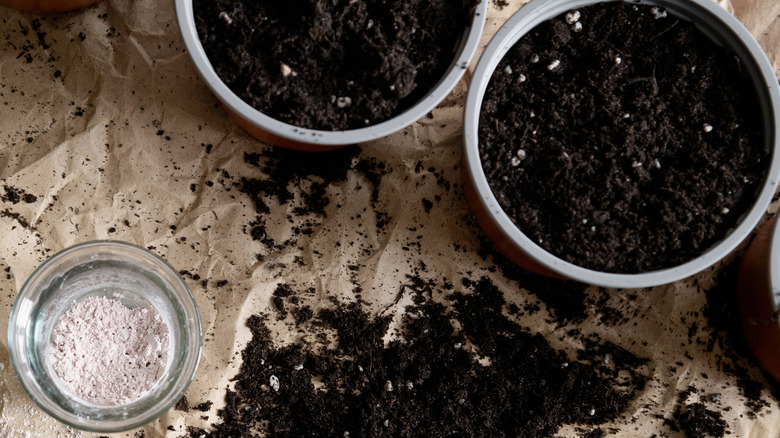
Finally, fill a small pot (about 4 to 6 inches in diameter) with a light potting mixture like three parts sand and one part peat. Insert the cutting in the medium. Give the potting mix a light drink initially and cover the pot with a plastic bag to maintain humidity levels. Put the pot in a location that receives indirect light, with the temperature hovering between 70 and 80 degrees Fahrenheit. Make sure the pot always stays moist without risking waterlogging and the possibility of subsequent root rot in the cuttings. You can do this by giving the soil enough time to dry before watering again. You will begin to see roots developing in the cuttings in about three to five weeks. That is the ideal time for you to take your hibiscus to the soil or a larger container for transplanting.