DIY Project Gone Wrong: The Painting Mistake You Don't Want To Make
We may receive a commission on purchases made from links.
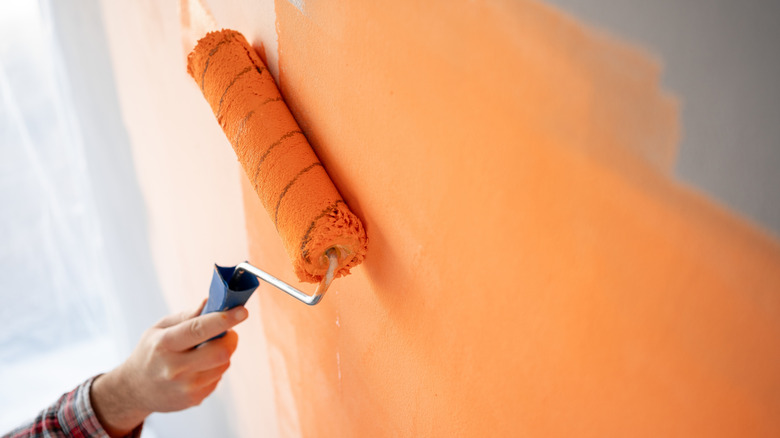
When it comes to DIY house renovations, painting might seem like the most beginner-friendly option. How hard can it be to change the color of a wall? Like all skills, painting has a learning curve, and within that curve, there is plenty of room for mistakes that will ruin the result.
If you want to take on a more challenging painting project that involves adding designs to your wall, you might think it's as simple as taping off the shape and going in with a brush or roller loaded with your desired color. However, you're missing a step in between. Skipping this integral step will result in bleeding beneath the tape, which will require touch-ups to achieve sharp lines. Before painting your wall the second color, you must first cover the tape with the wall's base color, which seems counter-productive, but it keeps your lines sharp, with any bleed melding seamlessly with the base. Missing this middle step is one of the most common mistakes everyone makes when painting their home, and it can add a lot of work to your plate — and your palette.
Using painter's tape properly
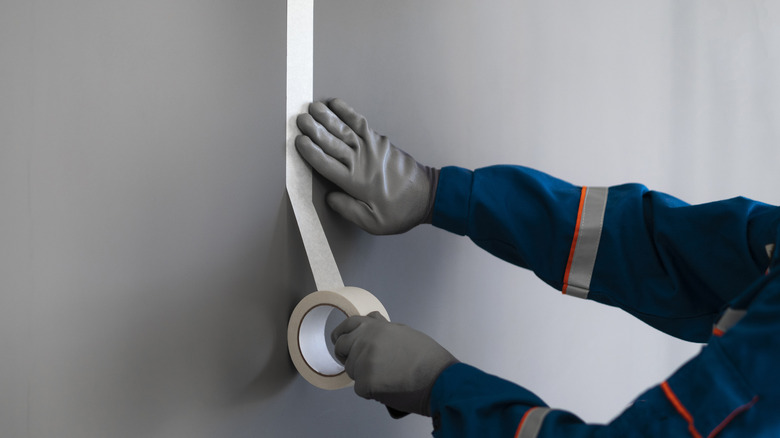
Painter's tape is a must in the arsenal of any DIYer, but like any tool, you need to know how to use it properly to get the most out of it. For the best results, you should clean the surface you want to tape, which helps the tape stick better and more evenly. When you apply the tape, you should press it down firmly with your fingers, following up with a smooth-edged tool like a putty knife. Don't reach for your brush immediately, as you should leave the tape to set for 30 minutes to an hour before you begin. In addition to the initial base wall coat, proper tape application will help you achieve the sharp lines you're looking for.
In addition to proper painter's tape application, how you remove the tape can affect the result. After you go in with your final coat, you should wait about an hour for the paint to dry before you peel off the tape. This ensures wet paint won't bleed beneath the tape. If you've already had paint bleed beneath the tape, you can try a nifty way to touch up paint using a cotton swab. When removing the tape, make sure to pull it off at a 45-degree angle to avoid damaging your paint job and the surface beneath.
How to achieve the best painting results
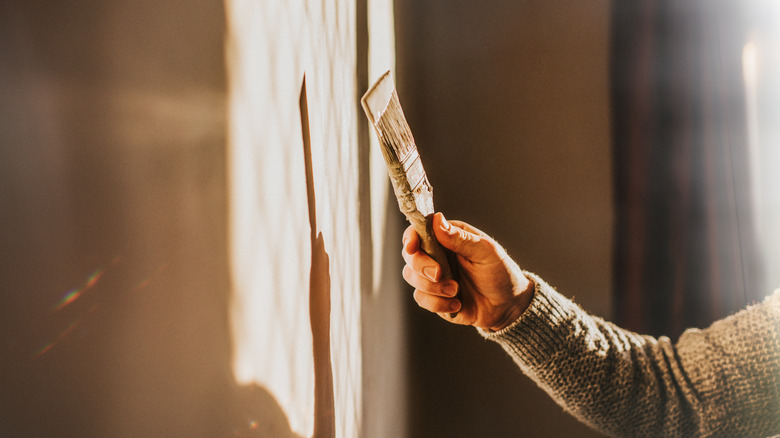
There are a variety of factors that affect the final product of a painting project, including environment, conditions, and improper application. All of these can also affect how your painter's tape works and will impact any patterns you're making with your tape. For example, humidity will lengthen the time it takes for paint to dry, so you might need to wait more than an hour to remove your tape.
If you're going for a geometric look or crisp, straight lines, don't apply the tape by hand, use an applicator like the ScotchBlue Painter's Tape Applicator, which will give you cleaner lines and make your home look like it was painted by a professional. Don't let the fear of a mistake keep you from starting a new painting project, as any mistake can be fixed, though the process might be tedious. If it doesn't work out in the end, you can always paint the walls white and start over.