Don't Toss Those Plastic Bags. Use Them To DIY Cute Pumpkin Decor
Fall is harvest season and is a perfect time to enjoy seasonal favorites like apples, cranberries, and squash. It's also a wonderful opportunity to decorate your home for the season — and what could be better than making your own fall decor on a budget? Even better is crafting seasonal decorations from items you have on hand, literally turning trash into treasure.
Nothing says fall like decorating with pumpkins, and you don't need to visit a pumpkin patch to enjoy them. This project makes for a fun afternoon activity, and is ideal for sharing with kids. A bonus is that you could make an absolutely gigantic pumpkin — and won't have to spend a wad of cash to lug it home either. Additionally, for anyone who struggled as squirrels or other critters snacked on their outdoor pumpkin displays, this DIY project can create the perfect fall porch decor that won't attract local wildlife.
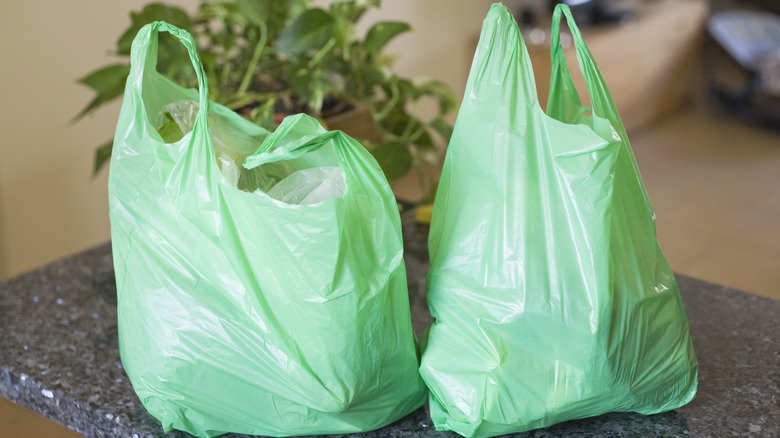
To get started, you'll need plastic bags. Crumpled paper, such as Bryco Goods Brown Kraft Paper, will work just as well. Gather the bags into a bundle and use string or twine to form it into a pumpkin's rounded shape, and then wrap string around its body to create a pumpkin's signature segmented look. The next few steps of this craft can be messy, so you may want to protect your work surface with an inexpensive plastic tarp, a newspaper, or an old tablecloth.
How to make a faux pumpkin
Now for the best part: the papier-mâché. This crafting technique gets its name from the French term, papier-mâché, which means chewed paper — not a terribly appealing name, but let's ignore that! To begin, start by tearing paper into wide strips. Brown kraft paper works perfectly, but you can also use paper bags, old newspapers, or scrap paper. You'll need enough to cover your entire pumpkin.
Prepare a papier-mâché paste by mixing equal parts water and white glue in a small bowl. Dip each strip into it, fully coating the backs, and smooth them onto your pumpkin, overlapping them a little. Press down on the paper gently to ensure they stick firmly. Continue these steps until your pumpkin is completely encased with paper. It may take 24 hours or more for the pumpkin to dry after this step.
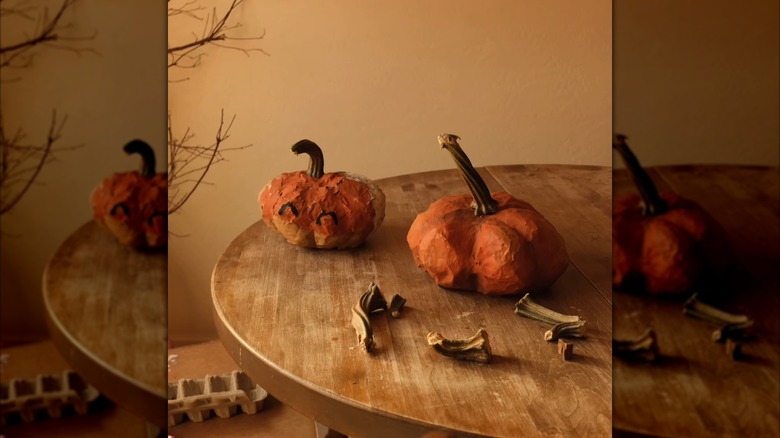
Once it has dried, it's time to start decorating! You could paint it a traditional orange, black, or white with acrylic paint, or embellish your pumpkin with washi tape. For a final, realistic touch, add a pumpkin stem. You could glue on a short twig, a dowel that's been trimmed to size and wrapped in twine, or fashion one out of clay. You'll find this craft so enjoyable that you may find yourself looking for more plastic bags to upcycle to make more magical makeovers.