16 Overlooked Lawn Mower Maintenance Tasks That Everyone Forgets
We may receive a commission on purchases made from links.
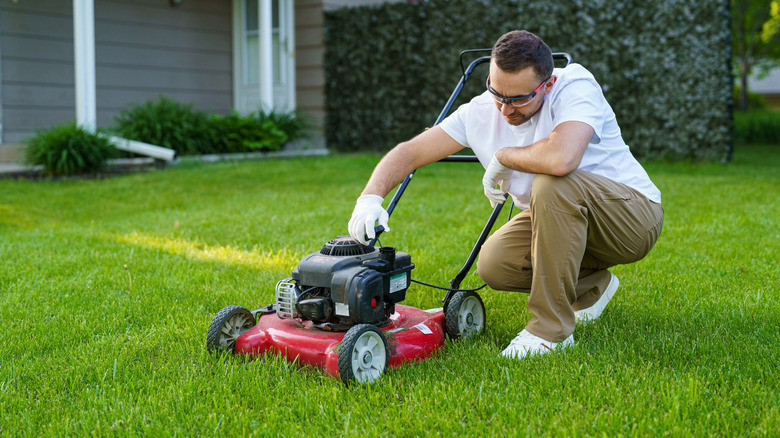
Lawn mowers play an important role in keeping your yard looking its best. After all, who doesn't love some freshly manicured, evenly cut grass? Unfortunately, though, lawn mowers don't always get the TLC they deserve. While many people practice the basics of gassing (or charging) their mowers and storing them somewhere safe and dry, many other important maintenance tasks get overlooked. Not only can skipping these tasks lead to expensive repairs, but they can also shorten your mower's lifespan and may even compromise its safety.
Fortunately, with a little time and effort, you can keep your mower in good shape and functioning well for many years to come. Let's take a look at 16 overlooked lawn mower maintenance tasks that everyone forgets. While some of these tasks may be in your DIY wheelhouse, some may require special tools or advanced skills, which may be better suited for an experienced professional.
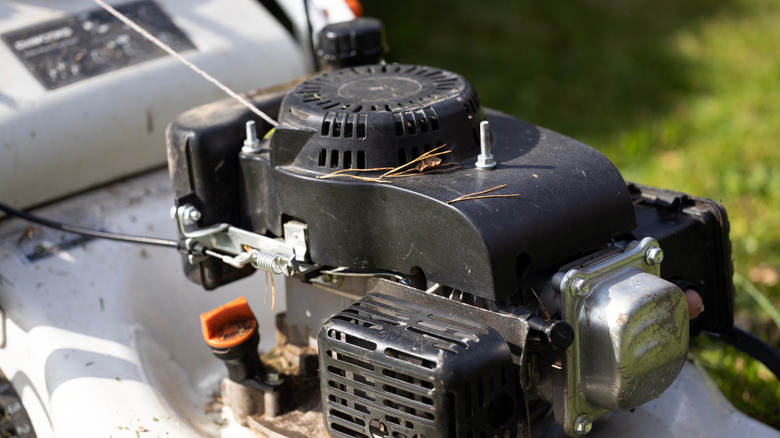
Checking spark plugs
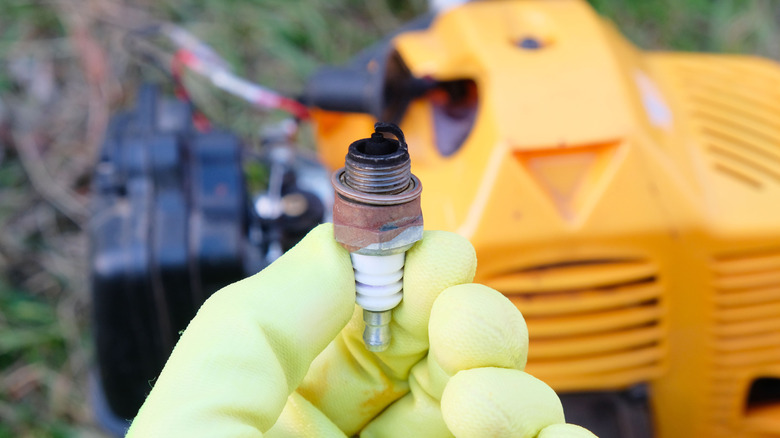
Cars are probably the first thing that comes to most people's minds when they hear spark plugs, but lawn mowers have them, too. Spark plugs are essential to the combustion process that makes gas-powered mowers run. When spark plugs are dirty or damaged, your lawn mower may struggle to start — and in some cases, it may not start at all. As a result, it's important to check your spark plugs regularly, especially if you're noticing any issues with your mower's engine.
Checking your lawn mower's spark plugs requires disconnecting the spark plug lead and thoroughly checking for dirt, debris, and/or damage. If your spark plug is dirty, you can use a wire brush to clean it. If it's damaged, it should be replaced. Keep in mind that in general, you'll want to change your spark plugs after 25-50 hours of use, which typically comes out to once a season.
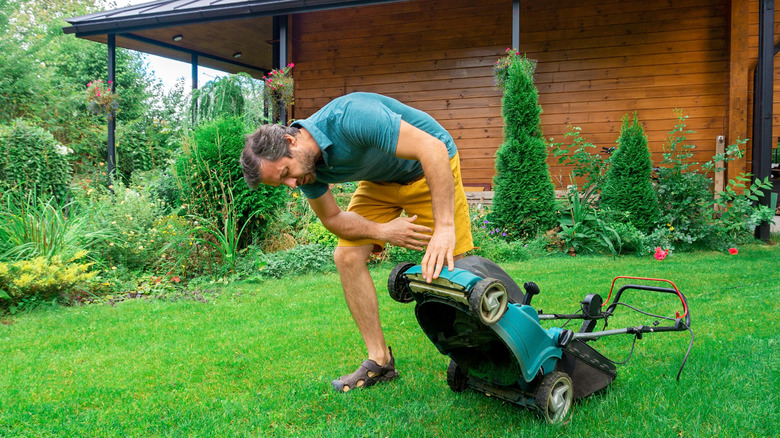
Cleaning your mower's undercarriage
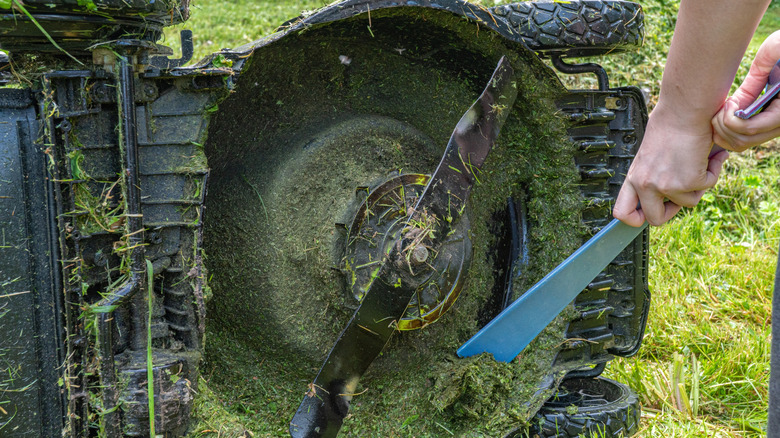
Do you remember the last time you cleaned your lawn mower's undercarriage? If the answer is no, you aren't the only one. However, this is one task you'll definitely want to add to your lawn mower maintenance routine to keep your machine running as smoothly as possible. When the undercarriage gets dirty, it can create an uneven surface that can hinder blade movement and reduce your mower's cutting ability. When grass clippings and dirt build up in the undercarriage, it can also cause components to rust, which can ultimately lead to repairs and reduce your lawn mower's lifespan.
According to experts, cleaning your lawn mower's undercarriage about two to three times a season should be sufficient. You may need to clean it more frequently if you have longer grass, a larger yard, or have mowed wet grass. Before cleaning, be sure to turn your mower off, remove the gas and spark plugs, and turn the mower on its side. From there, you can clean the undercarriage by scraping away dirt and debris and hosing down the area.
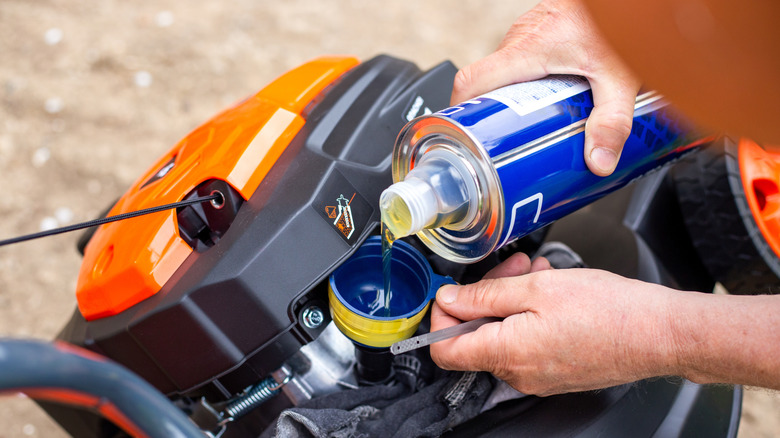
Changing the oil
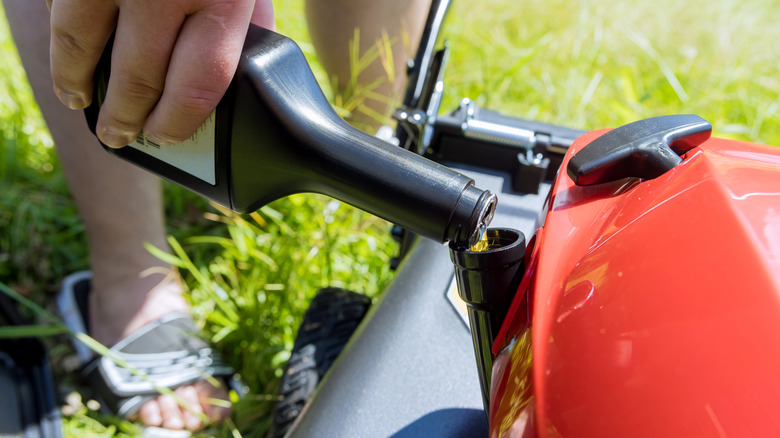
Spark plugs aren't the only thing your car and your lawn mower have in common. They both also require regular oil changes to keep the engine running properly. When the oil in your lawn mower gets too low (or too old), it can lead to reduced performance, overheating, and engine damage.
Lawn care experts suggest that people change their lawn mower oil at least once a season or after 50 hours of use. However, they note that it's also important to check the oil level before each use. When changing your mower's oil, you should let the engine run for a few minutes in order to warm up the oil. From there, you can drain the old oil and filter and replace them with fresh oil and a new filter. You may also want to monitor your oil level by checking it before each mow and comparing it to the recommended levels in your owner's manual.
Changing the air filter
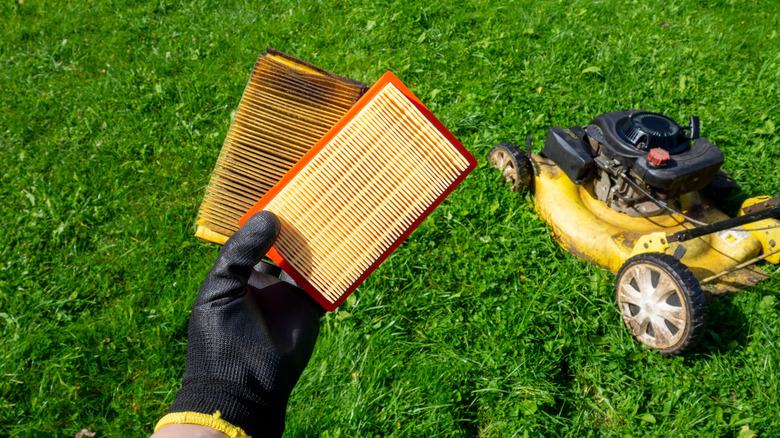
Air filters play an important role in a lawn mower's performance. Made from either paper, foam, or a combination of the two, air filters help protect the engine by filtering out dirt, particles, and grass clippings. When your air filter is dirty and/or old, it can result in your engine stalling or overheating, and can even cause your lawn mower to lose power. Needless to say, something as simple as checking and changing your air filter is essential to your lawn mower's longevity.
To check your air filter, simply remove it from the top or side of the engine and hold it up to the light. If you're able to see light coming through the filter, it's not quite time to change it yet. However, if the filter appears dark and dirty, it's probably time to replace it. In general, it's a good idea to check your air filter after 25 hours of use. However, when it needs to be changed depends on the type of filter and lawn mower you have. For example, Kawasaki mowers have a shroud design that may result in the air filter needing to be changed more frequently.
Checking tire pressure
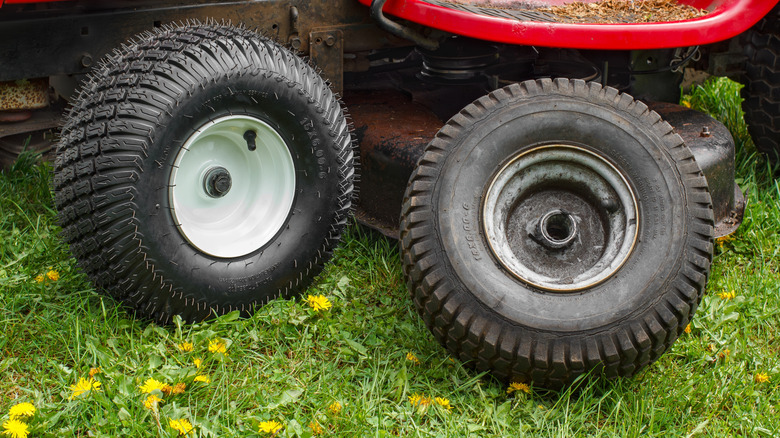
Some of the tasks on this list may seem a bit challenging if you aren't a DIY maintenance kind of person, but checking your lawn mower's tire pressure isn't one of them. But just because this task is simple, it doesn't mean that it isn't important. When your tire pressure is too low — or too high — it can cause uneven cuts, increased fuel consumption, and damaged tires.
To check your tire pressure, all you need to do is check the recommended PSI for your lawn mower's tires and use a tire pressure gauge to see your current PSI. Some gauges, such as the T300 from ETENWOLF, feature a digital display that makes it easy to see your PSI quickly. Remember that tire pressure will fluctuate based on the temperature. Tire pressure increases slightly in warmer temperatures, so you may notice that it's slightly higher right after a mow.
Balancing your lawn mower's blades
Balanced lawn mower blades are essential to getting a clean and even cut. In addition to an unsightly lawn, unbalanced blades can negatively impact your grass's health. When your mower cuts unevenly, your grass becomes more susceptible to pests and diseases, and it weakens the blades. On top of that, keeping your blades balanced reduces vibration, which ultimately lessens wear and tear on your mower. Unfortunately, though, blades can become unbalanced over time due to normal use or accidentally hitting hard objects such as rocks.
Balancing blades essentially means making sure that each side of the blade weighs the same so that it can spin evenly. To balance them correctly, you'll need to remove the blades from the mower and clean them. You can check if the blade is balanced by placing it on a balancing cone and spinning it. If one side appears to be heavier, you can file away the excess weight.
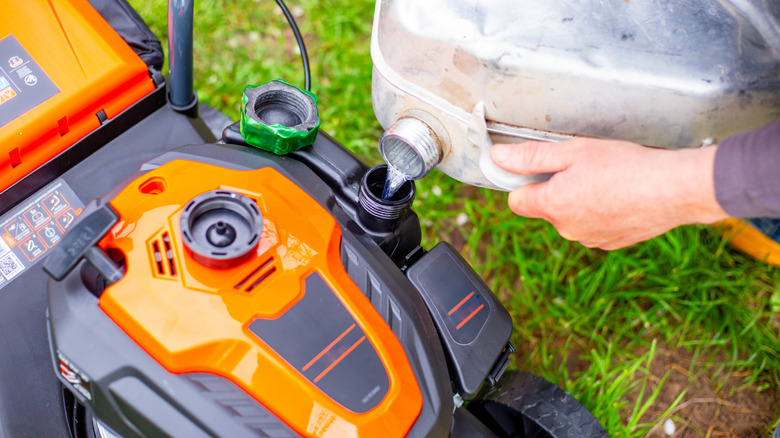
Draining oil before storage
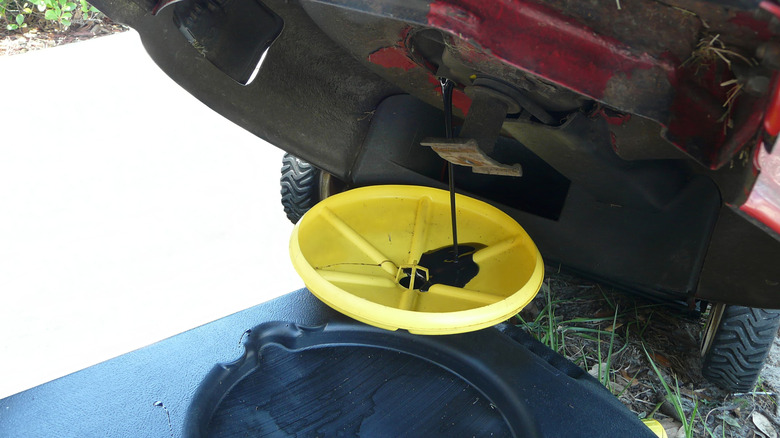
You might be used to just pushing your lawn mower into the shed or garage when mowing season ends, but there's one important step you should take beforehand: draining the oil. It's important to dispose of motor oil properly by letting it pour into an oil pan as opposed to draining it directly on the ground or down a drain. After draining, you should replace the old oil with fresh oil.
Although some experts suggest that this task isn't necessary, others believe that draining oil before winter is good for engine health. In addition to draining the oil, you'll also want to add a fuel stabilizer before storing your lawn mower for the winter. Allowing your lawn mower to sit for more than two weeks with gasoline inside can lead to problems when it's time to start mowing again. Over time, the gasoline will become thicker and gum-like, which can clog your mower's fuel system and make it difficult to start.
Inspecting and replacing belts

Lawn mower belts play a major role in keeping your lawn mower moving and cutting. The belts work to move power from the engine to the mower's other important components, such as blades. When inspecting your belts, you should look for signs of wear such as cracks, burns, or rough edges. If you notice any of these things, it's probably a good idea to replace the belt(s).
While it may seem intimidating, replacing the belts is a fairly straightforward process. First, you must disconnect the spark plugs and remove the mower deck covering. Once you've done that, you can move the idler to release the belt tension. From there, you can remove the belt and replace it with a new one. There is no regular schedule you need to follow when replacing belts, but regular inspections can tell you if your belts are nearing the end of their lifespan.
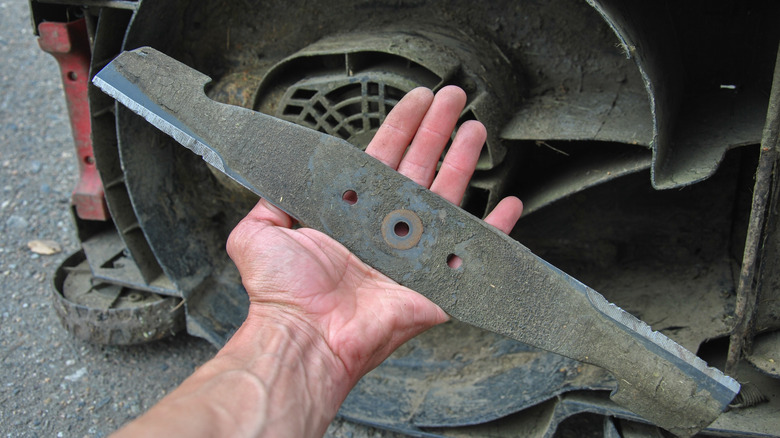
Sharpening the mower blades

Even though many people are aware that sharpening mower blades is an important task, plenty of people still forget to do it. As you can imagine, when your mower's blades get dull, they can tear your grass out of the ground instead of cutting it smoothly. Not only does torn grass not look its best, but as mentioned earlier, unevenly cut grass can eventually become unhealthy. Additionally, dull blades put more stress on your lawn mower because they require it to work harder.
To avoid these problems, it's a good idea to sharpen your mower's blades after 25 hours of use, or about twice each season. Before sharpening, be sure to remove spark plugs from a gas-powered mower or disconnect an electric mower from the power source. Next, remove and clean the blade, and then you can begin the sharpening process. Since sharpening blades requires several tools, including a metal file or grinder, some people may be more comfortable hiring a professional for the job. Professional sharpening services typically cost around $80.
Cleaning battery contacts (electric and riding mowers)
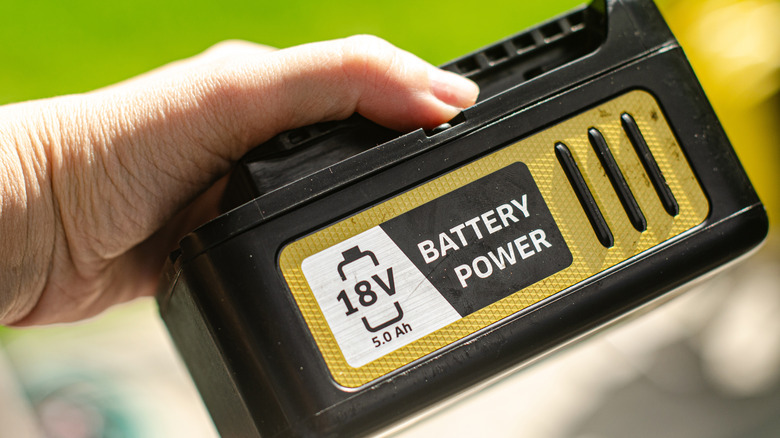
Electric lawn mowers are generally considered lower maintenance than traditional gas-powered mowers, but that doesn't mean there aren't things that still need your attention. If you have an electric mower, checking the battery contacts is something you'll definitely want to add to your maintenance checklist. Corrosion, which typically appears in the form of white, green, or brown buildup, can form on battery contacts. This corrosion can cause reduced performance and can ultimately damage the battery's health.
Fortunately, cleaning battery corrosion doesn't take much time or effort. All you'll need is baking soda, water, a toothbrush or wire brush, paper towels, gloves, and something to protect your eyes. Make your own cleaning solution by mixing a tablespoon of baking soda with a cup of water, and use your brush to wipe corrosion away from the battery. Please note that you must disconnect the battery before starting the cleaning process.
Making sure your gas isn't old
Gas may not have a traditional expiration date like many other things, but that doesn't mean it doesn't go bad. According to experts, once gas has been pumped, it has about 30 to 60 days before it starts to degrade. Some people may be surprised by this because it wasn't always the case. Modern gas expires quickly because it contains ethanol, which absorbs water and makes the gas harder to burn. Once gas goes bad, it can damage your lawn mower's components. For instance, old gas can clog the fuel system and make the lawn mower hard to start. Even if you're able to get it to start, using old gas in your lawn mower can cause the engine to sputter and/or shut down.
The best way to avoid this is to make sure that you don't let gas sit in your lawn mower for extended periods of time and to ensure that you're always using fresh gas in your mower. You can also use a fuel stabilizer to help prevent your gas from breaking down as quickly.
Checking kill switches and other safety features
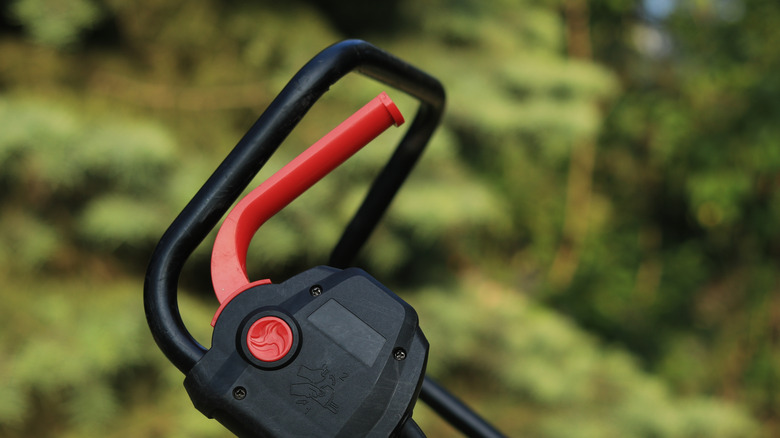
Modern lawn mowers are equipped with safety features such as kill switches, which shut the engine down when a lever or handle is released. In many riding lawn mowers, the kill switch is activated if the rider leaves the seat. These features are important because they prevent the lawn mower from moving while unattended. In order for these safety features to be as effective as possible, it's important to check and test them to ensure they're working properly. If you have a push mower, and it doesn't stop running when you release the handle — or a riding mower that doesn't stop running when you stand up — your kill switch needs to be repaired or replaced.
Since inspecting the kill switch requires it to be disconnected and removed, this task may be better left to professionals. While the price of kill switch repair or replacement will vary based on things like your location and your specific mower, professional lawn mower repairs typically range from $75 to $550.
Checking battery health to avoid overheating
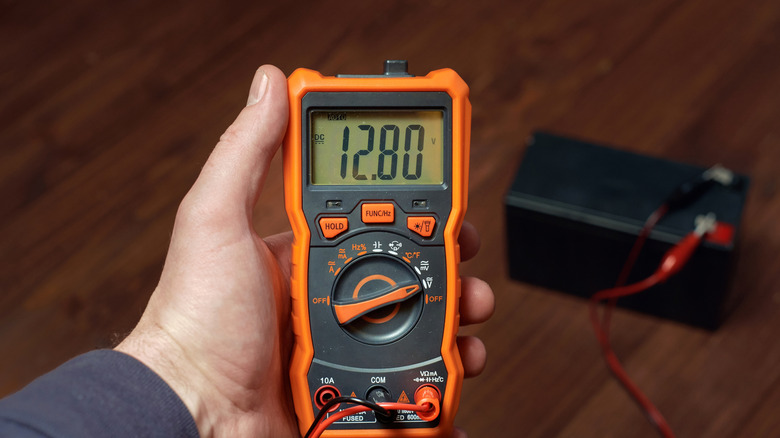
Cleaning battery contacts isn't the only thing you need to do to ensure that your battery is in tip-top shape. It's also important to monitor your battery's health using a multimeter. This device can measure your battery's voltage, resistance, and current. Experts note that a healthy 12-volt lawn mower battery should read between 12.6 and 12.8 volts. If your battery is in poor health, it could overheat, which can damage the battery. In extreme cases, an overheating battery can even cause a fire — this is especially true for lawn mowers that use lithium-ion batteries.
In addition to using a multimeter, you should also pay attention to any changes in your lawn mower's function. If your battery isn't holding a charge or you hear a clicking sound when trying to start your lawn mower, it could be time for a new battery. In between battery checks, you should also be mindful of how you store and charge your battery. For example, batteries should be stored in a climate-controlled environment to prevent them from experiencing extreme temperatures. You should also practice trickle/smart charging to prevent overcharging.
Cleaning the cooling fins
As the name suggests, cooling fins work to keep your lawn mower's engine cool. These thin metal ridges increase the engine's surface area and help release heat by letting air flow over the engine. If cooling fins become clogged with clippings or other debris, they won't be able to function properly, which could result in your lawn mower overheating. If that happens, it could lead to costly repairs and potentially permanent engine damage.
Cooling fans should be cleaned once a year, with experts noting that it's best to clean them before mowing season starts. Prior to cleaning, you must turn off the mower, disconnect the spark plugs, and remove the cooling fins. You can then clean them using compressed air or a shop vac. You may also want to wipe them off before putting them back in your mower.
Lubricating wheel bearings and pivot points
In order for your lawn mower to run like the well-oiled machine it was intended to be, it's important to keep it lubricated like one. Several of your lawn mower's parts, including wheel bearings, pivot points, and cutting spindles, need to be greased periodically to function properly. Regularly greasing helps reduce friction and allows parts to move smoothly.
Ideally, you should grease your lawn mower throughout mowing season, with a little extra attention before storing it for the winter. You can manually apply the grease by adding a few drops of oil on the necessary areas, or you can purchase a grease gun to make the process easier. Some models, like SHALL's mini grease gun, come with multiple nozzles that make it easy to apply grease to your lawn mower. While lubricating your lawn mower is a simple process, it's important to make sure you're using the right kind of grease. Review your mower's manual to see if there is any information on which type of grease works best on which parts of the mower.
Examining lawn mower cables
Even if you're someone who tries to be mindful of lawn mower maintenance, there's a good chance that the cables haven't been on your radar. Although these cables may not be among the most glamorous or well-known parts of the machine, lawn mower cables are a big part of what keeps your lawn mower running — and running well. Most lawn mowers have a throttle cable that governs the engine's speed and a brake cable that stops the blade from spinning. If these cables become damaged or worn out, you could be dealing with a safety issue.
Checking your cables should be a part of your regular maintenance routine, and you should be looking for cracking, fraying, and stretching. Periodic cleaning can also be a helpful way to ensure your cables are functioning to the best of their ability. The lifespan of lawn mower cables can vary, but in general, it is recommended that they be changed every two to three years.