Don't Skip This Important Step When Installing A Ceiling Medallion
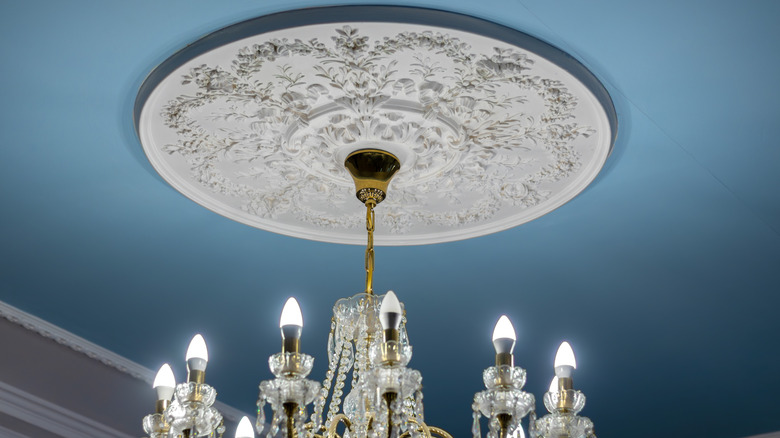
Ceiling medallions gained immense popularity in the Victorian era, but they actually made their first appearance even earlier in the 1700s. They were common in homes of a certain size and status, and were used as a decorative feature to make important rooms feel even more elaborate. While ceiling medallions offer a vintage traditional look, they lost their popularity in the early 20th century and became less common. However, with the resurgence of bringing back character to older Victorian properties (and even newer homes), ceiling medallions are now a vintage ceiling decor trend that's made a serious comeback, as a way of adding character to your ceiling.
When it comes to installing a ceiling medallion, you can most likely do this yourself without calling in the help of a professional. However, there is an important step (or two) that you're not going to want to skip. Before purchasing your ceiling medallion, make sure that it's going to fit the light canopy that you're planning to feed through it. Do this by measuring the diameter of your canopy and then the hole in the medallion you wish to purchase. If you do this correctly, it will save you from buying a medallion that isn't going to fit your space. Secondly, before you begin installing your ceiling medallion, turn off the electricity at the main panel. As you're going to be dealing with electrical wiring when you disconnect and reconnect the light fixture, you want to make sure that you're well protected from an electric shock. It's always better to be safe than sorry any time you're working around your light fixtures.
How to make sure your ceiling medallion is going to fit
Depending whether or not you have a light fitting in mind for a room, or you'd prefer to invest in your ceiling medallion first, you may want to be aware of the most common opening sizes for medallions. As a general rule, most medallion openings range between 3 to 4 inches. This can be important to know as the light canopy usually sits inside the opening of the medallion. Just to clarify, the light canopy is the circular section at the top of a light fitting that hides the wiring and the junction box, which connects your light to the ceiling. If the canopy is too big for the medallion opening, it simply won't fit. Or, if it's too small, there will be an awkward gap that won't look very appealing, and turn your attempt to add character to your ceiling, into an eyesore that you'll regret.
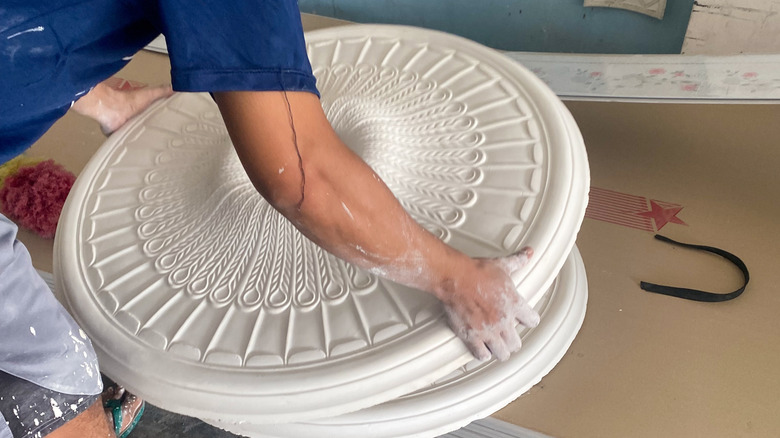
However, if you've forgotten to measure your light canopy before purchasing your medallion, don't be too disheartened. To make sure the canopy will fit through the pre-made hole, you can make a careful adjustment to the medallion yourself. While ceiling medallions can be cut to size, it's also known for them to come without a hole at all! If this is the case, place your light canopy in the center of the medallion and draw a circle round it with a soft pencil. Use a jigsaw or small handsaw to carefully cut along the marked circle to create or enlarge the hole, so the canopy will fit perfectly. Then, it's just a matter of attaching your medallion to the ceiling and reinstalling your light fixture.