Transform An Old Headboard Into A Stunning Patio Piece With One Clever DIY
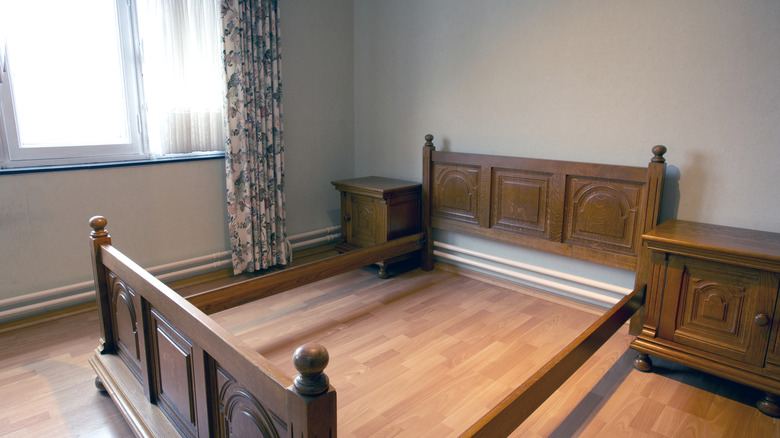
Upgrading your headboard is an easy way to make a major difference to your bedroom design, and you only had to change one piece of furniture. However, you may be left wondering what to do with the headboard you replaced. Luckily, there are many ways you can repurpose an old headboard around the house — indoors or out. In fact, you may even find yourself shopping for headboards at secondhand stores once you discover all the unique ways to transform and style them. If you come across a gorgeous wooden headboard, especially an antique, snap it up. You can transform it into a stunning bench for your patio, where you can admire its beautiful woodwork without needing to work out how to fit it into your existing bedroom aesthetic.
To transform a wooden headboard into a bench, you'll need some specific tools and materials. Get a headboard, of course. You'll also need wood planks for the seat and some wooden furniture legs. If your headboard comes with the matching footboard slats and legs, you can repurpose them for this project. Additionally, you'll need a saw, a drill, some screws, a tube of wood glue, some sandpaper, and a can of weatherproof wood stain or sealant. To make your bench comfortable, consider your cushioning options. You could lay some store-bought outdoor cushions on the seat or make an upholstered custom cushion using foam, fabric, plywood, and a staple gun.
How to create a patio bench using an old headboard
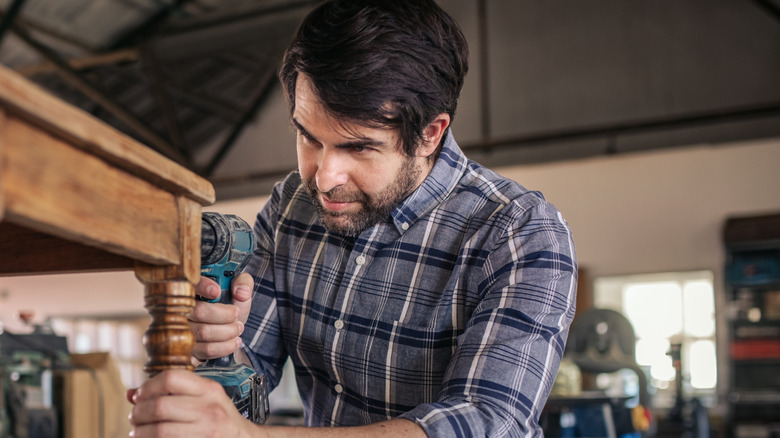
Start by examining your wood for defects. Most antique wooden headboards have lovely, intricate designs, and you may want to repair missing details on wood furniture by carving replacements or casting them using a silicone mold and epoxy. Repair nicks and scratches, too — wax furniture-patching sticks work well for this. Now, it's time to measure, cut, and assemble your bench. The headboard becomes the backrest for the bench, which best shows off its unique design. Cut the wood planks or bed frame down to size — the standard bench depth is 15 to 20 inches — and screw it onto the headboard to form the seat of the bench. Screw on the legs, if they weren't already attached to the frame. Use wood glue to secure timber planks across the top of the seat.
@hometalk The VIRAL headboard upcycle everyone's copying again this summer! #DIY #EasyDIY #hacks #easydiy #genius #homehacks #diyhacks #HomeDecor #DollarTree #DIYHacks #upcycling #thrifting #DollarStore #thrifted #build
Make any final cosmetic repairs, filling screw holes and sanding rough wood, then stain, paint, or seal the entire bench to protect it outdoors. If you plan to use your bench regularly, style the garden bench and make it more comfortable with outdoor cushions. As we mentioned, you could also try your hand at upholstery. Cut a piece of plywood and a piece of foam to the same dimensions as the bench seat. Secure the foam to the plywood using glue or an upholstery stapler. Next, cut a piece of weatherproof fabric large enough to cover the foam and plywood with some overhang. Pull the fabric tight and staple it into place on the back of the plywood before gluing or screwing it to your bench seat.