The Unique Tile That Makes The Perfect Popcorn Ceiling Cover
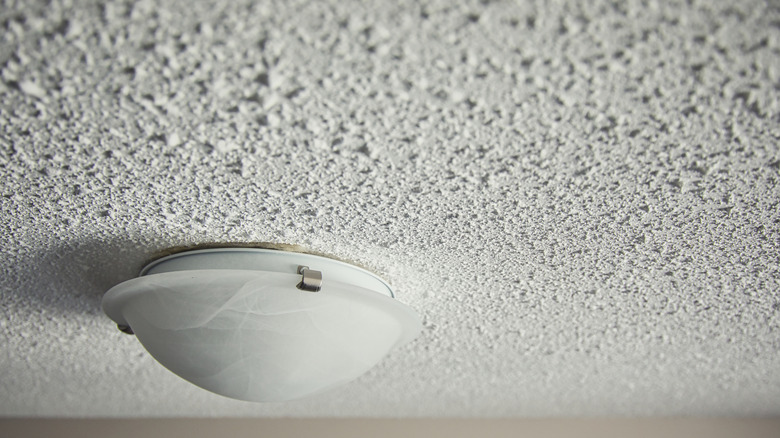
If your home still has popcorn ceilings, you're definitely not alone. This bumpy, textured ceiling style was incredibly popular from the 1950s through the '90s, so it's not uncommon to find it still lurking in plenty of homes today. While they once had their perks, mostly for hiding imperfections and absorbing sound, popcorn ceilings these days are more likely to be seen as outdated and annoying to clean. If you've been dreaming of a smooth, updated ceiling, it's completely understandable. The problem is that removing or replacing a popcorn ceiling can be messy, expensive, and time-consuming. However, faux tin ceiling tiles offer an affordable way to cover dated popcorn ceilings without the hassle of scraping or resurfacing.
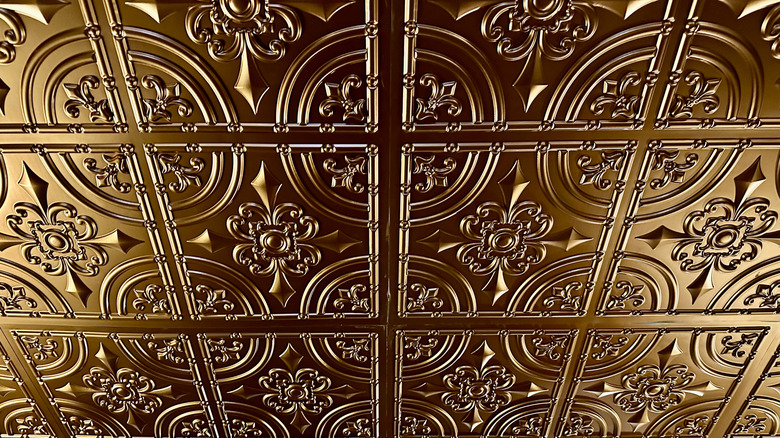
These lightweight tiles mimic the elegant look of antique tin ceilings but are made of PVC or Styrofoam, making them budget-friendly and easy to install. They typically come in 2-by-2-foot panels, and you'd need about 36 tiles to cover an average 12-by-12-foot room. You can get a 12-pack of Art3d Drop Ceiling Tiles on Amazon for under $100, meaning you could update the whole ceiling for around $270. This is far less than the cost to remove the popcorn ceiling entirely, which ranges between $933 and $3,074 on average.
How to cover a popcorn ceiling with faux tin tiles
To update old popcorn ceilings without removing them using faux tin tiles, start by prepping the area. Remove all the furniture from the room so you can easily access the ceiling from any spot by stepping on a ladder. While you can glue tiles directly to the ceiling, dust and the uneven surface may make it harder for them to adhere and line up properly. That's why it's a good idea to cover the ceiling with sheetrock or furring strips first and get a flat canvas for gluing up your tiles.
When you're ready to start gluing, draw a 90-degree angle in one corner of the ceiling to mark the starting point. Apply adhesive on the back of the tile, and press it up to the ceiling in the spot you marked. Then, repeat the gluing and pressing process for your other tiles, making sure you line them up evenly. It might take a bit of time to cover the entire ceiling, but you'll be left with a more flattering, up-to-date look on a budget.
For added customization, you can also paint the tiles to match your decor or just give them a fresh look. Although faux tin tiles are paintable, you need to clean them properly and use the right materials, such as latex or oil-based paint, to ensure proper adhesion. This way, you can make sure you don't end up with an unevenly painted eyesore instead of a beautiful new ceiling.