The Carving Hack That Keeps Your Pumpkin Decor Fresh For Longer
If you're a fan of everything autumn and Halloween, finding unique pumpkins to decorate with and carving traditional pumpkins are all must-dos. Pumpkins are among the most popular types of fall decorations, and carving them can be a fun way to take part in the season. It's disheartening when all your hard work starts to rot, and sometimes this happens well before Halloween. Still, not all pumpkins are destined to decay as soon as you carve them. To help make your pumpkin décor last longer, try to avoid cutting the tops of your pumpkins when you carve them. Instead, it's best to do your carving along either the bottoms or the backs of your pumpkins.
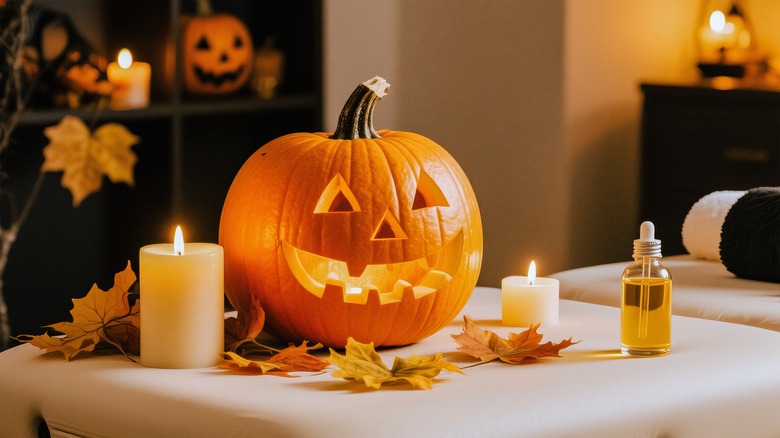
Unfortunately, carved pumpkins do go bad quicker than ones left uncut. The rate at which they spoil can depend on a lot of factors, including sun exposure, rain, freezing temperatures, and whether you place real candles inside of them. Even if your pumpkins are placed in the perfect spots around your home without exposure to heat or inclement weather events, carving them still shortens their lifespans. In fact, cut pumpkins only last up to a week on average, and sometimes much less than this if the weather is hot.
For longer-lasting pumpkins, don't carve their tops
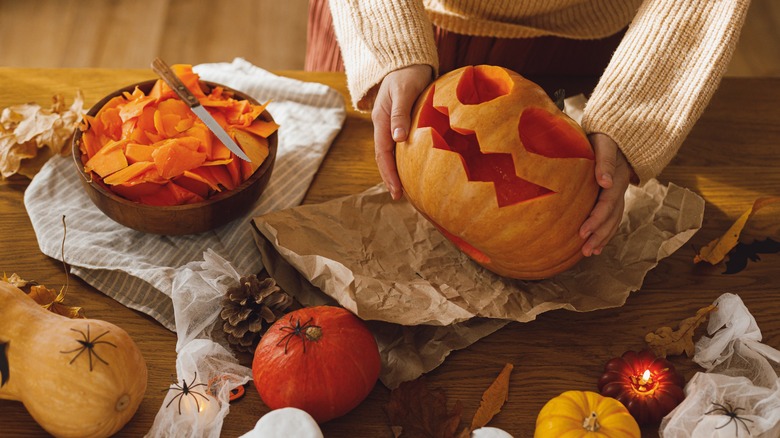
There are many creative carving ideas for your Halloween pumpkins to try, but there are also certain techniques you ought to avoid. You might be accustomed to cutting around the stems of the pumpkins so you could scoop the pulp out from the top of the gourd. This is indeed one way you can approach pumpkin pulp removal, but it's likely to ensure your creations won't stay fresh for very long.
As soon as the pumpkin's stem is impacted in any way, it can no longer receive residual nutrients to support longevity. The stem is also responsible for keeping moisture out of the pumpkin that might cause it to rot. Holding a pumpkin by its stem or detaching it can interfere with these processes. This is why pumpkins that are cut around their tops don't usually last as long as those that are carved from the back or bottom.
It can feel strange to not cut the tops of your pumpkins at first, especially if you're used to this technique. However, cutting around the bottom or back helps to protect the pumpkin's stem and reduces the risk of lost moisture or nutrients. Simply carve a circle along the bottom like you would the top of the pumpkin, or carve the back part of the pumpkin along the opposite portion that you want to decorate.
Other ways you can ensure healthier and fresher pumpkin décor
While any amount of cutting will cause pumpkins to start spoiling, these areas will not speed up the process as much as those that are carved along their tops. You can even apply petroleum jelly to the edges of the cuts to help prevent the pumpkin flesh from drying out. Also, since no one wants a rotten pumpkin on their porch for Halloween, consider holding off on carving your pumpkins until about 8 to 10 days before the big day. If the weather forecast is not on your side for outdoor pumpkins, consider saving your carved creations for indoors only. You can then paint your outdoor pumpkins instead, as these will not rot nearly as quickly as those that are cut open. Alternatively, try this simple paint hack for your carved pumpkins to help them last longer.
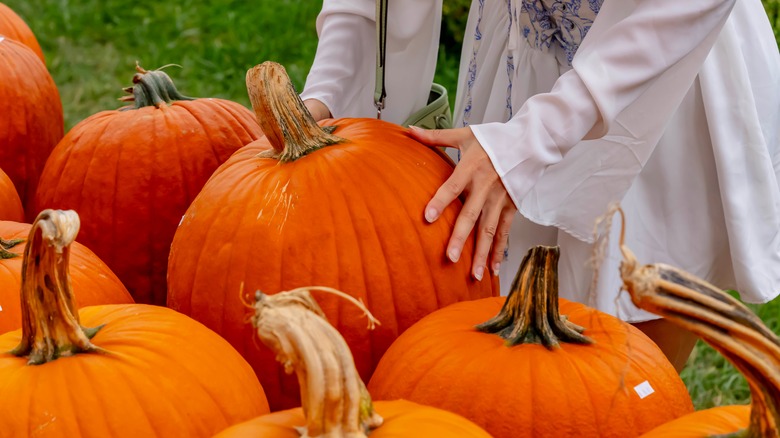
Finally, it's important that your carving pumpkins are as healthy as possible from the get-go. Ensure the stems are green, as this means the pumpkins are still receiving nutrients and are fresh overall. Dry, brown, and crumbly stems can indicate that the pumpkin was harvested a long time ago, and it may not last once you take it home. You'll also want to make sure that the pumpkin's skin is firm along all sides. Once carved, pumpkins may start to change texture within three days.