The Bathroom DIY You'll Always Regret
We may receive a commission on purchases made from links.
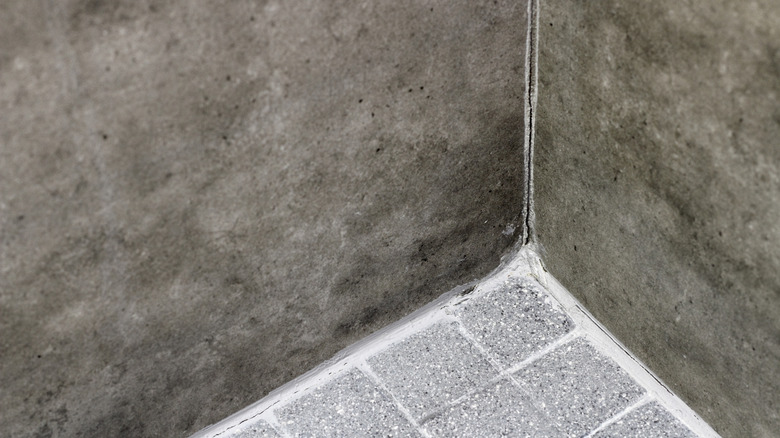
The grout holding your bathroom tiles together can crack over the years for a number of reasons. For instance, grout can crack as your house settles, and moisture degrades it over time. Chipped grout can become a problem because the gaps allow water to seep under the tiles, where mold can start to grow and even cause wood to rot. This is particularly a problem if a pipe leaks and moisture drips through grout cracks, because the water can drip into the room below. Also, missing bits of grout aren't aesthetically pleasing. Still, you shouldn't use caulk to fix this problem.
It makes sense why homeowners choose caulk for their DIY bathroom repairs. It's affordable and easy to use. All you have to do is squirt the paste out of the tube and apply it to the spot where the grout is missing. It will fill in the space and create a waterproof seal, but there is one major problem with using caulk to cover cracked grout. Caulk breaks down over time, especially when repeatedly cleaned with abrasive chemicals. Even if you keep an eye on degrading caulk and make repairs as needed, you'd probably prefer a more permanent solution. Applying new grout is a better fix than caulk.
You don't need to be a master craftsman to apply ready-to-use grout to chipped spots on your bathroom floor. You can find pre-mixed grout as easily as you can find caulk. All you need to do is follow some simple steps to properly grout your own tile.
How to repair grout in your bathroom
It's important to remove the chipped grout before you start to fill in gaps between tiles with new grout. For this job, you'll need some safety gear and a few tools. You should wear gloves, safety goggles, and a face mask. As for tools, Tarlido sells a cordless rotary tool kit with interchangeable heads for $18. You'll also need a utility knife, a grout float, and a sponge. To begin, attach a head to the rotary tool, turn it on, and grind away the chipped grout.
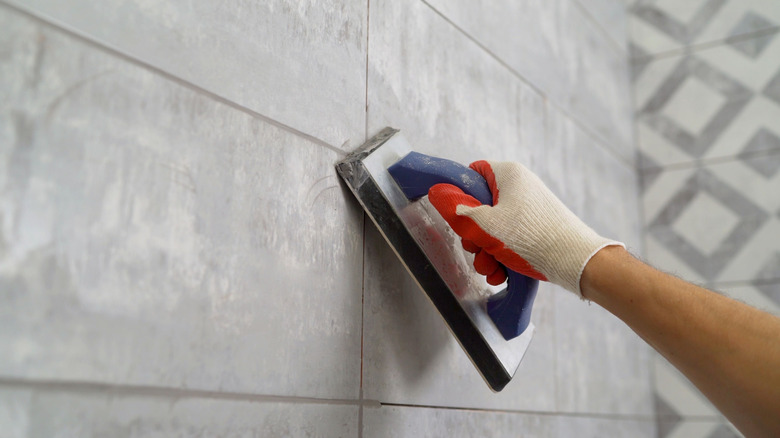
Use a Shop-Vac or regular vacuum to suck up the grout dust, because you don't want any of it building up in the spaces between the tiles. Avoid breathing this dust in. You can also use a utility knife to make sure there aren't any chunks of grout left between the tiles. Use a grout float to spread the grout evenly. Before the grout dries, use a wet sponge to wash the excess off the tiles. The grout container should tell you how long you need to wait for it to dry completely.
Keep in mind that once one piece of grout is missing, it's easier for more grout to break off, so try to make the repairs timely. If you decide to tear up old tile and put new tile down, avoid these tile-grouting mistakes during a DIY installation, like applying the grout before the mortar underneath the tiles has cured. Regular cleanings will help your grout last and look its best, and some tile and grout cleaners are better than others.