Don't Want To Grow Marigolds This Fall? Just DIY Them Instead
Whether you're looking for a companion plant for your plum tree or just want a bright, eye-catching bloom to add to your garden, marigolds (Tagetes spp.) are a popular choice. With fragrant, puffy flowers in a range of colors, these easy-to-grow plants have found their way into gardens around the world. However, while they are generally low-maintenance, they do need time and care to grow. As a result, you may be interested in a way to capture this flower's beautiful, sun-like appearance without adding another chore to your gardening routine — and these DIY paper marigolds can be the perfect place to start.
Making jumbo paper flowers can be an easy and fun activity that you can enjoy regardless of your skill level. Many choose to create these DIY marigolds for Día de Muertos, as the species of marigold native to Mexico (Tagetes erecta) is a traditional part of the holiday. However, you can also switch up the colors or size to create paper flowers perfect for every occasion.
If you want to recreate these stunning faux flowers yourself, you'll need tissue paper (or crepe paper), scissors, and floral wire. Depending on how you choose to customize these DIY matigolds to fit your preferences, if at all, you may need a few extra supplies on hand as well.
How to make DIY paper marigolds
Rather than cuts alone, the size of your paper determines the size of your marigolds. As a result, you want to make sure you're choosing the right paper size for your desired results. For realistic marigolds, you may need to cut a smaller sheet of tissue paper in half or opt for napkins instead. Once you have your preferred size of paper, begin by creating a stack of nine sheets of tissue paper. One stack will create one flower.
The most important part of this project is the folding process. These steps will create those iconic ruffled petals. Holding your paper vertically, start by folding the top inch or so of your papers down and create a crease. Then, flip your stack of tissue paper around, so that the fold you just created is now on the back side. Repeat the first step, folding the top inch of the paper down and creating a crease. You'll continue this process — folding, creasing, and flipping the paper — until you reach the end. Then, with just a few snips to the edges and center of the paper, you're finished with this part of making your own faux flowers.
For the final steps of this paper marigold DIY, cut a piece of your floral wire and wrap it around the center of the still-folded tissue paper. From there, all that's left is to fluff the edges of the tissue paper to replicate those show-stopping blooms and decorate your home with these marigolds.
How to customize these DIY flowers

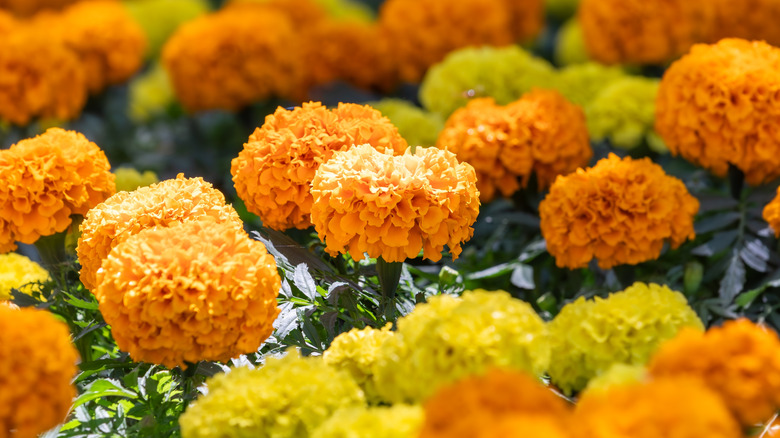
One of the first ways you can get creative when creating these DIY marigolds is by switching up the color. Marigolds come in a range of colors depending on their variety, including orange, red, yellow, and white. As a result, you can get creative with the color of your DIY marigolds by switching up your tissue paper. You can even use a blend of colors to capture that iconic ombre marigold look. For a solid color swap, all you need to do is change the color of the tissue paper you're using for this project. However, if you do want to recreate the color transitioning look, such as with the 'Spanish Brocade' marigold, then the key is to get creative with your layering. Continue using nine sheets of tissue paper or napkins for that same full, rounded appearance that marigolds are known for, but use sheets of different colors. For example, use half red or half orange for a stark, notable ombre, or use paper that slowly transitions from bright red to orange for a blended appearance.
You can also customize the way you display your DIY paper marigolds. With this process, you'll create a paper flower with a flat back that's perfect for mounting on a display, archway, or wall. However, by combining two paper flowers back-to-back, you can create a large, round flower head that you can easily hang. To do so, use extra wire to connect both paper flowers at the center, and then use your preferred cordage for hanging.