13 Budget-Friendly Tips For Laying A Gravel Path Without Breaking The Bank
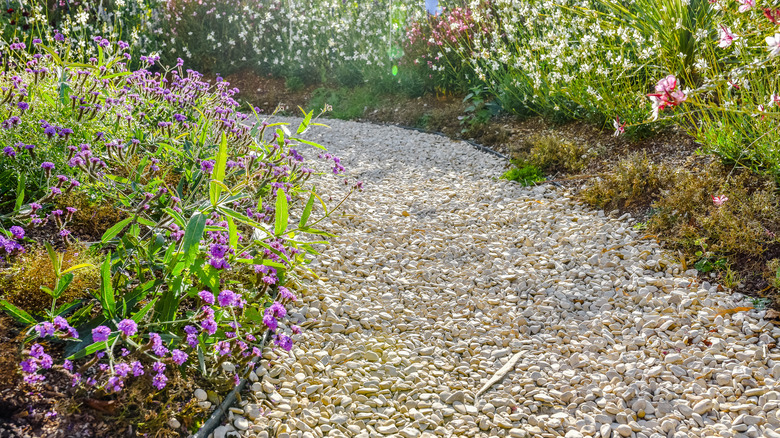
There's something romantic about a winding garden path weaving through your backyard. Walkways are also functional additions, leading you to your garden and other areas. Covering the ground where you walk regularly keeps your grass from looking trampled and keeps bare, muddy patches from forming. Part of designing your new walkway is choosing the ground cover material. Gravel is a popular choice for its affordability, drainage capabilities, and ease of installation for DIYers. There are many ways you can use gravel in your yard beyond walkways, which can create a cohesive look as you expand your landscaping.
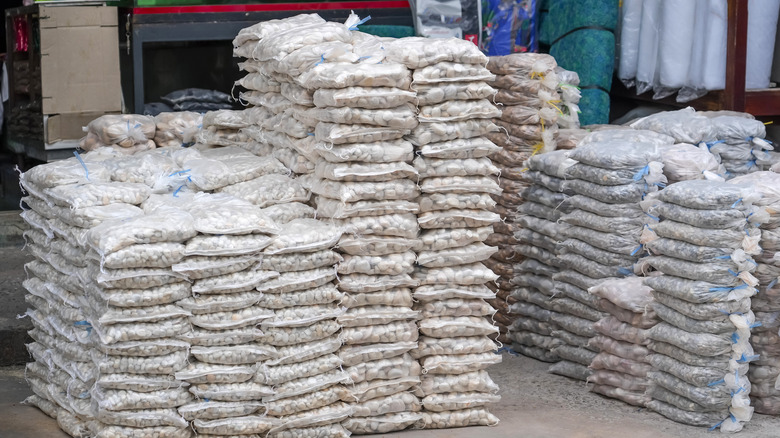
But even as one of the more affordable material options, gravel can still add up over time, especially for large, wide pathways. The pathway material typically costs about $1 to $3 per square foot — you'll spend about $250 for a gravel path measuring 4 feet by 20 feet. Total project costs vary, though, depending on the type of gravel you choose, the size of your graveled area, and any extra detailing or features you incorporate into the design. To lower your pathway construction costs, select an affordable rock type and shop around (or choose secondhand gravel). Planning the size and design of the path to keep it small and simple saves money and helps you calculate materials accurately without overage. If you do the work yourself, you can rent tools and work in phases for additional savings.
Shop around to compare prices for the gravel and other supplies
If you're a DIYer, you likely have a favorite home improvement store where you grab all of your materials. Maybe you have a Home Depot credit card or love to rack up rebates at Menards. But when you're sourcing materials for your walkway, it often pays to shop around to compare prices at different stores. Comparison shopping gives you a better idea of typical pricing and makes it easier to spot good deals on gravel, foundation materials, edging, and tools.
You don't have to drive to several stores (although that option allows you to see the in-store varieties yourself and judge the quality before making a decision). Instead, you can look at the pricing online to get a baseline of different options. Make sure you're comparing like products and factoring in details like delivery costs or return options if you buy too much. Keeping a spreadsheet of the details, including the cost, fees, delivery options, and colors, provides a clear comparison of the options.
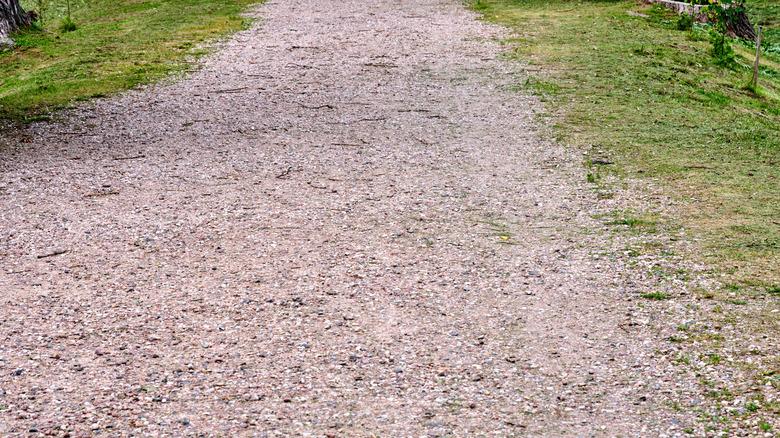
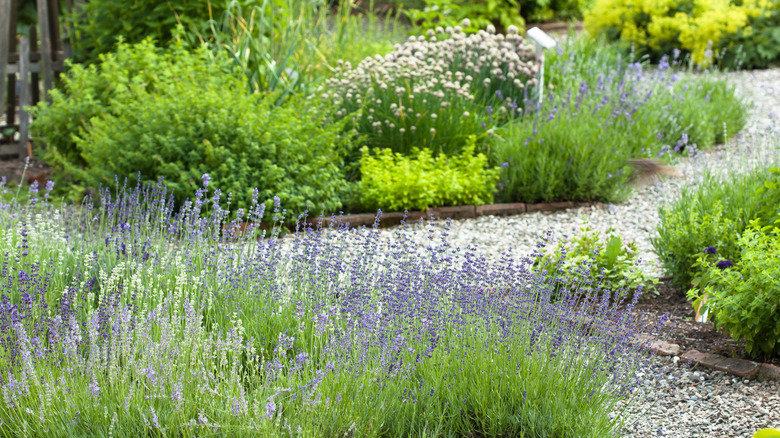
Choose an affordable gravel type
There are many gravel types to consider before landscaping your yard — the one you choose impacts many aspects of the project, including the cost. Crushed rock is typically the cheapest option at $40 to $75 per cubic yard. It's followed closely by pea gravel, which averages $45 to $80 per cubic yard. River rocks are slightly higher at $50 to $160 per cubic yard. You can save money by choosing one of these options, but it's also important to understand your needs and the pros and cons of the different options.
Keep in mind that each of these general categories often includes several options within them. They might come in different colors with varying prices, for instance. Having a general idea of what type of gravel you want helps narrow your search at the home improvement store. When comparing your gravel options, look for materials with pieces that are under a half an inch in diameter — those smaller pieces are more comfortable to walk on and pack down better to keep them from shifting.
Source reclaimed materials for free or a low cost
Building a new pathway often means using new supplies, but that doesn't have to be the case. Gravel can be removed, cleaned, and reinstalled in a new area to eliminate the need to buy new rocks. Edging materials can also be upcycled to save money by buying the used items at a discount or getting them for free. Even if you only get part of the products you need at a discount, it still saves you overall on the budget. Then, you can supplement with more new gravel or other materials.
Check with local gardening clubs, buy-nothing groups, and online marketplaces to look for free or low-cost materials that fit into the project. Ask your friends, family, and neighbors if they have any old gravel or edging material they no longer need. You'll be helping them remove something from their property they no longer want while repurposing it at your house. Habitat for Humanity ReStore is another great place to look for landscaping materials and tools.
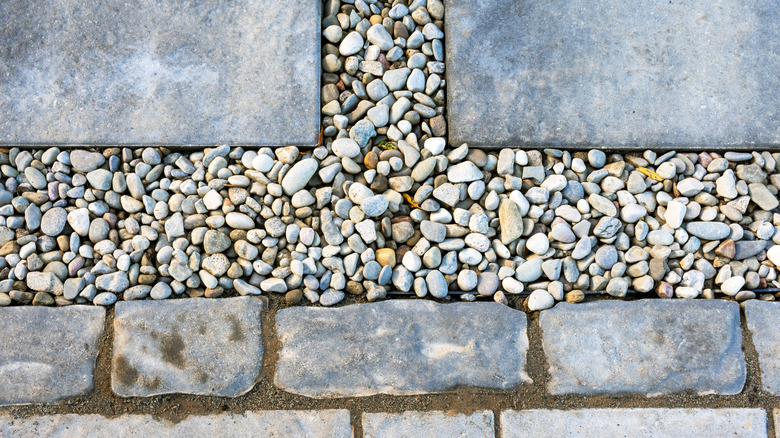
Use multiple materials to build the walkway
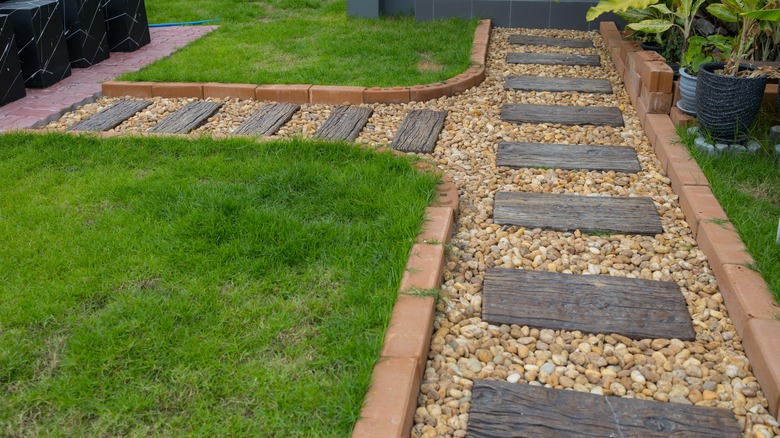
Even if gravel is the primary material for your pathway, it doesn't have to be the only option. By combining two or three low-cost or reclaimed materials, you get a cost-effective walkway with visual interest. You can also balance a higher-cost material, like pavers, with lower-priced gravel to get the best of both options. Combining material can also combat a downside to choosing gravel or pebbles for garden pathways, which is creating an uneven surface. For example, you can use reclaimed cement pavers or wood boards as the stepping stones to make for level, even stepping areas — and surround them with gravel.
To implement this idea, look at the materials you have available to you, such as leftover gravel from a previous project or old pavers your neighbor tore out of their garden. Search online and through your circle of friends to source additional low-cost materials. Or, if you have something high-end in mind, come up with a plan that incorporates gravel to balance the budget. Natural stone walkways or patios can run from about $20 to $50 per square foot installed, depending on the stone type, site complexity, and labor. Gravel is a much more budget-friendly option, often running around $1 to $4 per square foot for material and installation in simpler settings. Costs will increase for deeper base layers, edging, complex layouts, or premium stone.
Do the work to plan, and build the path yourself
Having professionals do the work adds significantly to the overall project cost. Expect to pay between $30 and $50 or more per hour, per person for gravel-laying services. The length and complexity of your path will impact the total cost, and the rates will vary based on where you live. Landscape designers often charge an hourly rate between $50 and $150, with a basic design plan averaging $300 to $600. By handling the design, planning, and construction yourself, you eliminate those labor costs.
However, there are several things you should know before doing the landscaping yourself. It's important to research everything and create a detailed plan. While gravel is a relatively easy option for pathway installation, it is physically demanding. Make sure you have the time, energy, and physical capability to build the walkway yourself. Even if you physically can do the work, make sure you want to before signing yourself up for the task.
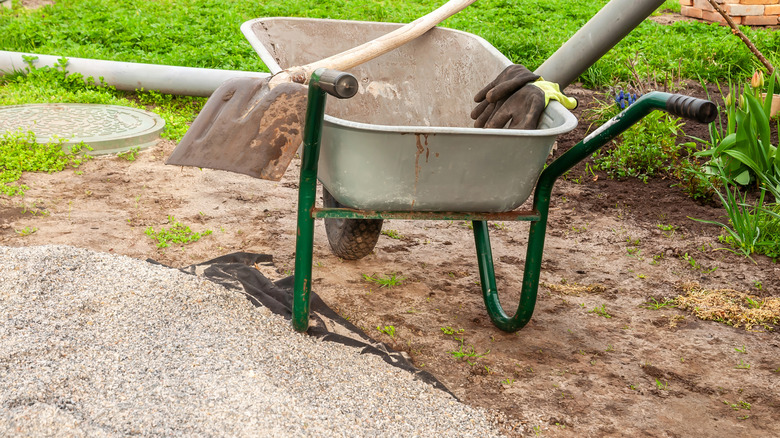
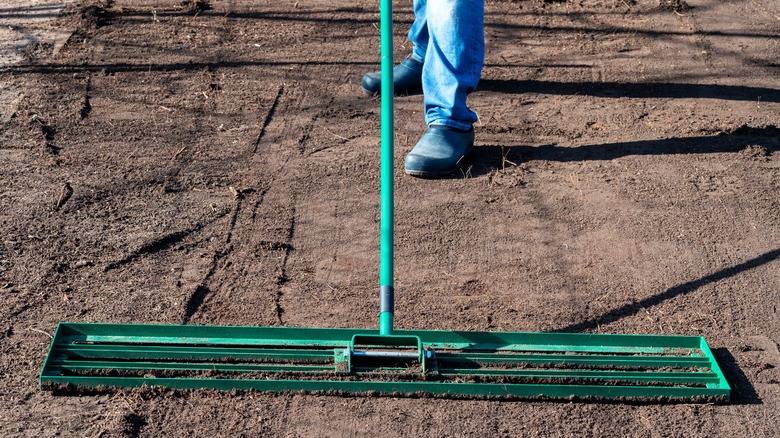
Rent or borrow the tools you need to make your gravel path
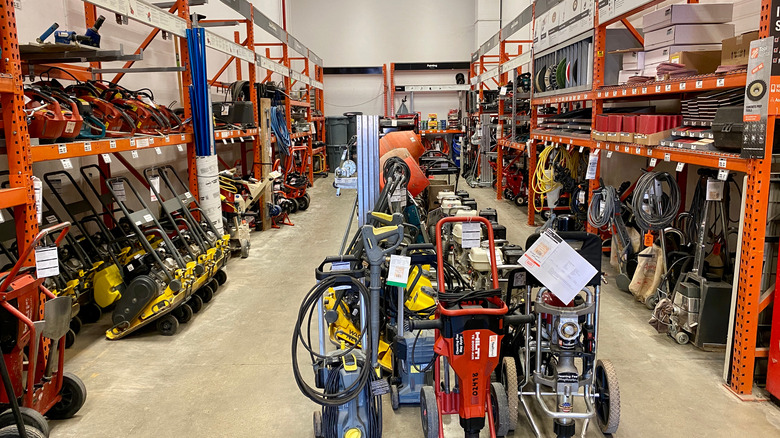
If you're planning to lay a gravel path on your own, you likely have some basic DIY knowledge and tools, including a shovel. The tools required for a gravel path are relatively minimal, but there might be some items you're missing, like a tamper or a wheelbarrow. In many cases, you can stop wasting money and rent tools for your DIY projects, including laying gravel. It can be especially helpful is you don't think you'll use the tools again.
Start by evaluating what you need. The standard tools are a shovel, rake, tamper, and wheelbarrow. Some borders might require additional tools. Wooden timbers may require a circular saw, for example, to cut them to the correct lengths. If you don't have all of the items you need, check with neighbors and friends to see if you can borrow them. Then, see what you have left, and research the price for those tools. Think about whether or not you'll use the item again. Most of the tools are relatively inexpensive for a gravel pathway, unless you want to upgrade to a powered tamper, which covers more ground faster and with less effort than a manual tamper. In that case, renting a powered tamper is likely the most cost-effective option.
Plan and measure the gravel pathway carefully

Planning carefully is an easy way to prevent costly errors when landscaping with gravel. Knowing how much of each material you'll need, as well as any special tools the job requires, gives you a more accurate budget. The planning and measuring process is also essential for determining an accurate amount of materials to purchase. Estimating the information could result in you buying way too much gravel or running short and wasting gas on another trip to the store. Even more, adequate planning can help you make budgeting decisions. You might choose a different gravel type or shorten your original design if your calculations come out high.
Calculating how much gravel you need is done by multiplying the length, width, and depth of your path (then converting to cubic yards). That means you need to take accurate measurements in those areas. You'll also need to perform calculations for your base materials. A general guideline is to order an extra 5 to 10% of the gravel amount as a buffer. Check the return policy of the retailer to ensure you can get your money back for excess gravel.
Determine the walkway width carefully to balance functionality and material costs
Because the length, width, and depth of the graveled area all impact the volume of rocks you need, keeping those dimensions as small as possible (without sacrificing functionality) helps save money. Even if the length is set in stone and the depth is necessary for support, you may be able to narrow the path. Not only does it save space in the yard, but it also reduces the amount of gravel and base material you need.
Consider how you'll use the path to choose an ideal width. The bare minimum for a walkway is 18 inches, but you'll typically want it to be at least 24 to 30 inches wide for comfortable use. The standard width of a walkway is between 3 and 4 feet. Making it 4 feet wide is common if you want the path to accommodate two people side by side. Mark out the different widths to test them, and look at how much clearance is left around the path at each width.
Keep your gravel walkway simple
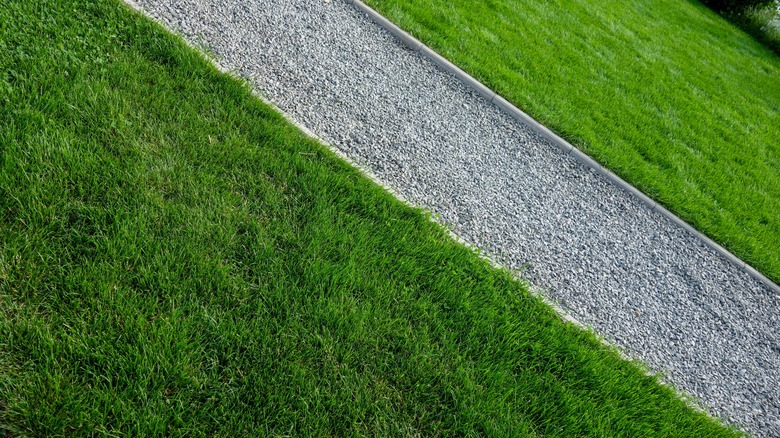
If your dream garden path is packed with high-end decorative rock, curved patterns, and stone edging, you may need to simplify it a bit. Just like you keep your commute as straight and short as possible, keeping your garden path straight also saves time and money. You'll use fewer materials to cover the area on a straight path than you would with a curving, meandering path. A straight shot also saves you time on the planning and digging phases. While curved paths tend to be more attractive, straight paths add a formal look, especially in a large garden, and can be used to highlight key focal points.
Consider your purpose for the path when planning the design. If your focus is more function than aesthetics, a straight path will save you money. Add a few subtle curves into the design or a mostly straight, simple pathway can soften the look without increase the cost of materials too much.
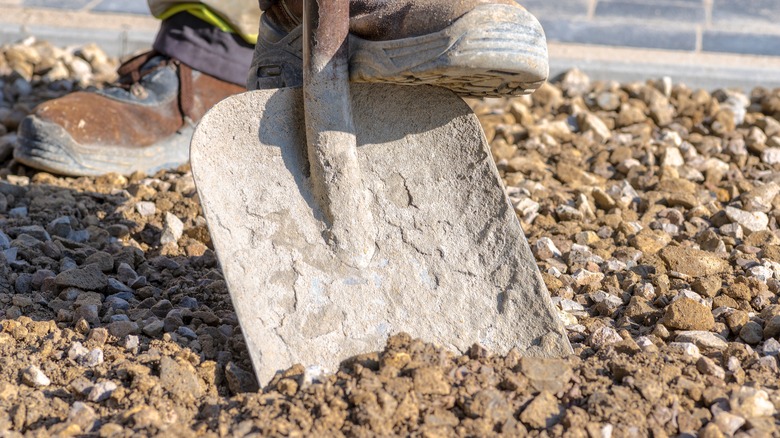
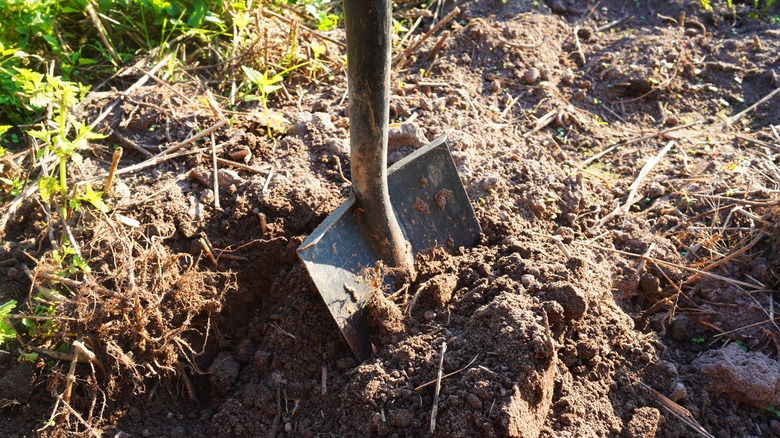
Level the ground before installing a path
Leveling your backyard is one of the first steps to creating a walkway, after clearing the ground. Making the ground level before installing the gravel helps keep the rocks in place and prevents uneven settling and deep holes you have to fill with extra gravel. It's also helpful to compact the base material well to create a stable, supportive foundation that keeps the gravel from shifting or settling. Not only will you have a sturdier walkway, but you'll also save money by eliminating the need to fill settled areas with more gravel.
Once you've removed the dirt and grass from the area using a shovel, grab a rake to even out the soil. Fill in any holes with soil rather than using gravel as a filler. Check the surface with a level to make sure it's properly prepared. When you lay your sand or crushed stone as the base level, add thin layers, compacting each layer to maximize effectiveness. Check for a level surface again before laying the gravel, using a carpenter's level on a long, straight piece of board.
Use less gravel by not digging too deep
If you're doing the work yourself, the cost of the project is going into the materials, not the labor. Being frugal with the materials helps you cut costs, and one way to do that is by digging only as deep as necessary to create a functional walkway. Pouring a deeper layer of gravel requires more materials, which increases your costs. Using cost-effective foundation fillers with a smaller layer of gravel on top can help. That's especially true if you're using decorative gravel, which is usually more expensive than sand or crushed stone.
Walkways typically require you to dig about 5 to 6 inches deep to accommodate the foundation and the gravel. The base material should be about 3 to 4 inches thick when it's fully laid and compacted. That leaves about 1½ to 2 inches for your gravel. This is thick enough for regular foot traffic, but gravel areas where vehicles will drive typically needs a thicker layer to handle the weight.
Use a sturdy edging material to keep the gravel from shifting
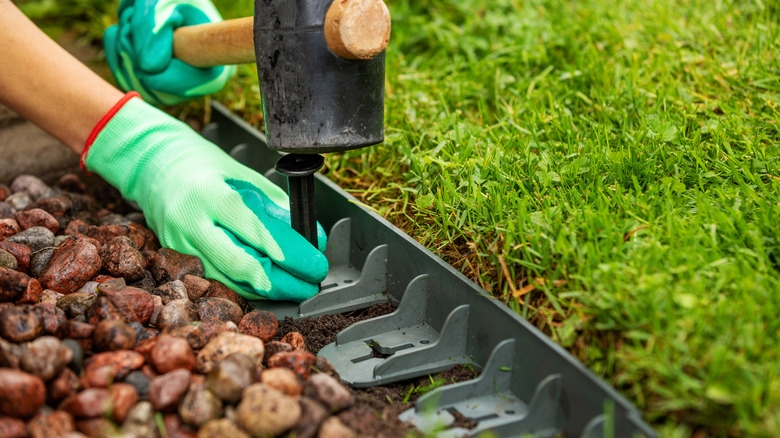
Adding edging to a gravel path adds a little extra to your project costs. However, it helps keep the loose gravel on the pathway, so it doesn't wash way into the yard or surrounding areas. That helps you save money in the future by eliminating the need to add more gravel, and it makes the pathway lower maintenance since you're not dealing with scattered rocks. Gravel that migrates into your lawn could damage the grass, which increases your maintenance time and cost.
Plastic and metal borders are typically affordable, simple, and effective for graveled areas. Rubber offers a more flexible option to line curving walkways. If you want to invest a little more, you can use stone or wood for a more aesthetic edge. Using reclaimed wood, bricks, and other secondhand or recycled materials saves you money on your edging and can add character. Leave at least ½ inch between the top of the gravel and the top of the edging to keep the rocks contained.
Start with a basic path and expand over time
You may have grand dreams of long, meandering gravel paths winding through your yard, lined with billowing plumes of decorative grasses and wildflowers, and rustic benches perched strategically along the way. However, the budget for all of that work isn't always realistic. One solution is to work in phases. This allows you to spread out the costs over time instead of spending a large chunk of money at once. You can also use this slower approach to source reclaimed materials or propagate plants to fill the spaces along the borders.
Start by creating your overall plan for the walkway. This includes your complete vision as you would build it if money wasn't a factor. From there, you can break down the project in phases. You might start with a small pathway that serves a key function right now. As you save more money, you can expand that pathway to more areas or the yard, or make it more upscale by adding a fancy border.