5 Smart Tips For Levelling Your Backyard
A beautiful landscape, colorful flowers, and well-pruned trees make the perfect exterior décor for your home. As you work on your flowers and trees, trimming them to avoid overgrowth, you also need to pay attention to the yard ground and soil by leveling and grading at periodic intervals.
According to Home & Gardens Country, the cost of perfectly landscaping your yard ranges between $2,500 to $10,000 and could be more depending on various factors. Sometimes, the high cost of hiring a professional could discourage you from properly leveling your yard, thereby increasing the risks of accidents (via Safeopedia) and mosquito breeding in yard holes. We know you've got bills to pay; that's why we're bringing DIY methods for filling up the annoying holes in your yard.
In our article today, we're discussing the effective tips to help you fill up your yard quickly. With our creative skills, we have compiled five tips for you, giving you more than enough to get rid of that problem in your garden.
1. Level with enough water
Let's start with a good, old traditional method that's quite affordable and easy. The water level technique was popular in ancient Egypt and Rome for building pyramids and aqueducts (via Buyers Ask). It's a less sophisticated scientific process that you'll enjoy using to level up your yard. For this, you'll need clear tubing, wooden stakes, food coloring, a water container, and some nails, explains Wolfram Demonstrations Project.
To begin the process, you need to fasten the cut clear tubes to the wooden stakes using a nail or flexible ties and keep the part open facing upward. At this stage, fill each tube with water to fill about 2 to 3 inches deep. If your measurement skills aren't so good, it's better to add some coloring to the water as this makes you get a precise level (per Today's Homeowner).
Insert the stakes in two different affected ends of your yard, then tie each stake using tape. While doing this, keep the water in the tube secured by placing your thumb over the top to avoid spilling. Once you're done with the fastening, leave each end alone to see the level of depression in the measured area. Mark the spots with a visible pen and fill the yard with compost soil before planting (if preferred).
2. Use a laser to fill up the holes

If you've got some of your dollars to invest in a laser, then try it out of your yard. It's faster and a more effective option for a tech lover. As you're preparing to get the tool, it's quite important to get the best out there, says Crafted Garage. Lest we forget, laser levels can be for outdoor or indoor use, so ensure you get the landscape (outdoor) laser.
Now, let's get to the few steps to using a laser on your ground. You'd have to switch it on and place it on a flat surface or tripod stand, as explained by the experts at Electronic Hub. If you're using a self-leveling laser, leave it to adjust properly for some minutes before measuring the height of the area to be filled. On the other hand, if you're working with a manual laser, you need to self-adjust the screws till the bubble is leveled before marking out the ground measurement. Also, when using a laser detector to locate the ground level, a short beep will pop up at a height near level, so pay enough attention to hear it (via Tool Stop).
Repeat this process repeatedly until you find the accurate spots for the ground level. Then, you can use a pile of dirt or debris to fill in the areas till you're satisfied and achieve an equal surface area.
3. Try the spot leveling technique
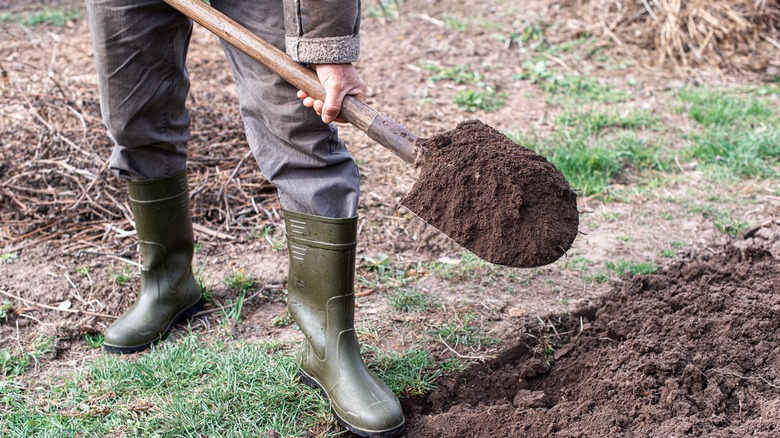
Digging out tree stumps and pulling out grasses and animal foot stamps can create some depressions in your yard. Even when grasses have covered the area, you're still prone to lawn-mowing difficulty and other tripping hazards, says House Method. The best way to take care of this is by spot leveling. You'd need a shovel or sharp spade for this process.
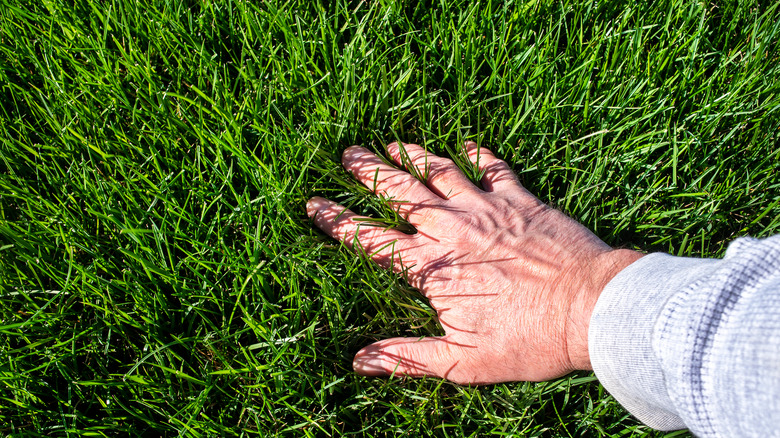
If there's grass growing already, you'll have to slightly pull out the grass from the surface area by lifting the turf. Lightly moisten the area if the ground is hard for easy lifting, according to Eden. Set the pulled grass aside and get some topsoil to fill in the hole to an equal height with others using your shovel. After this, replace the grass and sprinkle some water for quick re-growth.
When there's no grass growing over the depressed spot, simply apply the topsoil to refill the holes properly. After this, a good way to prevent washing away of the soil is by planting some seeds there. Ensure the soil is conducive enough for plant growth and apply fertilizer if need be. This will not only fill the holes, but it'll also birth a beautiful addition to the yard.
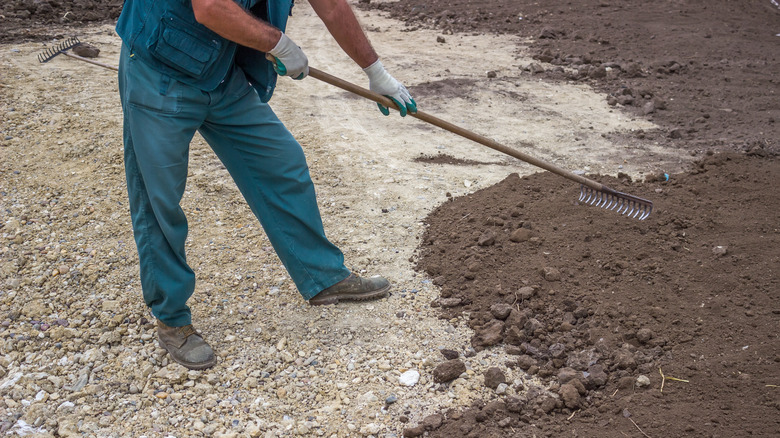
4. Screed the depressions
A good alternative to the tip above is by screeding the holes. Guess what? It's super affordable, and you'll only need home tools to complete the task. To get started, you'll need a shovel, hand rake/screeding tools, topsoil, sand, and buckets (via Metex). According to Green Pal, it's better to work with a mixture of sand and topsoil to retain the nutrients in the soil more. Simply measure out an equal proportion of both sand and topsoil to get the perfect lawn mix, says The Davey Tree Expert Company.
The first step to screeding your lawn is filling up the necessary areas with the sand mix. We'd recommend you work with less mix initially to avoid an excess applied to the lawn. This will make your yard messy when wet. With your screeding tool, level the soil well and reapply to areas where necessary. If your yard is quite large, a faster way to apply the soil is by creating a screed rig on the mower or 4-wheeler.
Leave the soil to settle in its new environment for a while. For more effective results, sprinkle some water on the surface; however, be wary of excess addition. Lastly, apply some compost soil to the lawn for quick growth of the grasses. In no time, you'll have your smooth lawn glowing in its beauty.
5. Use the string line method for leveling
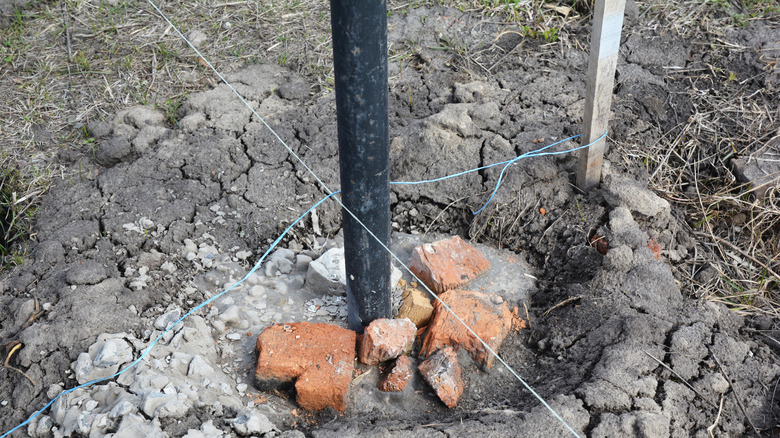
Our last solution for leveling your uneven yard is using the string line (via About Mechanics). This is another ancient method that has proven effective and a better option for you, especially when your yard is quite wide. Although they are very affordable, you need to prepare ahead to achieve the wanted results, says Johnson Level & Tool. For this process, you'll need a tape measure, string line, a line level, and two wooden stakes. Now let's get to work.
Start by inserting the wooden stakes at different ends of the yard. Then, fit the line to these stakes, ensuring it's well secured. Now, attach your string level to fitted strings to determine the area that needs filling up in your yard. You can as well grab your tape measure for an extra confirmation of the bumpy areas in the yard. Mark these spots and get to filling up.
It's often advisable to pull out the grasses in the marked area for the best results. You can apply the topsoil/sand mix we mentioned in the tip above to fill up the holes before leveling with a rake or the bottom of your foot. Leave for about 48 hours to get that perfect level in your yard before replanting your grasses or flowers. Slightly water continuously for about two days to get your plants moisturized enough, per Evergreen Garden Care experts. That's it, less money, great result.