How To Prepare & Care For A Plum Pit So You Can Grow Your Own Tree
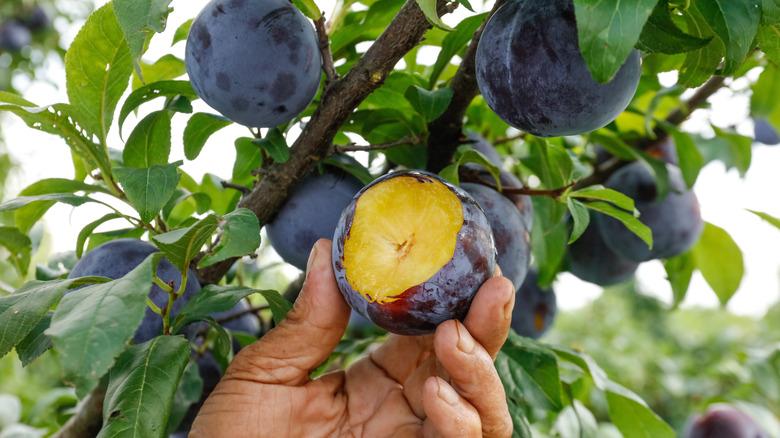
Have you ever taken a bite from a delicious plum and immediately thought about growing your own tree from the pit? Even though the plums you bring home from a grocery store (Prunus domestica, European plum) are vegetatively propagated, growing a tree from seed is a fun project that you can get right — provided you pick the right variety to grow and care for it well.
Apart from selecting the right pits, preparing and caring for your plum pit involves drying them up, taking out the seeds, stratifying them, and letting them sprout in the right conditions until they are ready for planting in soil.
The first step for growing your own trees from pits is choosing the right pit for the process. You can't just pick any plum you sink your teeth into and hope to grow the most delicious plum variety in your yard from its seeds. This is because the fruit on most plum trees (and a lot of other fruit trees) grows from cross-pollination, which basically means that every fruit has genetic material from a variety of trees. Unless you're growing a wild variety, it is impossible to predict the quality of the fruit that will grow on your tree. In fact, the seeds may turn out to be sterile, or the tree might not even bear fruit. This is why gardeners often grow at least two specimens as a surefire way to make sure the plum tree produces fruit. This is also the reason why plums are commercially propagated as grafts to produce the same quality of fruit as their parent.
Preparing and stratifying plum pits the right way
Begin by choosing a wild variety for your endeavor, like the American plum (Prunus americana) or the Canadian plum (Prunus nigra). Both varieties are hardy in USDA Hardiness Zones 3 to 8. It is better to have a bunch of these pits for germinating to increase the odds of success. Remove any flesh from the pits and wash them thoroughly. Place the pits at a windowsill to dry for several days. Then, use a nutcracker to open them. Remove the seeds. Once you have about 15 such seeds, you'll want to test their viability by putting them in water. If you've got any seeds that float, discard them.
Next, you have to stratify your plum pits. Stratifying is important for emulating what plum seeds undergo in nature, when they experience a period of cold before germinating. This cold period suggests to the seeds that the danger of frost has passed, and the newly grown plant will be safe.
For stratification, take a damp paper towel and place the seeds inside it. Put the towel in a plastic bag, removing any air from the bag in the process. Once you've done that, place the bag in the refrigerator at a temperature of around 40 degrees Fahrenheit. Make sure you keep inspecting the seeds every now and then. Mist the paper towel to keep it damp, and check for mold. If you notice any, gently take the seeds out and replace the paper towel. The seeds will take anywhere between two weeks and three months to germinate. You will gradually see tiny roots coming out of the seeds, which will eventually turn green. Once the seeds have sprouted, you can consider planting them in soil.
Planting your plum pits to grow trees
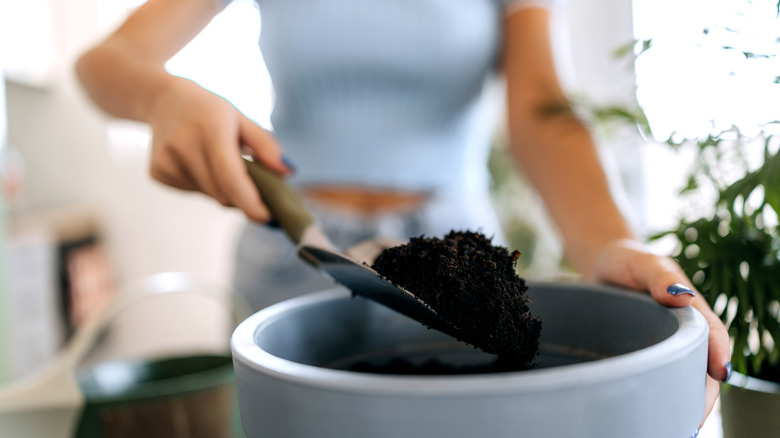
For the final part of the process, fill up a small container with about 5 to 6 inches of potting soil, and plant the seed a couple of inches deep. Cover the seed with soil and water it lightly. Subsequently, you need to water the soil only when the top inch or two feels dry to the touch. Make sure the seeds get at least six hours of sun every day. You can keep the container outdoors as well, but keep in mind that the temperature stays consistently above 40 degrees Fahrenheit.
You can consider taking your plum outdoors for transplanting either when its roots start coming out of the drainage holes or the plant itself grows up to about 6 inches in height. Plant only in winter or summer. Make sure you harden off the seedling before you plant it outdoors, which involves acclimating the plant to its new home slowly. Take your young plum tree and set it near the spot you'll plant it for an hour or two before bringing it back to its original home. Do this every day for a week, adding an hour each day, and your plant will be fine. Dig up a hole in the yard that is just as deep as the container.
Gently take the seedling out of the container, spread out the roots lightly, plant the seedling in the hole, and cover with soil. Water the plant well after transplanting. You will have to wait a period of three to six years to see your beloved plum tree bear fruit. You can also begin pruning your tree once it ages, but make sure you avoid pruning in the winter to prevent diseases like silver leaf from infecting the wounds.