13 Simple Solutions For Tackling Weed Control In The Fall
We may receive a commission on purchases made from links.
Fall is the easiest season to get ahead of next year's weeds. This is when you stop new seeds from hitting the soil and cover bare areas, so winter germinators never see daylight. You can lay down living or dead mulches that keep spring seedlings from breaking through and overseed thin lawns. Work with the season, not against it, and work smarter, not harder. Cooler temperatures, regular rains, cleared beds, and slower growth give you time to make thorough changes that help control weeds through the following year.
As a master gardener, fall is one of my favorite and busiest times. Between harvesting, weeding, and planning for next year's growth, my gardens keep me busy. But I know if I don't pay attention to weed control now, I'll be in for a lot more work over the next growing season.
Deadhead and bag seedheads to stop the seed rain
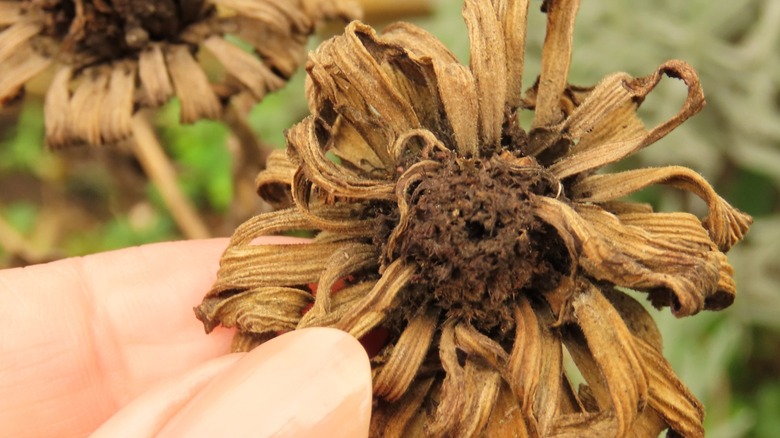
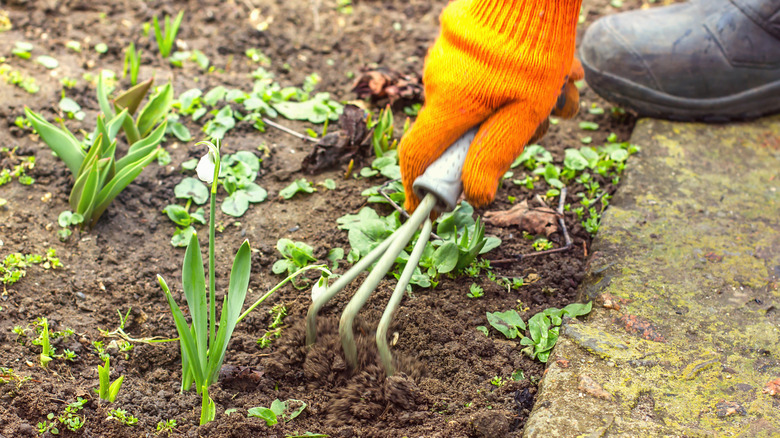
Every seed you remove in autumn is a weed you don't fight next year. Many annuals and winter annuals keep maturing seed right into the first cold snaps, then dump that "seed rain" across beds and paths. Docks, for example, have that big old taproot, so they stay alive and healthy well into fall — then that long spire quickly turns into dry brown seeds that rain down on the soil at the slightest touch. And digging out a well-established dock leaf is no easy feat.
Make a weekly pass through late fall with pruners and a bucket. Cut seedheads before they shatter, and pull entire plants if they're mostly spent. If you're working in a weedy patch, tie a paper bag over ripening heads before cutting, so you catch stray seed. Focus on heavy seeders and anything you've seen colonize fast, like bittercress, chickweed, henbit, crabgrass, foxtail, and lambsquarters. Keep a small rake or gloved hand ready to collect what falls as you cut, and toss everything into the trash, rather than the compost, unless you're certain the pile runs hot enough to kill seeds. I personally don't risk it.
Don't ignore perennials that set seed late. Nettles, plantain, and thistles, for example, spread by both roots and seed. Popping flower stalks before fluff forms keeps them from releasing seeds all over your beds. Pair deadheading with deep removal of crowns when the soil is moist, and you'll shrink both the seedbank and the rootbank over one season.
Mulch bare beds now to block light to winter seedlings
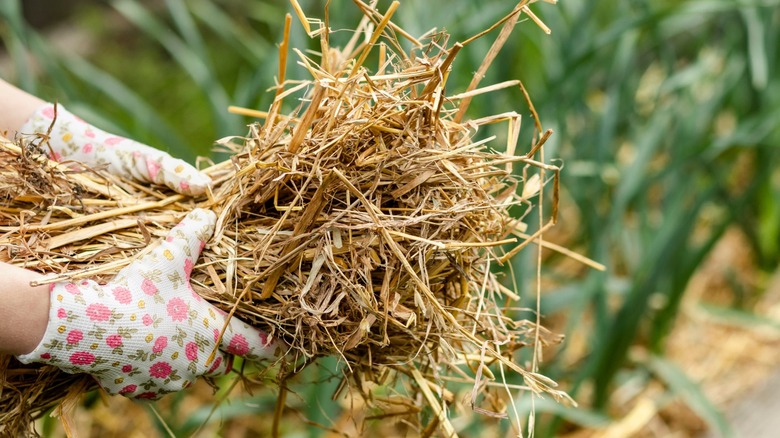
Light drives germination — if the soil surface is exposed, cool-season weeds will sprout. Weed first, then spread a 2 to 4-inch blanket of organic mulch over bare beds. There are plenty of mulch options for your garden. I like shredded bark, chopped leaves, pine needles, or a thick layer of straw, depending on where I'm mulching. I don't put wood chips in beds I work frequently (like my vegetable beds), but in established perennial beds, it works well and I don't need to replace it every year.
Do remember to keep mulch a couple of inches off perennial crowns and shrub trunks so you don't trap moisture against tissue or smother your plants. If it settles and you find it's too thin by mid-winter, top it up so the soil surface stays protected. Mulch has many benefits in fall: It blocks light from reaching seeds, softens rain impact to reduce nutrient leech and soil erosion, and buffers freeze–thaw cycles that lift shallow rooted plants out of the soil. It also raises and stabilizes soil temperatures and prevents surface crusting. Plus, it retains moisture, and natural mulches break down slowly over time to improve soil structure. Use shredded leaves or leaf mold where you have them, as they break down nicely and feed the soil. Avoid hay and raw manures — both can carry live seeds, and hay in particular often imports a huge weed mix.
Edge beds before mulching so chips don't bleed into turf, and lay a thin "pre-mulch" of compost where nutrients are low, then cap with your weed-blocking layer. In spring, rake mulch back to sow and transplant, then slide it back into the lanes between crops. The mulch you set now becomes next year's path and aisle cover, so place it neatly and at a consistent depth.
Wood-chip or gravel your paths for permanent, weed-tough aisles
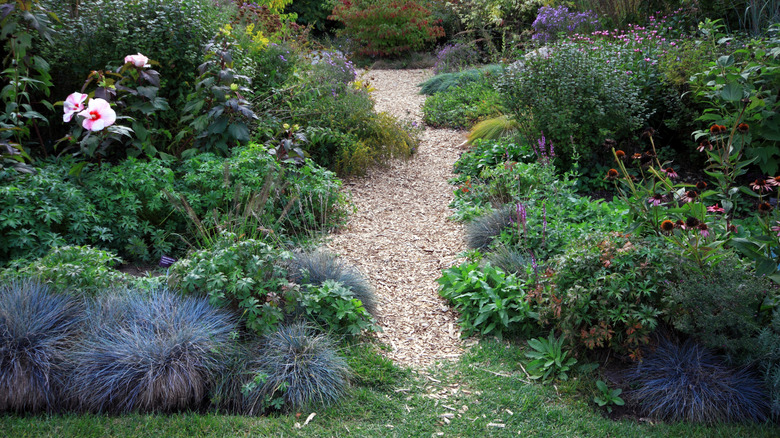
Weeds love edges and traffic lines. Every step flips a little soil and every wheelbarrow pass drops a few seeds. Turning paths into permanent, deep surfaces deprives weeds of light and makes any stragglers easy to yank. I never recommend inorganic or permanent mulches for beds, but pathways are a different matter. I won't use weed suppressant fabric, as it's essentially plastic that quickly breaks down into micro-particles, but a few thick layers of cardboard, good edging, and a deep fill of gravel or wood chips are smart options for weed-free pathways.
For wood chips, scrape paths level, lay cardboard only if you need short-term extra suppression, and pour 4 to 6 inches of coarse chips. Use arborist chips, not dyed mulch. The mixed particle sizes or rough untouched arborist chips knit together and last longer. Some wood chips, like walnut and willow (to a lesser degree) are mildly toxic to other plants, too, so using them in pathways also helps to weaken any weeds that do try to grow. Do note that wood chips will break down over time, so you'll have to top it up every few years.
If you prefer a more permanent option, gravel is your friend. A compacted sublayer with a few inches of angular gravel (not round pea gravel) locks together and sheds seed. Define edges with pavers or simple boards, so the gravel doesn't migrate into your lawn or beds. You don't have to spend a fortune, either. There are budget-friendly ways to lay gravel pathways.
Mow-mulch fallen leaves into turf to feed grass and starve weeds
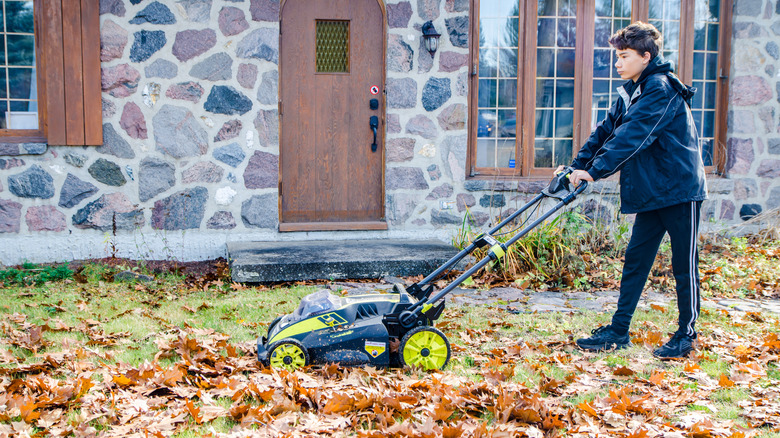
Nature is amazingly smart and produces lots of her own mulch every fall in the form of fallen leaves. But in our gardens, nature needs a little help. So, once the leaves start to fall, get your mower out and mulch-mow them into confetti. Then, rake the lovely leafy confetti lightly over your lawn. Letting them sift down into the canopy feeds soil life and thickens the grass, which in turn shades out weeds. Make multiple passes with your mower when leaves are dry, aiming for pieces small enough to vanish into the blades of grass. If you still see a heavy layer, make another quick pass at a different angle.
Mulch-mowing is especially helpful against winter annuals that sprout in late fall and early spring. A denser lawn means less soil exposure and fewer germination sites. It also saves you the labor of raking and the cost of removal, and returns nutrients to the system right where they're useful. Keep the mower deck high enough that you're not scalping the lawn as you go. If a spot builds up too much, rake that small area into garden beds as a free mulch. Pair leaf confetti with fall overseeding where turf is thin, and you'll enter winter with a thicker, more competitive lawn that holds the line against spring weeds.
Sow fall cover crops for living mulch that shades out weeds
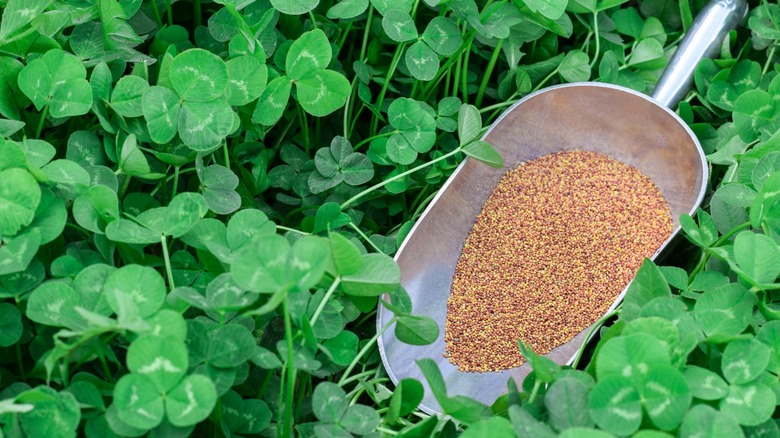
A living cover occupies space, grabs light, and steals nutrients that winter weeds would otherwise use. After harvest, seed quick, cool-season species while the soil is still warm. You've got quite a few options for cover crops. Cereal rye is great for hardiness in colder zones, and oats are good in more temperate zones or for a winter-killed mat. Choose vetch or clover (where it's not considered invasive) for added nitrogen in milder regions. I like to mix in legumes, too — especially peas. They are nitrogen fixers and help to boost nitrogen content for the spring. A late fall sowing creates a fast canopy that keeps the soil surface dark and protected through winter and early spring.
Rake the surface smooth, broadcast seed at the recommended rate, scratch it in about ½ inch, and tamp for good contact. I also like to cover with a thin layer of compost or potting mix just to help things get started. Water once if conditions are dry and decide now how you'll end the cover. Mow and crimp rye several weeks before planting, or let oats winter-kill and plant straight into the residue.
Plant ground covers in beds and borders for permanent green weed control
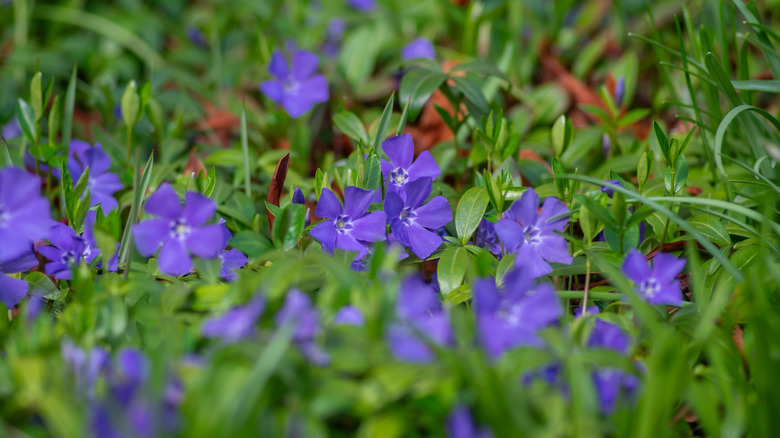
Where mulch blows or drifts, a well-chosen ground cover locks the surface with living foliage. Dense, site-matched ground covers create a low, shaded canopy that suppresses weed germination between shrubs, under trees, and along edges. They also reduce erosion and keep soil cooler and moister through summer, which favors your ornamentals over opportunistic weeds.
Yank out existing weeds, loosen the top few inches, and amend thin soil with nutrient-rich compost. Then, you're ready to install your ground covers. Don't overcrowd them, because they'll quickly grow on their own and knit into lovely, thick green mats. Once planted, mulch between them to cover bare patches while their roots establish and they start to spread. Water consistently through fall so they root before frosts, and once they've grown and knitted, maintenance is mostly edge control and a spring clean.
Choose sun-tolerant species for hot borders and shade lovers for the north side, and avoid aggressive spreaders that might leap into beds. In tough shade, even coarse, textural choices like mondo grass or liriope lay down a living mat that leaves little room for weedy invaders. I personally love creeping myrtle — it's beautiful, tolerant of a wide range of conditions, and smells lovely. Creeping thyme is another personal favorite, because it requires minimal maintenance, has an abundance of tiny bright flowers, and it's also incredibly resilient to foot traffic. You can buy creeping thyme seeds (like the PLANTMEW Creeping Thyme Seeds) or live plants. The same goes for other species — seeds are less costly, but live plants establish and spread faster. There are many other options, too, many of which will grow where grass won't.
Sheet-mulch or tarp new or weedy beds
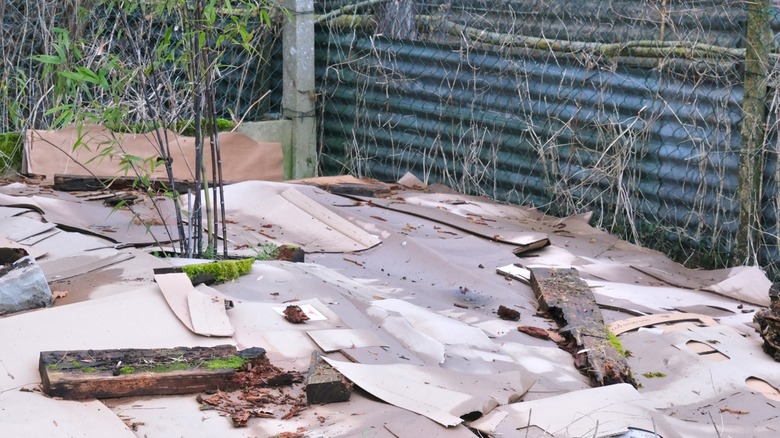
If a bed is more weed than soil, block the light and let time work. Sheet-mulching uses overlapping cardboard (uncoated so you're not adding plastic) on the soil surface capped with compost and coarse mulch. The cardboard suppresses existing plants and seeds while soil organisms chew it down over winter. Overlap seams by several inches, wet thoroughly so it conforms to the ground, add 2 to 3 inches of compost, then 3 to 4 inches of mulch. Come spring, you can plant through the softened layer with a trowel.
Tarps do the same job without adding material. After cutting down tall growth, pull an opaque silage tarp tight over the area and anchor all edges with sandbags or timbers. Keeping light out for 3 to 8 weeks (longer in cool regions) exhausts seedlings and many rhizomes, warms the surface, and leaves a friable top layer ready for early spring prep. Once the tarp has done its work, pull it back, remove any rhizomes and roots that have grown on the soil surface, and either plant right away if you left it until spring, or top dress it with compost and mulch. Both methods protect soil, avoid deep disturbance, and hand you a clean slate with minimal effort. Use sheet mulch where you want a new bed right away, and use tarps where you just want to reset a patch or prep a new bed for next year.
Prep a stale seedbed, then scuffle or flame the sprout
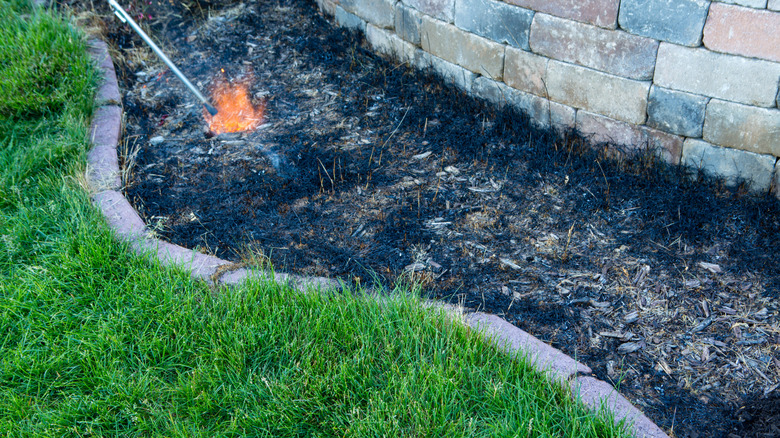
A stale seedbed turns weed timing against itself. Rake a cleared bed level, moisten lightly, and wait a week or two for the first flush of tiny "thread-stage" weeds to appear. Then wipe them out shallowly before you plant. I use a weed burner, which works super-well, to burn away the delicate seedlings. The Ausail Propane Torch Weed Burner is a great choice. You can also use a hoe or a wire weeder, but try not to disturb the soil too much, as you don't want to wake any more weed seeds just below the surface.
This technique lets you easily reduce weed pressure by killing off those quick-growing weed seeds in the primary germination zone, without disturbing the soil or harming your plants. If a second flush appears before you need the bed, repeat the process. If it's early enough, you could even encourage a second flush by raking the top inch and waking the non-dormant seedbed.
Hoe or pull tiny white-thread weeds regularly
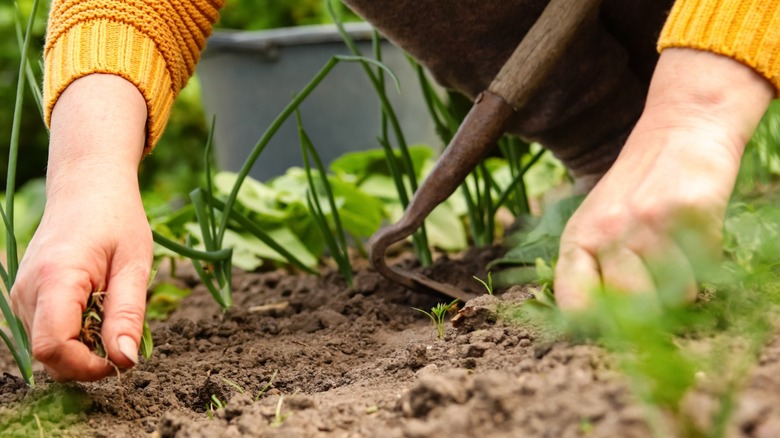
Weed control is easiest at the filament stage. When seedlings are tiny white threads with no true leaves, a single light pass with a hoe, wire weeder (like the Comimark Garden Bandit Hand Loop Weeder Tool), or trusty weed flamer erases thousands in minutes. They're also easy to pull with your fingers. And, while it's more time-consuming, I find pulling a patch by hand oddly therapeutic and satisfying.
Work when the soil surface is dry, so severed seedlings desiccate quickly and you're not pulling up moist clods that expose new seeds. If you're using a hoe or wire weeder, keep your passes shallow to avoid bringing buried seed to the surface. Keep this up little and often, even if it's just 10 minutes at a time, and you'll dramatically decrease overall weed pressure.
Hand-dig tough perennials after rain to get the crown and roots

Some weeds won't fall to shallow passes. Deep taproots like dandelion and dock, woody crowns like plantain, and creeping rhizomes like thistles and nettles need a firm lift. Work after a soaking rain or irrigation when the soil releases cleanly, but remember to avoid treading on sodden, sticky soil. Use a narrow fork or a dandelion tool (such as the Workpro Danelion Weeder Puller) to loosen below the crown, then lever the plant up in one smooth piece. Follow any snapped roots and tease out fragments before they re-sprout.
Shake soil back into place and firm the hole to close air pockets. If you can't remove everything, starve the remainder by clipping fresh regrowth at ground level weekly until reserves are spent. Avoid rototilling these patches, as chopping up rhizomes makes more plants, not fewer. And, for big, established plants, you'll need more than a little dandelion tool. Get out your spade or fork and dig deeply around the taps and anchors to lift the plant. For these large ones, it's nearly impossible to get them out cleanly, so you'll need to keep on top of lifting whatever grows back. I'm still digging out docks from a new growing space I acquired a few years back. They really are relentless.
Overseed thin lawns in fall to crowd out spring weeds
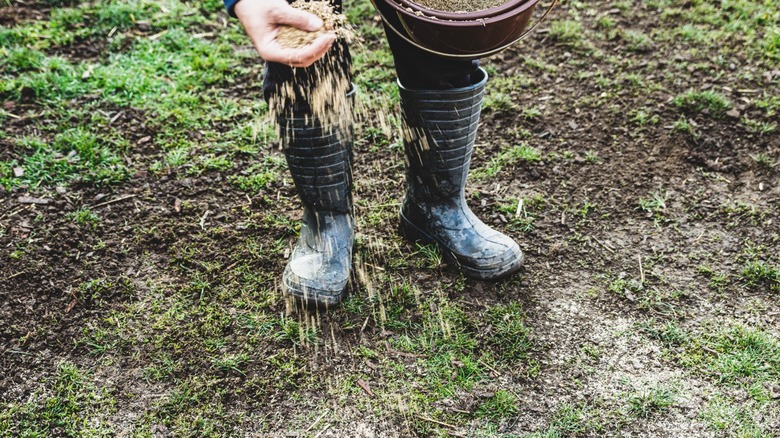
Thick turf is the simplest ways to banish weeds from your lawn. Early fall is prime time for cool-season grasses to germinate, root, and fill gaps before winter. First, mow your lawn as short as possible so seeds can reach the soil easily and aren't too shaded by the mature grass. Rake up thatch, scratch the soil surface, and broadcast a region-appropriate grass seed blend over thin areas. Drag a rake lightly to ensure contact with the soil, and keep the area evenly moist until you see a carpet of new blades.
Target bare spots first, as that's where weeds will invade fastest. If the soil is compacted, core-aerate before seeding. Pair overseeding with mulch-mowing leaves to feed and protect the new grass, and try to maintain a blade height that's appropriate for your grass species.
Clean mowers, tools, and boots so you don't spread seeds
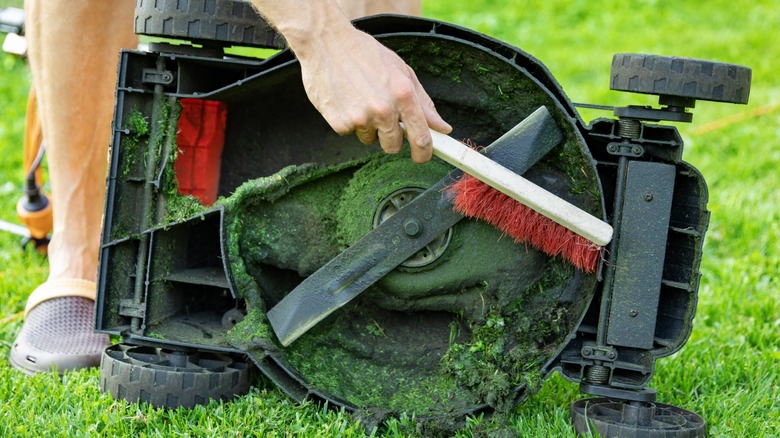
Weed seeds and viable rhizome fragments hitchhike on mower decks, trimmer heads, hoes, forks, and boot treads. If you move straight from a weedy patch to a clean bed, you're doing their dispersal for them. Knock off loose debris with a brush or blast it off with a hose, and scrape clingy clumps from the undersides of mower decks and the grooves in your boot soles.
Do this at the work site if you can, not in your driveway, where the runoff carries seeds to cracks you'll fight all next year. Dump collected debris in the trash, rather than into beds or a slow hot compost. Many seeds survive a casual compost pile, which is why I usually recommend putting them in the trash or the burn barrel. Keep a "dirty bucket" with a brush, a putty knife, and a small, stiff hand broom, like this Harrison Greys Hand Broom, near the hose or spigot you use most to make cleaning between sessions easy and mindless.
Keep weed seeds out of mulch and compost
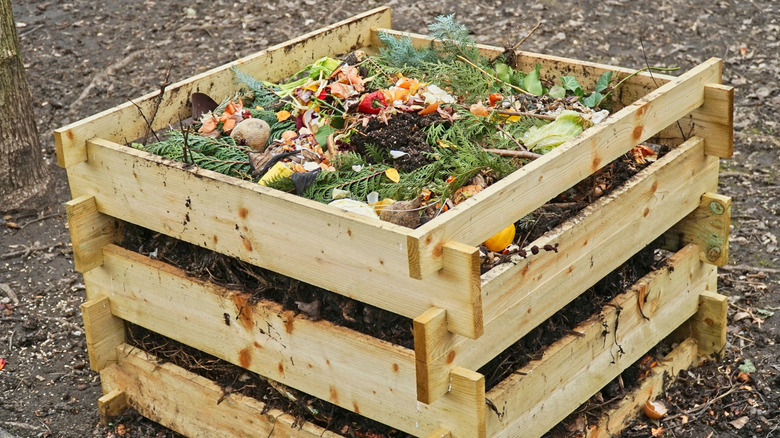
Not all organic inputs are equal. I once purchased what was supposed to be blended, weed-screened organic topsoil, but the seller was dishonest and what I got was a weedy nightmare that lasted years. So if you do need to source, do so wisely. Hay, raw manures, and poorly-composted materials can carry live seeds that germinate all winter and explode in spring. Choose weed-free straw or wood products, and if you use manure-based composts, make sure they've been hot-composted long enough to kill seeds. Ask suppliers about their process and temperatures. If they can't answer, you'll know you're significantly increasing your weed risk if you take their product.
At home, build hot, well-aerated compost piles with a good carbon-to-nitrogen balance and frequent turning, so internal temperatures stay high enough to pasteurize the contents. Keep materials that tend to carry seeds out of low-temperature piles. If you're new to making your own DIY compost, don't risk going straight for hot composting seeds. If a batch of compost or manure brings in weeds, quarantine it to paths or shrub beds, not vegetable seedbeds, and smother with a top dressing of seed-free mulch. Sourcing carefully once beats months (or years) of chasing what you accidentally imported, as I learned the hard way.