How To Make Your Own DIY Compost
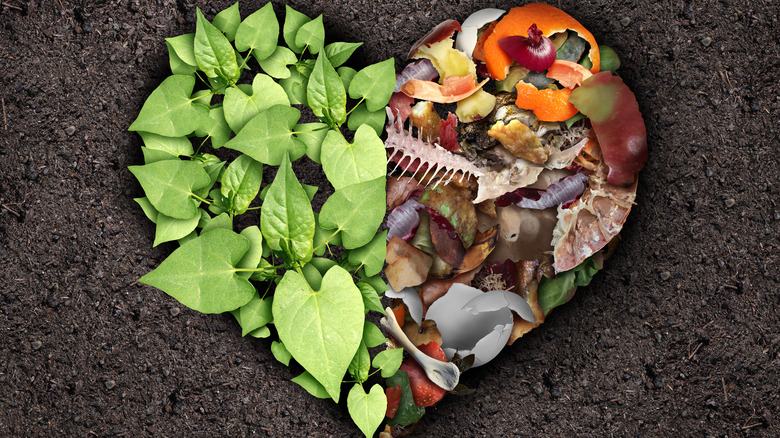
The thought of composting might seem intimidating or even make you feel a little squirmy. However, not only will the environment benefit from this natural process, but your daily life will as well. Still, if you're going to build your own DIY compost, there are several things to know before you get started. Known as "black gold," compost is a nutrient-rich garden soil made from organic matter, cultivated by us! It consists of combining food leftovers, peels, leaves, grass, branches, paper, newspaper, and cardboard, among many other potential items.
Additionally, composting is a scientific process. The action of our decomposing remnants helps reduce space within landfills as well as greenhouse gas emissions. According to Honestly Modern, the materials we collect in our pile are basically being recycled back to the earth. As they decompose in our garden, they make way for new plant life, including progression for the microorganisms that co-exist there. Whether you feed your growing garden with it or decorate your lawn, your greenery will benefit from this natural contribution.
1. When to start composting
Experts at Gardening Know How say that you can start your compost pile any time throughout the year. However, spring and fall are optimal times to initiate it, as yard waste is most abundant then. If you start in the spring, this will give the compost time to develop well into the fall.
Fall is especially ideal because both carbon and nitrogen resources are more available during that time, so take advantage of the falling leaves and pumpkin/gourd scraps. It's also a good time to sprinkle a heavy layer your fresh compost soil around the garden to weaken the growth of weeds.
2. Choose the best location to create your compost area
Where is the best place to maintain your compost pile? Depending on your living environment, find a place that offers you a "happy medium," says Pure Living for Life's Alyssa Craft. You want it close enough for easy access, but not too close that it disrupts your daily routine, especially if an odor begins to fume from the pile. This is produced by the soil becoming unbalanced. If you have a truck or trailer, Craft also suggests using it to easily transport your new materials to the site. Simply back it up, then dump it out.
3. How to start your garden compost pile
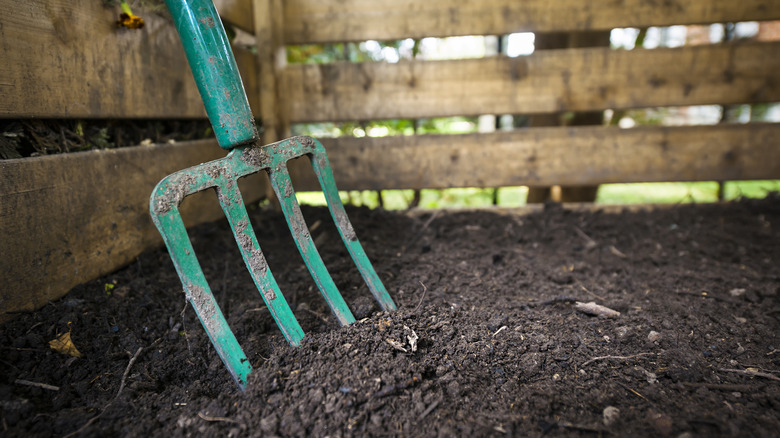
Distinguishing an open space for your compost pile is a good place to start, so make sure the ground is even and provides good drainage. Gardening Know How says to place your compost pile where it gets ample amounts of both sunlight and shade, but never too much of either. Once the spot is established, it should receive four to six hours of sun each day. It's a balancing act! Then, mix in some garden soil and continue to blend your heap every week using a garden fork or shovel. Keep mixing periodically if you want it to be ready faster.
Layer about 4 to 6 inches of brown, then add the same number of greens. Alternate layers until you reach the surface or run out of materials. Don't be afraid to incorporate some water into the layers as you go to give it a foundation. Also, build the pile no higher than 3 feet high and wide. If it's too small, it won't receive enough heat from the sun, and if it's too big, it will hold too much moisture.
4. Choose the right compost container
If you build it, compost will come. Whether you live in an urban or rural landscape, your location will ultimately determine what kind of compost container you decide to use. For urban spaces, trash cans or tumblers are best. In the country, the options are endless, but again, choose a way that is suitable for your daily life.
When using a plastic garbage can, gardening designer and lifestyle expert P. Allen Smith suggests using one that is 40 to 50-gallons. Provide air ventilation by drilling holes throughout the can. Smith uses ¾ and ½ inch drill bits. Make sure it has a locking lid; if you don't have a lid that locks, wrap a bungee cord around it. Then, the can is ready to mix and roll!
Also, if you start your collection in a compost bin or container, it should be ready in approximately 30 days. A backyard pile can take a few months or longer. Keep it turning every 1 to 2 weeks.
5. Build a basic compost pile
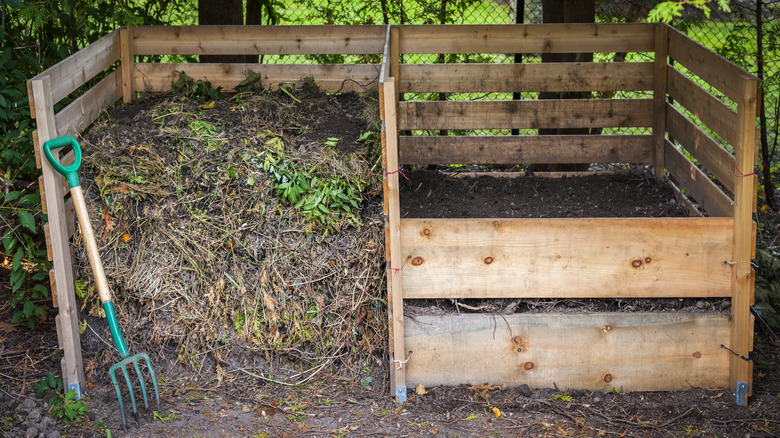
If you're maintaining a compost pile in an open landscape, build a frame around the area by using wooden crates, logs, metal fencing, or any other material you desire. Whatever you choose, make sure it's a contained pile. Start the process by placing your bulkier carbon items on the bottom layer. From there on you can shred the material into 0.5- to 1.5-inch pieces and sprinkle about. Do this with your green material as well. Walden Labs suggests that the pile should reach at least 3 feet tall, otherwise its development will lessen.
6. How to balance your carbon dioxide and nitrogen amounts

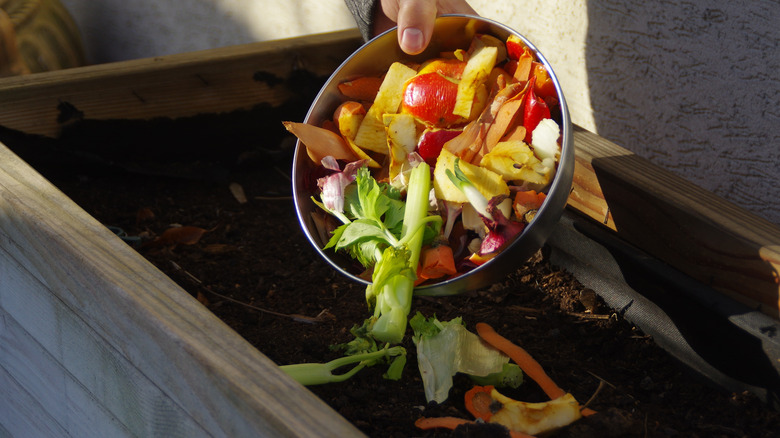
As much as cooking is a science, so is composting. The required ingredients for compost need to be balanced for the end-product to come out just right; aim steadily for half and half. There are four elements involved: carbon, nitrogen, oxygen, and water. As nature provides the air and water, you only need to focus on contributing the carbon and nitrogen.
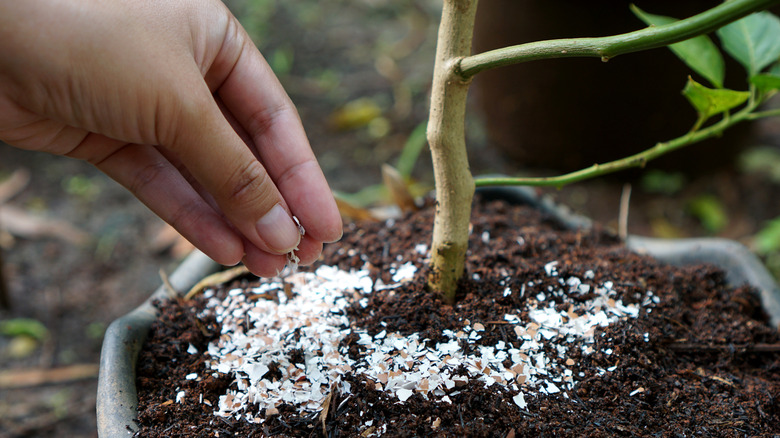
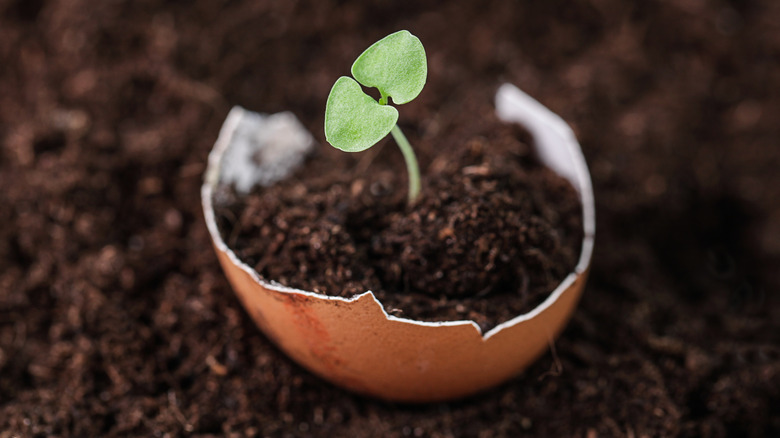
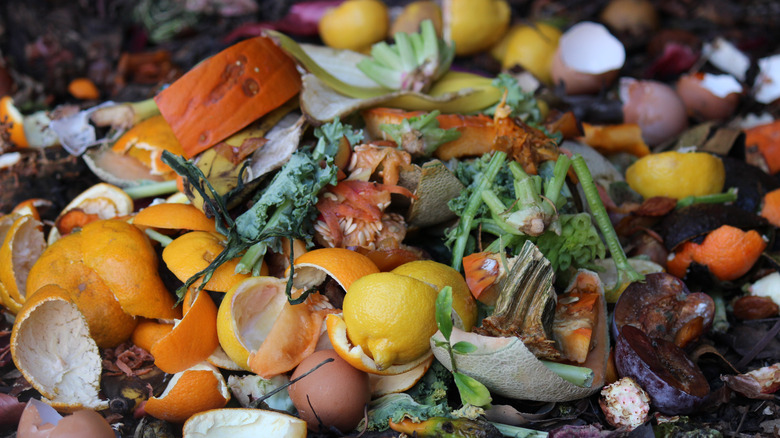
Include "green" provisions such as fruit and vegetable scraps, coffee grounds, eggshells, and lawn shavings. Alyssa Craft of Pure Living for Life also notes that including manure is "a great source of nitrogen." Although, be conscious of the pile's texture; if it becomes too wet, add more carbon (brown). Also, be aware of what the animal has eaten that day (from your nitrogen source), as this could affect the texture.
The other components are the "brown" materials, which provide the carbon. These come from sources like dry leaves, sticks, cardboard, paper, woodchips, sawdust, hay, and straw. Depending on your resources and the time of year, some of these may be easier to obtain and keep up with than others. Martha Stewart knows that to achieve the ultimate consistency of your compost, always add twice the amount of brown or "dry" material as the green. Otherwise, the soil will be short of carbon.
7. Hot vs. cold composting
Since composting is a natural method of matter decomposing, it's important to know the difference between hot and cold procedures. A hot pile is a quicker way to see results, although it requires plenty of nitrogen materials to jumpstart it. Its ratio to carbon should be 2 to 1. The air flow will increase with each turn of the pile as well. Put everything you want in the pile and get turning. How you balance the four ingredients (carbon, nitrogen, oxygen, and water), inevitably determines whether your compost pile is cold, hot, or even in between, known as warm.
Cold composting is low maintenance. Simply put, drop your rubbish down (or in) and let nature take over; you can add resources as you go along. Even though the turnaround time is longer, approximately one to two years, you will eventually end up with the same result, notes Fine Gardening.
8. The sun is a bacteria booster
At the beginning of your compost creation, employing the sun as an additional component to advance your project further is beneficial. Fine Gardening recognizes that the heat from the sun naturally increases the temperature of the heap, therefore motivating the bacteria and fungi to work more efficiently. Whatever your climate, make sure to keep it moist when a significant amount of sun is likely. It will dry out if exposed to too much light.
9. Never add these ingredients to compost
Doesn't compost attract critters and pests? The answer is no, but it is possible. Of course, your pile's scent depends upon its carbon and nitrogen equilibrium, but there a few items that should never be included in your mixture, per Better Homes & Gardens: meat, dairy products, oil/dressing, seeded weeds, charcoal/ash, and even feces. Keep the dogs away! These substances will make the concoction too dense and slimy, as the compost will struggle to proceed with its activity. When it comes to adding your nitrogen essentials, keep to the kitchen scraps.
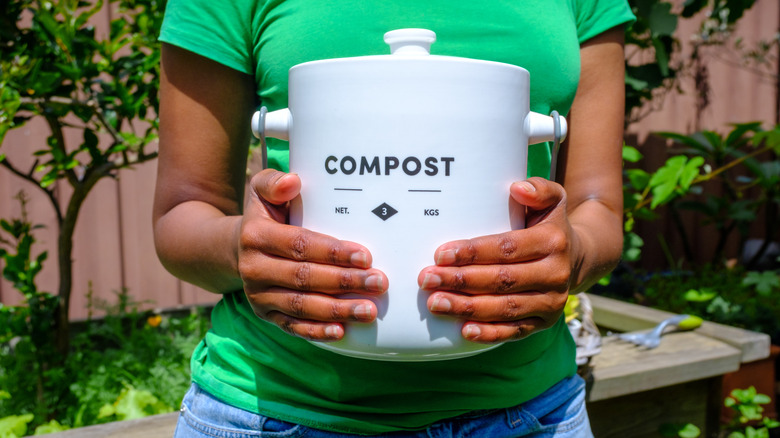
10. Utilize an indoor compost collection bin
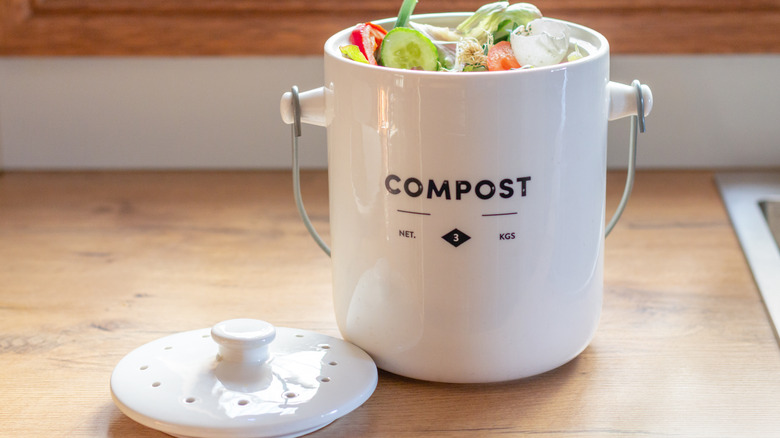
If you don't want to dredge your kitchen scrap materials outside each day, keep a small, portable bin with a handle nearby. Place it safe and secure under the kitchen sink, or in another appropriate location, until you're ready to transfer the contents to the larger source.
There are various kinds to choose from; either a stainless steel or ceramic pail will retract odors especially. Better Homes & Gardens recommends chopping and shredding your food waste well before it goes in. This will save space in your bin as well as hasten the composting process.
11. Provide a cover for your outdoor compost pile
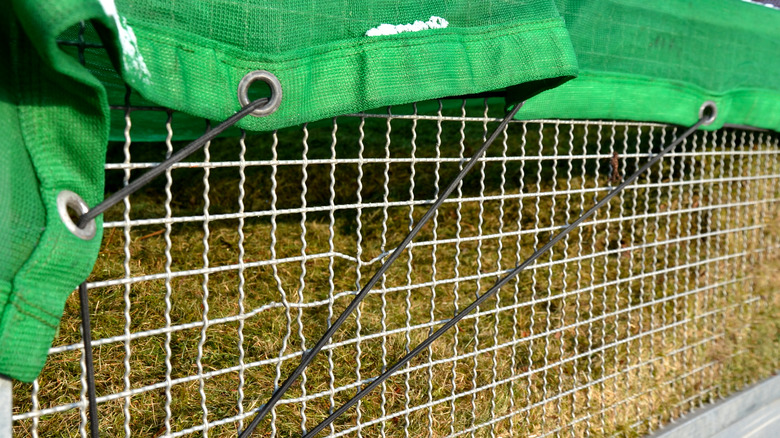
What happens when it rains? It's not a bad idea to incorporate a cover for your outdoor compost pile. If you live in a dry or wet climate, be prepared for all types of weather-induced damage. As we've learned, the balance of moisture and heat are vital in keeping your compost evolving.
Eartheasy suggests covering your compost to help with retaining both the warmth and the wetness within the mixture; this will also prevent it from getting water-logged. Use anything you might have that will be durable enough. For example, a plastic tarp or wood sheeting will work well.
12. How to transfer your compost
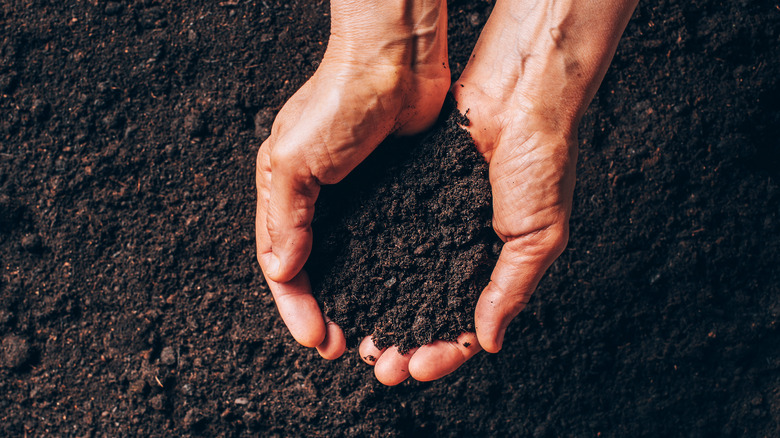
If you've established an outdoor dual system for your composting, what's the best way to transfer your soil to the other side? Once your compost is broken down and looks black, use a shovel to fill a wheelbarrow, then dump it onto the other side.
Generally, you only need a dual area for the composting and transferring to take place, but if you're using a three-section bin system, The Daily Gardener suggests relocating the heap to the third one for even further decomposition. This might occur if you are adding multiple cycles of compost. Happy composting!