Creative DIYer Transforms Thrifted Teacups Into Stunning Decor: 'So Stinking Cute'
We may receive a commission on purchases made from links.
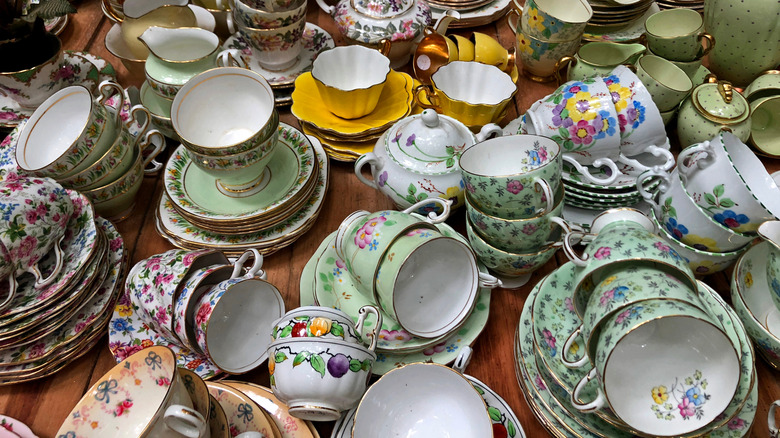
Whether you're a collector or a plant lover, you may share the same conundrum — where to display your treasures. It's easy to fall in love with a thrifted gem or yet another plant, but finding space for them is the challenge. That's why you'll love this budget-friendly craft from creative DIYer @tarahtornado that one new follower labeled "so stinking cute." It transforms a vintage tea-light holder and a few teacups into an adorable plant stand. Craft one for yourself, and you'll enjoy a unique way to decorate your home with plants.
For this project, choose a few small houseplants that fit the size of your teacups — baby spider plants or miniature succulents are especially well-suited for these dainty containers. You'll also require a wall sconce from a thrift shop or garage sale, but if you can't find a good secondhand one, you could purchase a suitable and inexpensive option online, such as these Lily's Home wall sconces.
Once you have your supplies, this will be a quick DIY thrift flip you can start and finish in one weekend. Whenever repurposing secondhand finds, it's always wise to give them a good clean. Wash the teacups gently in warm, soapy water and dry them with a towel. Wipe down the tea-light holder with a damp microfiber cloth and a drop or two of dish soap to remove any dust or grime. Rinse out the cloth, wipe again, and finish with a light towel-dry.
How to create a hanging planter from thrifted items
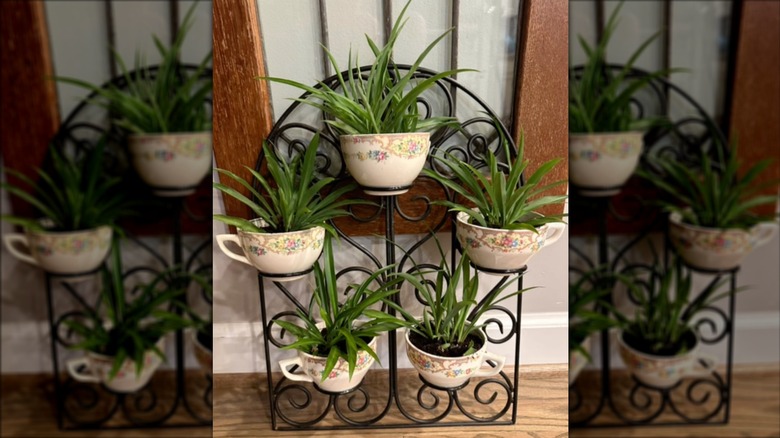
Now it's time for the fun part — crafting! You can leave the tea-light holder as-is to highlight its vintage patina or, instead, give it a fresh look with a coat of spray paint in your favorite color (just make sure it's suitable for metal). For extra customization, you could rub on a metallic wax finish, such as Rub n Buff in antique gold to add some contrast or augment the piece's vintage vibe. For the next step in this project, you'll be attaching the teacups to your wall decor — a waterproof caulk and silicone sealant, like this one from Gorilla, should work well. As you work, be careful to wipe up any drips of the adhesive promptly to avoid permanently marring your finished piece.
Once the caulking has dried, you're ready to insert your plants! Make sure to select ones that can slide easily into the teacups, leaving enough space to add either some potting or cactus mix (depending on what you'll be growing).
Set your new planter against a wall, or hang it in a spot that suits your plants' care needs. For instance, succulents will prefer an area with plenty of sunlight, while spider plants can flourish in low to indirect bright light. Also be mindful of your plants' watering needs. Once your plants are established, all that's left to do is enjoy your hand-created mini oasis! If you enjoyed this project, you'll want to find more creative ways to repurpose old or unwanted items, since the process and the creativity it affords is so enjoyable!