The Beginner-Friendly DIY Plant Stand That Only Requires A Few Items

We may receive a commission on purchases made from links.
Stands do more than make houseplants look pretty and maximize space. A boost — even just a few inches off the floor – provides plants with better airflow and sunlight and protects floors from damage. Making your own wooden stand takes little time, a couple of tools, and virtually no skill if you follow a few easy steps. In fact, you can confidently cobble together your own simple plant stand even if this is your first time using a power tool if you follow one DIY that uses just three pieces of wood, some stain, and a bit of hardware.
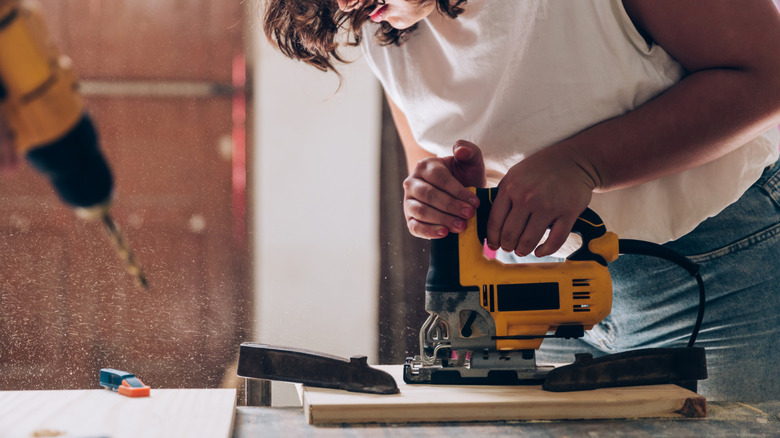
Start your woodworking journey with three cuts of wood, a saw, a pocket hole jig, a drill, and 2 ½-inch pocket hole wood screws. In essence, two lumber legs made of dimensional lumber will support a flat wood top to hold a plant. The size of wood you'll need depends on the pot and plant you want to elevate. Cuts from a 2-inch-thick board between 6 and 14 inches wide will provide the heft needed to lift a heavy container and give you a decent range of widths for pots of varying sizes. Just ensure the pieces are thick enough to hold the screws and large enough to support the plant pot.
If you don't have a pocket hole jig, don't sweat it; swap out this attachment with small L brackets, like these Romeda L Brackets. However, you'll need 1 ½-inch wood screws if you go this route, since the pocket hole screws will be too long for 2-inch-thick wood pieces. A lick of stain before assembly will make the wood grain pop. Pick up a hue that complements your decor, or save a few bucks by working with coffee, an ingredient you can use to naturally stain wood.
Prepare the pieces for your wood stand
A flat, wide top and two chunky legs are all you need to make this plant stand functional, and a quick coating of stain adds beauty to its simple form. You want to make sure the vertical surface is as wide as (if not slightly wider than) the pot you'll be placing on it. Supportive, sturdy legs are an absolute must. For a floor-based stand for a large pot, aim for a board between 12 and 14 inches wide. Smaller-scale plant stands that rest atop a table or counter should still have a top at least 1 inch wider than the pot, as well. Use cuts from the same board for legs, or hide them a bit by opting for pieces a few inches narrower, though they shouldn't be much taller than they are wide so that the structure won't tip easily.
You can cut the wood yourself with a power saw or hand saw. If this is your first rodeo with a saw, check out this woodworking tip every beginner should know before cutting to avoid mistakes and ensure the pieces are the proper length. The store where you purchase the wood may also do this for you for free or a small fee if you don't have the tools at home.
If the cut ends of the wood look ragged, run a rasp or piece of sandpaper over the rough bits. You could also use this to slightly round the edges. Stain all of the wood pieces, and let them dry fully before moving on.
Assemble this easy DIY plant stand

Take a peek at both sides of each wood piece, and ID the ones that look best; put the stand together so that these sides will be visible. On the less-pretty side of what will be the stand's top, measure from the ends and mark where the legs will go. Don't place the legs too close together. Arranging them an inch or two in from the top's edge will help keep the stand from tipping. On the two smaller pieces, mark the point for the pocket holes or the screw holes for the L bracket. You'll be connecting one of the cut ends of each "leg" to the underside of the top.
Mark and drill the pocket holes at least 1 inch in from the sides of the leg pieces, adjusting the pocket hole jig for the thickness of the wood you're using. The hardware will be on the inner face of the legs so it isn't visible. Position the legs in place on the underside of the top board, and drive wood screws through the pocket holes or into the L brackets. If your stand is on the larger side and you're using L brackets, use more than two screws per flange.
The crucial moment is when you test the stability of your stand. Before placing a plant on it, check to see if there's any unevenness on the legs that keep them from resting firmly on the floor or table. If not, one of the legs' bases might be uneven. You can use the rasp to work away any flaws. Another option is to outfit the legs with rubber or felt pads. These additions may improve the stability, and they'll also protect your hardwood floors from scuffs and scratches.