Upcycle Wood Blocks Into Rustic Pumpkin Decor With A Simple DIY
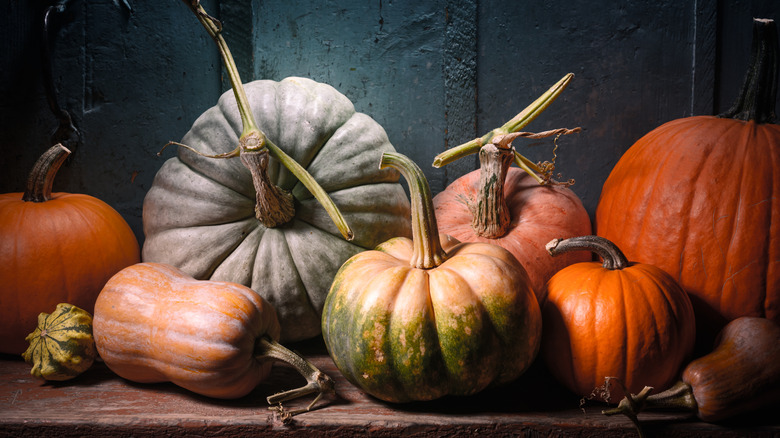
Rustic pumpkin decor is a staple on front porches and dining room tables when the fall months come upon us. Much of the time, these seasonal decorations consist of carved Jack-o-lanterns or piles of mini pumpkins arranged in crafty displays. However, one recent iteration of this trend has seen 4-inch by 4-inch blocks of wood turned into pumpkin decor gold. The key to making these types of stunning fall centerpieces work lies in the way you embellish the wood blocks to give the visual appearance of pumpkins, even while the blocks retain their boxy shapes.
The 4-inch by 4-inch blocks stand at the heart of this arrangement. You'll turn the plain blocks of wood into something a little more decorative with the addition of FolkArt Home Décor antique wax acrylic paint, FolkArt Home Decor chalk furniture & craft paint, and some white glue. You'll need three wooden blocks of differing heights because, ideally, you'll group your blocks-turned-pumpkins in odd-numbered groupings. Tripled items attract the eye, inviting it to both wander over and linger on each item in the display, creating perfect visual interest. Groups of five or seven wood block pumpkins would work, too, if you'd like to make a larger display.
You'll top the pumpkins with stems made of discarded twigs. Your project supplies list additionally calls for CREATRILL rolls of kraft raffia, scissors, pruning shears, and a blow dryer. Finally, get out the circular saw and sandpaper. You'll need those items, too.
Assembling the rustic wood block pumpkin decorations
You have a couple of options when you're ready to work with the wood blocks. You can buy a long 4-inch by 4-inch piece of lumber from Home Depot and cut off three wood blocks. Make a small, medium, and large one. Sand off any rough spots on the top and bottom of the blocks. Or if you'd like to save yourself some time, work with some pre-cut Sustainable Things 4-Inch solid wood blocks. They'll all be the same size, but you can vary the appearance of their heights by placing them on stacks of books or other objects.
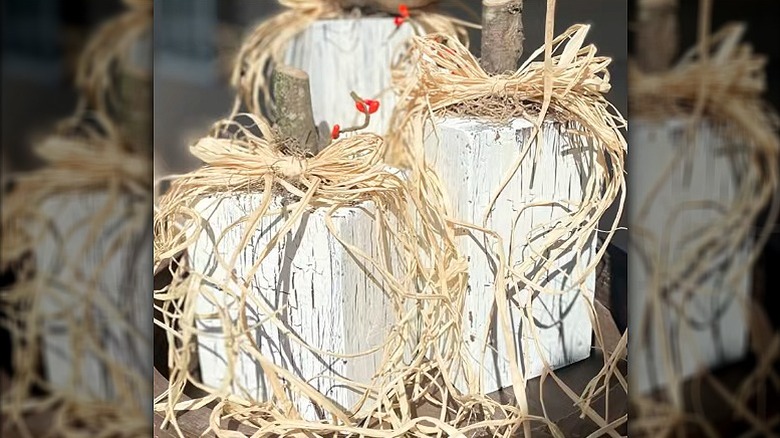
Give the blocks a coat of the antique wax paint, rubbing it in to make the wood look stained. Next, pour copious amounts of white glue all over the blocks, spreading it around all sides with a paintbrush, and then paint each wood block with the chalk paint color of your choice. It's okay if parts of the wood show through the glue and paint. For a magical touch, blow-dry the topcoat. This faux painting technique creates a crackled texture. Trim the sticks with the shears, making sure that each end of the twig is flat. These should be short because they'll become the pumpkins' stems. Glue the stems onto the pumpkins. If you'd like the stems to be a bit sturdier, consider drilling a shallow hole at the top of each wood block and gluing the stem inside the hole.
To finish off, create bows from pieces of raffia, fanning out the bow to fluff it up. Fluff up the ends of the raffia, too, for a more natural look. Now all that's left is to arrange your display on the porch or a table.
Ways to amp up the cuteness factor of the craft pumpkin display
Many of these types of rustic pumpkin craft projects leave the pumpkins one color. That is, they're all orange or white or even quirky colors like blue. If it's around Halloween, consider painting a Jack-o'-lantern face onto the pumpkins to increase their visual appeal. You can also select ribbons or spools of raffia that are in colors to complement the pumpkins' shades. For example, paint the pumpkins orange and top them with blue patterned bows.
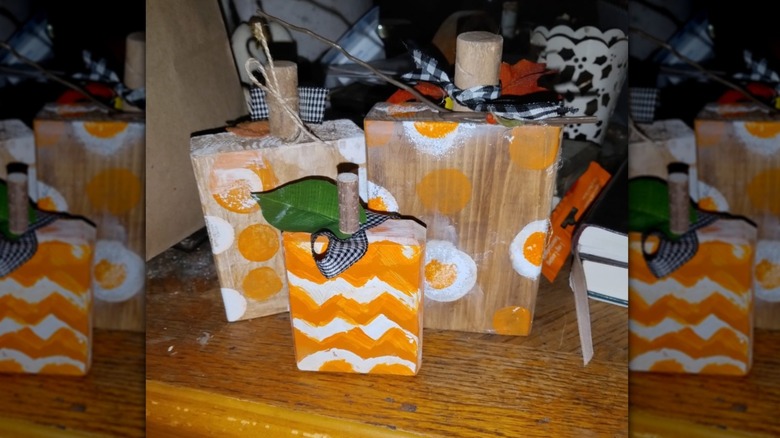
The other option you have is to give the pumpkins a modern arts-and-crafts vibe by painting patterns onto the wood blocks. Your DIY fall centerpiece can be adorned with stripes, polka dots of different colors, checkerboard patterns, or little triangles. To make each one a stand-out piece, give it its own pattern. In other words, don't paint polka dots or stripes on all of them. Give one pumpkin block polka dots, another stripes, and the third one the checkerboard pattern.
Finally, you can give the pumpkins some leaves and vines by cutting out leaf patterns from felt or wool fabric. Make two copies of each leaf. Snip off a long piece of crafting wire to create the vine the leaves rest on. Place one leaf of each pair on either side of the wire and then glue the pair of leaves together. The wire will be "sandwiched" between the leaves and remain attached to the vine because of it. Glue a couple more sets of leaves onto each vine, and wrap the wire around the pumpkin stems to attach the vines to each one.