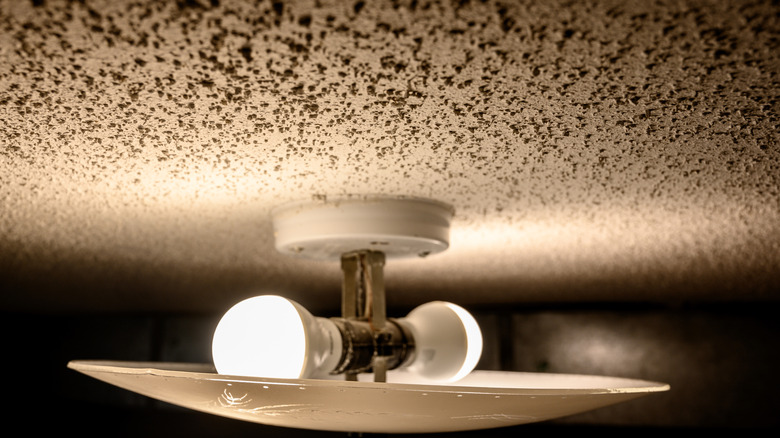
The Cheapest Way To Cover Up A Popcorn Ceiling (And Still Make It Look Amazing)
We may receive a commission on purchases made from links.
Ask DIYers what their least favorite home renovation task is, and you'll likely hear "drywall" and "painting" more than a few times. So when it comes time to deal with an outdated popcorn ceiling, there's little wonder homeowners approach the subject of refinishing the textured ceilings with a bit of trepidation. The process is, after all, one of the more laborious and sometimes costly versions of drywall finishing and painting, with a healthy amount of scraping and sanding thrown in for good measure.
House Digest spoke exclusively with Lydia Crowder, a drywall finisher in Montana, weekly contributor Build Show Network, and on YouTube as Drywall Shorty, about the easiest and most affordable way to get a great result when removing popcorn ceiling texture. She told us that the two basic procedures are both relatively inexpensive, but how smoothly things will go depends largely on whether the texture has been painted, the condition of the underlying drywall, and your desired finish.
The base of the popcorn texture is usually joint compound, which can be scraped off the ceiling if it hasn't been painted. Fortunately, there are easy ways to tell if your popcorn ceiling has been painted or not. "If it is not painted, you can dampen the texture and scrape it off, leaving the drywall board intact, and skim out that area," Crowder said. "If it is painted, it will need to be sanded off, which is more work." The difficulty of removing the popcorn texture will also influence the degree to which you have to repair the drywall before applying its new finish.
Finishing comes last, but is planned first
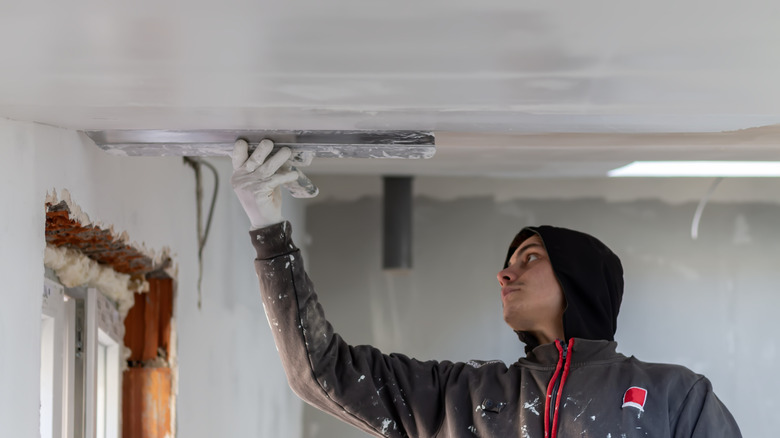
If your goal is to get rid of your popcorn texture and have a perfectly smooth ceiling, the journey is going to be a little longer for you. But what gets lengthened isn't necessarily the finish work, but the prep work. When House Digest exclusively interviewed drywall finishing expert Lydia Crowder, she was clear that a textured finish is the easiest path forward. "You can do a hand texture, orange peel, or finish it smooth," Crowder said. "Doing a textured finish will be the easiest and least expensive because it will hide flaws, take less work to do, and give you a modern updated look if a light texture is applied."
Conversely, a perfectly smooth finish will require a perfectly smooth drywall surface. Of course, the difference in effort between perfectly smooth and imperfect can be enormous. Still, there's likely to be a substantial amount of prep work involved in either approach. "If you are doing a texture, you can have some minor imperfections in your drywall, but they should be very minimal," Crowder explained.
The unpainted unpopcorning process
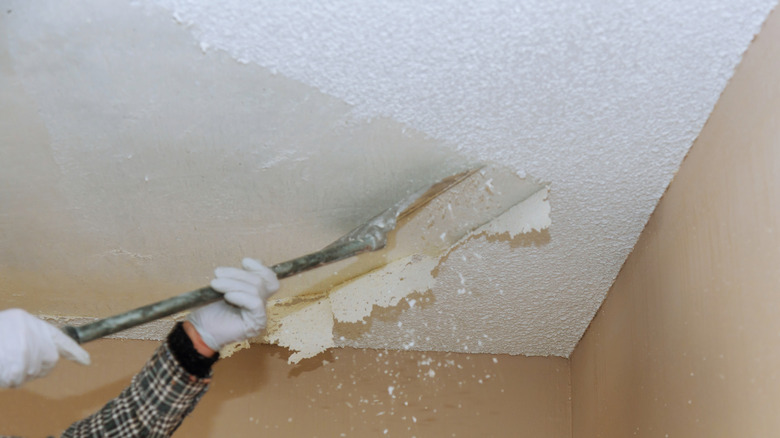
If you're lucky enough to be dealing with an unpainted popcorn ceiling, the way forward is both less expensive and less demanding. In an exclusive conversation with House Digest, Lydia Crowder outlined the process for us, starting with the materials you'll need. These include masking tape, plastic sheeting, a spray bottle or garden sprayer, drywall compound, putty, taping knives in various sizes, skimming blades, and protective gear. Crowder recommends USG Plus 3 joint compound, and she likes Level5 drywall skimming blade set, which includes 10-, 24-, and 32-inch skimming blades.
The popcorn removal process is straightforward enough. First, make sure your popcorn ceilings are tested for asbestos if they date to the period asbestos was used. (The potential presence of lead is another hidden drawback to skim coating an old popcorn ceiling.) Then it's time to soften that drywall compound. "Spray down the area with water," Crowder said, "not dripping wet but enough that it soaks into the popcorn texture." Let the water do its thing for 10 to 15 minutes, at which point you should be able to remove the texture with a putty knife. "When scraping off the texture, be aware of your angle and try to not damage the drywall board underneath," Crowder said.
Repeat the process if you have any lingering texture, and sand as necessary. Next, assess the drywall's condition. "Typically the drywall finish underneath popcorn will need some repair, coating of joints, screws, and any imperfections filled," Crowder said. She recommends a 12- or 24-inch skimming blade and noted that skimming the entire ceiling might be necessary if there's heavy damage.
Be prepared for the worst

This is the unfortunate, unpopped kernel of truth about removing popcorn texture from a ceiling: It's going to be a lot of work. In fact, the effort required is one reason some homeowners might choose to keep their outdated popcorn ceilings. Lydia Crowder spoke exclusively with House Digest about the ins and outs of removing popcorn ceiling texture — although it might be better characterized as ups and downs. Crowder explained, "This can be very labor intensive with a lot of overhead work. It is also messy, so be prepared to cover and mask what you can, and wear protective gear."
So, the work is not going to be like a vacation, even in the best of circumstances. In the worst of circumstances, it can be a daunting process. "Sometimes the drywall board under the popcorn can be in bad shape, so be prepared to do extensive work on the drywall underneath," Crowder said. "Be ready for a shoulder and neck workout! It's not a very fun process, but it is very rewarding to see your popcorn go from outdated to modern." Whether you use an extension pole, stilts, scaffolding, or something else, there's going to be a lot of looking up and exerting effort above your head. But things are looking up ... and in the future, looking up in your new room is going to be a much more pleasant prospect.