The Best Method For Repairing Veneer On Antique Furniture

We may receive a commission on purchases made from links.
Veneers have been used in furniture making for around 5000 years, and examples have been found in Egyptian pyramids. The technique has long been popular because it allows cheaper lumber to be used for the main construction, which is then made to look like high-end furniture by covering it with a thin layer of more exotic hardwood. While some antiques are made from solid hardwoods, it's also common for them to be veneered.
Whether you have pieces that are family heirlooms or you know how to successfully buy antique furniture for your home, these things have been around for a long time, and some kind of damage is almost inevitable. Fortunately, while there may be times when it's best to contact a professional restorer (and we'll discuss that in a moment), it's often possible to repair the veneer yourself.
The best method for repairing veneer on antique furniture will depend on the kind of damage. If the veneer has blistered or lifted, then simply regluing is possible. A chipped piece might need filler, and a missing section will need to be replaced. Techniques vary, so let's look at each one in a bit more detail.
Common veneer problems and how to repair them
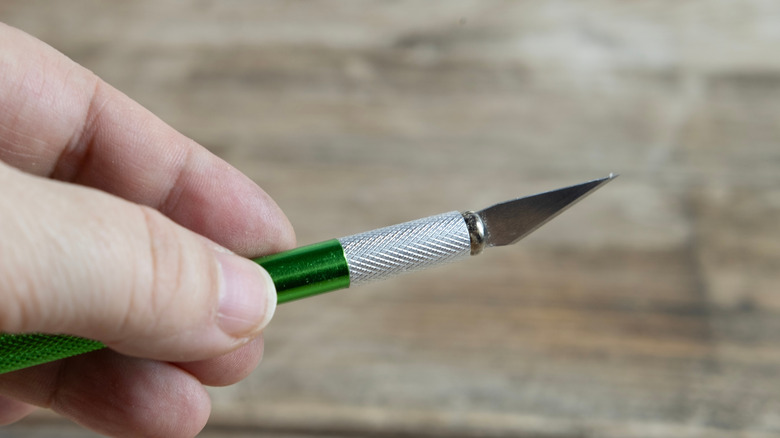
One common problem is a veneer that has lifted, often on the edge of a piece. This is probably the most straightforward to repair. Carefully scrape away as much of the old glue as possible using a craft knife or scalpel. Apply new glue with something thin, like the scraping blade or a pallet knife. Press it closed, wipe off any excess, and clamp or weigh the veneer down while it dries. Titebond III Ultimate Wood Glue, available from Amazon at around $8 for a 16-ounce bottle, is a popular adhesive for this kind of task.
Blisters are something else you'll see quite often, and there are two possible treatments. The first thing to try is to apply heat and pressure with a clothes iron. The idea is to soften the existing glue so it re-sticks. Lay a piece of greaseproof paper over the blisters, and 'iron' the surface. If it flattens, remove the iron and place a heavy weight on top. Clamp it if possible. If heat doesn't work, then make a small slit in each blister with a knife and push some new glue inside with the knife blade. Try pushing the blister down with your finger. If it moves, weigh or clamp it. If it doesn't, you may need to cut away small slivers of veneer until it does.
More challenging veneer issues and when to call a pro
If a piece of veneer is missing, things become more challenging. The situation is even worse if the wood underneath has swollen or is chipped or gouged. Swollen wood will need to be trimmed or sanded down before new veneer can be applied. Chips or gouges will need to be filled before the veneer can be reapplied. It's important to know the proper way to use wood filler in order to create a lasting repair. The filler will need to be trimmed level with the original construction (a sharp chisel is probably best), then a new piece of veneer cut to fit, glued in place, and clamped while it dries. If the hole is ragged, trim it so there are straight lines. This will make it much easier to cut the replacement piece.
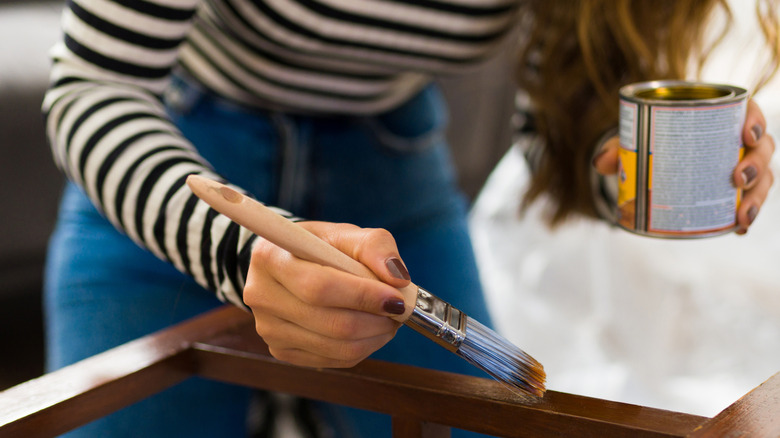
While there are numerous specialist veneer suppliers around the country, identifying the type used on a piece of antique furniture can be difficult, particularly as it will have changed color over time. If you are simply doing the job for your own satisfaction, it's worth persevering. If it's a valuable piece of antique furniture and the repair needs to be authentic, it's time to call on a professional restorer. They will have the expertise to repair and refinish the piece to the required standard, bringing your furniture back to life.