12 Tips For Reusing And Storing Potting Soil So It Doesn't Go To Waste
We may receive a commission on purchases made from links.
If you're a container gardener, you know the struggle: you've got a pile of old potting soil from last season's plants, but aren't sure what to do with it. Tossing it feels wasteful, not to mention expensive when you have to buy fresh bags every year. But is it okay to just reuse it? The good news is that most old soil isn't actually "bad," it's just, well, tired. You see, over a growing season, plants will use up the available nutrients, and the soil can become compacted, losing the airy structure that roots love.
But, don't dump it out or haul those pots to the curb just yet. With a little TLC, you can bring repurpose that old potting soil or bring it back to life, saving money and cutting down on waste. To help get you on the path to plant parent sustainability, we've rounded up 12 simple tricks to help you refresh, store, and reuse your old potting soil, so you can keep your wallet, and plants, happy. We'll go over how each method refreshes or safely stores the soil, plus include a few tips for making it as easy as possible.
Don't try to save potting soil that's had diseased plants in it
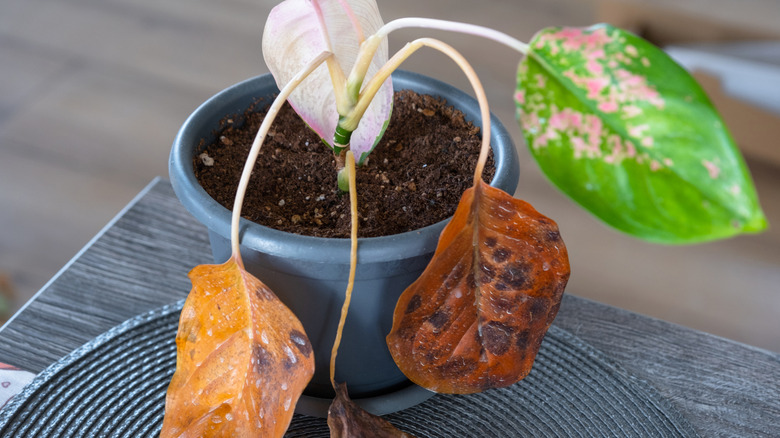
While it's great to be frugal and sustainable, there are some times when you absolutely should not reuse old potting soil. If any of your plants died from a bacterial, fungal, or viral disease, that soil needs to go straight into the trash. Trying to reuse it is a recipe for disaster, as soilborne pathogens can stick around and infect any new plants you put in that pot.
To play it safe, always toss the soil from any pots that housed sick plants. It's just not worth the risk of spreading the problem to your healthy plant babies. Start fresh with a new bag of potting mix to ensure your new plants have a clean, disease-free environment to thrive.
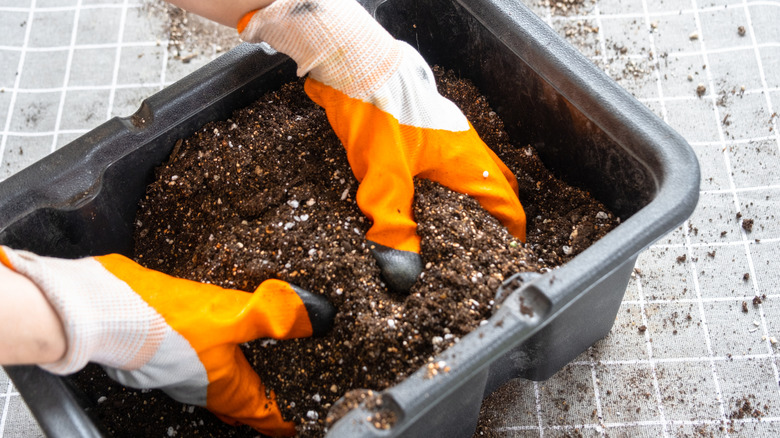
Before storing, remove any debris or weeds
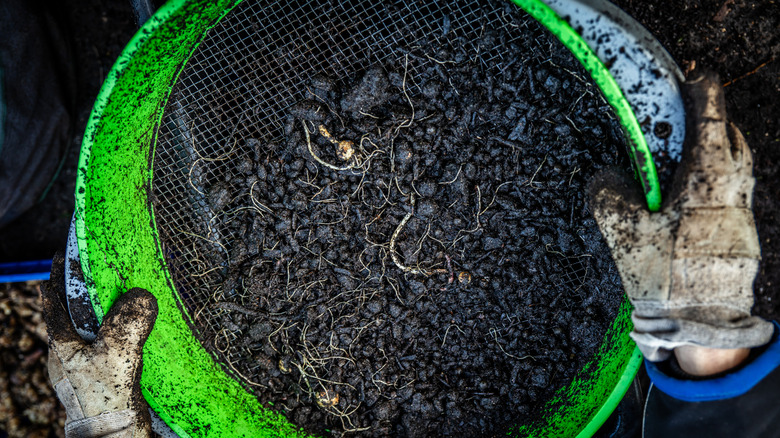
Before you stash your used soil away for the winter, you'll want to go through it and pull out any old plant debris like roots, stems, leaves, and even forgotten plant tags. Weeds can be especially persistent little suckers, and leaving them in essentially lets them take over your pots next season by competing for all the good stuff like nutrients, water, and light. Taking a few extra minutes to do this now will save you a lot of headaches later and ensure your soil is clean and ready for its next life
But don't worry, you won't need to go digging into your soil and picking everything out by hand. The easiest way to clean your soil is to use a soil sifter, like Wenses Galvanized Garden Soil Sifter. Just dump your old soil into the sifter over a wheelbarrow or tarp, and shake it out. The sifter will catch all the bigger chunks of roots, mulch, and other debris, letting the fine, usable soil fall through. Or, just DIY your own sifter with some hardware cloth stapled to a wooden picture frame.
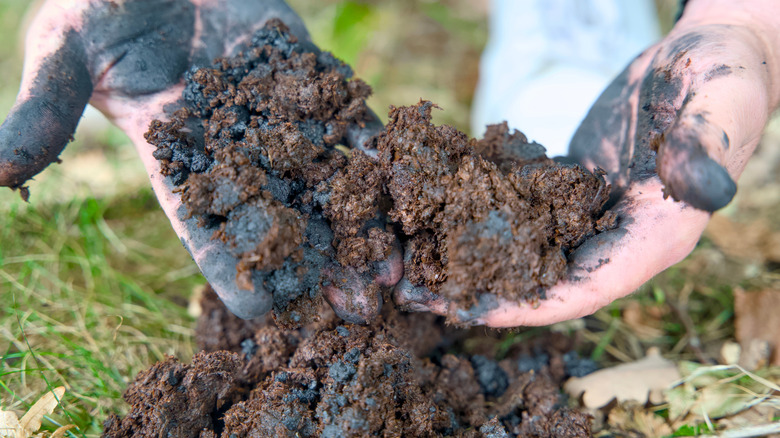
Give the soil time to dry out before storing
Before you bag up your used soil for the winter, you'll need to let it dry out a bit. While it doesn't have to be bone-dry or anything, storing soil with too much moisture is an open invitation for mold and other unwanted microbes to set up shop. Plus, letting it dry a bit will make the soil much lighter and easier to move around.
You can let your soil dry out right in the pots, or spread it out on a tarp or in a wheelbarrow to speed up the process. Just leave it in a spot where it can get some air circulation without getting rained on, or you'll have to start from scratch. Once it's had a chance to dry, you'll have a much better starting point for storing your soil and keeping it healthy for next season.
Store your leftover soil in airtight plastic bins
To keep your soil safe over the winter, store it in a container with a lid that seals tightly. This will keep the soil dry, which is key to preventing mold, and it will also keep out any pests or weed seeds that might be looking for a cozy place to hang out. After all, you don't want to go to all the trouble of cleaning and drying your soil just to have it contaminated while it's in storage.
Large plastic storage tubs with snap-on lids are perfect for this, but you can also use small garbage cans or heavy-duty plastic bags — basically, anything that will keep the soil dry and protected. If you're saving soil from different types of plants, like edibles and flowers, it's probably a good idea to store them in separate, labeled containers to avoid cross-contamination and make it easy to know what you've got come springtime.
If storing bags of soil, keep them out of the sun
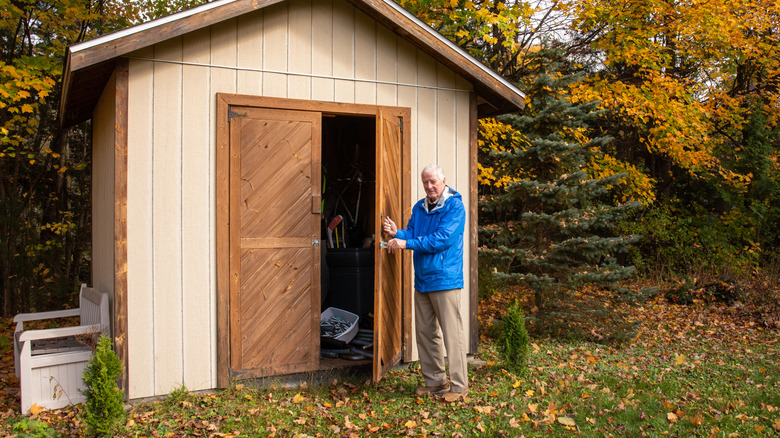
If you're storing your soil in bags rather than airtight bins, where you stash them is just as important as what you stash them in. Direct sunlight is the enemy here, as it can degrade the plastic bags over time, leaving your soil exposed to the elements and critters. It will also heat up and dry out your soil too much, which can mess with its texture and nutrient content.
So, store your bags in a shed, garage, or somewhere that stays dry, cool, and dark. If your storage area has windows that let light in, the best spot to store your soil bags is on the north side of a building, where they'll be the most shaded from the sun. Just make sure you don't place them under a drip edge where water can run off and soak the bags.
Sterilize old soil before reusing it
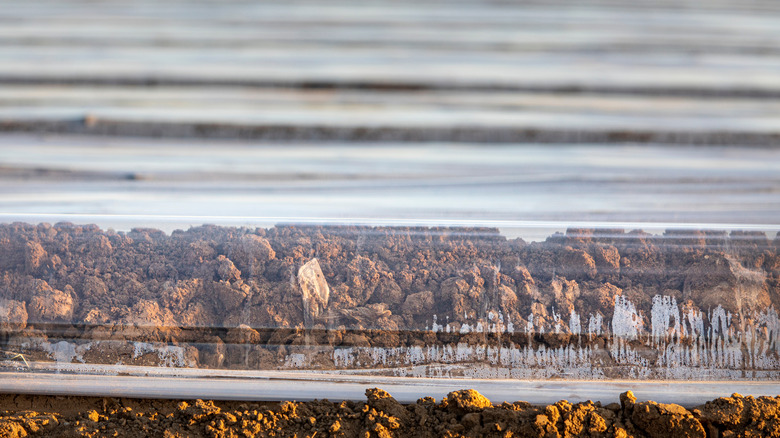
To give your new plants a truly fresh start, you should sterilize your old soil with heat to kill off any lingering pests, diseases, or weed seeds that might have survived the winter. Sterilization with heat works by using high temperatures to cook any unwanted organisms hiding in the soil. Just make sure the soil cools down completely before you use it for planting.
There are a few easy ways to safely reuse old potting soil by sterilizing it. For a low-effort method, you can solarize the soil by spreading it out on a tarp, covering it with a clear plastic sheet, and letting it bake in the sun for several weeks. If you need a quicker solution, you can sterilize small batches of soil in your oven or microwave. To do it in the oven, spread a thin layer of moist soil on a baking sheet, cover it with foil, and bake it at about 180 degrees Fahrenheit for 30 minutes. For the microwave method, place damp soil in a microwave-safe container and heat it for about 90 seconds per pound. You may want to give your oven or microwave a deep cleaning after, as you might get the occasional whiff of earth the next couple of times it runs.
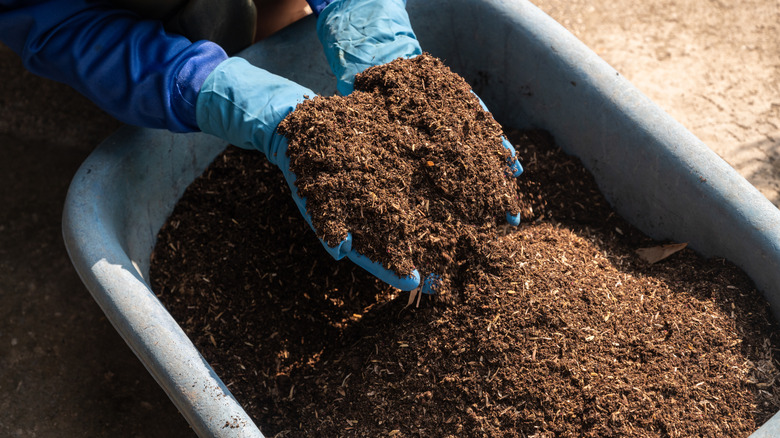
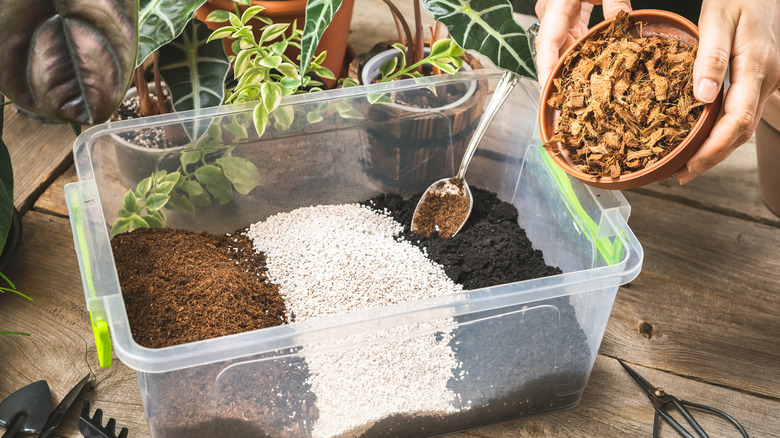
Re-add organic matter before reusing
After a long growing season, your potting soil is probably feeling a little depleted. Plants use up a lot of the nutrients in the soil, and a good amount of whatever's left over can also wash out when you water. To get your soil back in fighting shape for the next round of plants, use one of the best tried-and-true, old-fashioned ways to revive soil by re-adding some organic matter to boost its fertility and improve its structure.
A good rule of thumb is to mix your old soil with about fifty percent fresh material. This will ensure your soil has the nutrients and fluffy texture that new plants need to thrive. There are tons of great soil amendments you can find at your local garden center. Things like compost, peat moss, worm castings, and composted manure are all fantastic options for enriching your old soil.
Mix in a little fresh soil
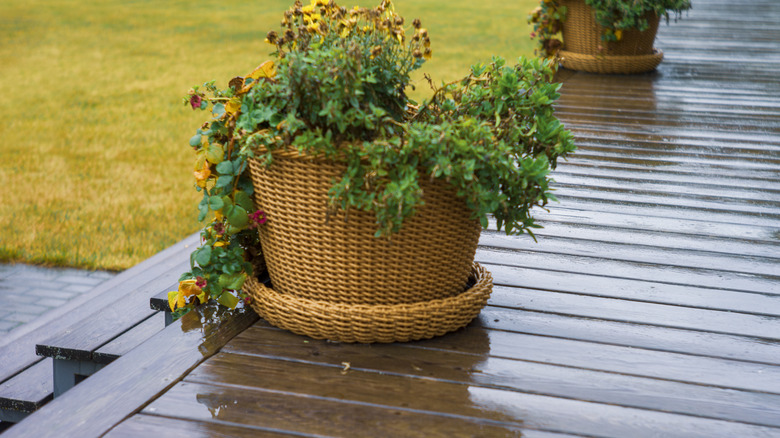
If you're dealing with very large containers, the thought of replacing all that soil can be a little overwhelming. The good news is, you don't have to. For big pots, you can get away with just replacing the top six inches or so of the old soil with fresh potting mix. This gives your new plants a fresh, nutrient-rich environment for their roots to get established.
As you add the new soil, make sure to mix it into the old soil a bit. This will help create a nice, even blend and improve the overall porosity and fertility of the soil in the pot. It's a great money-saving hack that still gives your plants the boost they need to thrive.
Give old soil a hit of slow-release fertilizer
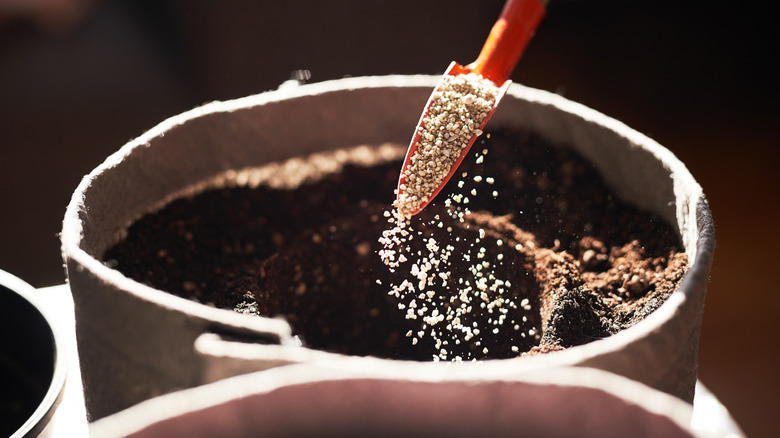
Even after you've amended your old soil with fresh organic matter, it's a good idea to give it a hit of a slow-release fertilizer. Slow-release fertilizers typically come with additions that boost the health of your soil and ensure your plants have a steady supply of essential nutrients like nitrogen, phosphorus, and potassium throughout the growing season. Think of it as a vitamin supplement for your soil, keeping it healthy and productive for months to come.
You can find slow-release granular fertilizers at any garden center, and they're super easy to use. However, if you're dealing with specialized plants, like plants that grow in acidic soil instead of a standard pH level, you may need something other than the standard blend. Whichever fertilizer you pick, all you'll need to do is sprinkle the recommended amount over the surface of slightly moist soil and mix it in. This simple step will go a long way in making sure your plants have everything they need to grow strong and beautiful all season long.
Test old soil out on hardy plants before more delicate varieties
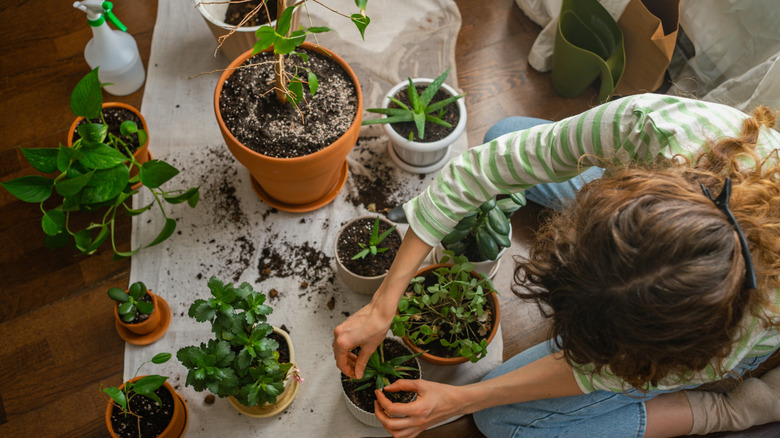
If you're still a little unsure about the quality of your reused soil, it's a good idea to do a test run before you commit your prized plants to it. Once you see that your hardy plants are doing well in the recycled soil, you can feel more confident about using it for your other plants. Think of it as a low-stakes experiment to build up your soil-reusing street cred.
Start by using your refreshed soil with plants that can grow in poor-quality soil or are known for being tough and don't require super-rich conditions to thrive. Check in with them every week or so and look for signs that things aren't going well: drooping stems, yellow leaves, little growth. If everything seems to be going well, then you're in the clear to try potting some more finicky plants. This way, you can see how the soil performs without risking your more delicate or expensive plant babies.
Repurpose old soil as backfill around your yard
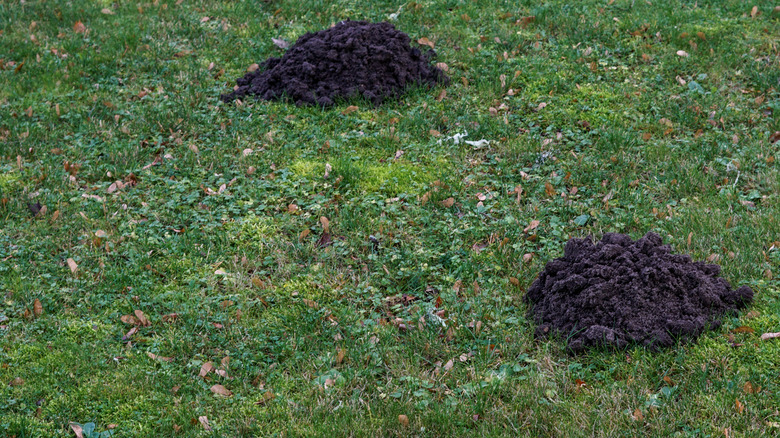
If for whatever reason you decide against reusing your old soil for new container plants, that doesn't mean it has to go to waste. Old potting soil is perfect for filling in any low spots or holes in your lawn. Or it can also be used to top off existing landscape beds that have settled over time. Think of it as a free and easy way to level out your landscape and give your garden beds a little boost.
For best results it's a good idea to mix the old potting soil with some of your existing garden soil before using it as backfill. This will help it blend in better with the native soil and prevent any issues with drainage. However, if you're out of fresh soil, that's fine, as your garden bed should have enough fresh, fertile soil to make do, and your grass will overtake the backfill in time.
Add old soil to a compost pile
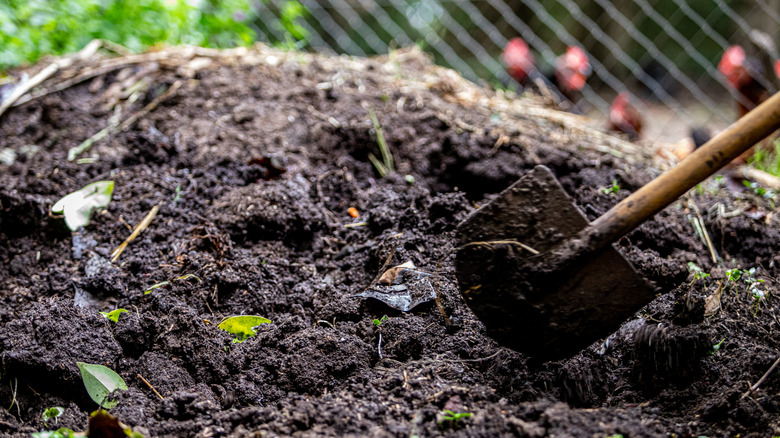
If you're a composting pro, you know that a healthy pile needs a good mix of green materials (like kitchen scraps), brown materials (like dried leaves), and soil. Adding your old, spent potting soil to your compost pile is a fantastic way to create that rich, dark, crumbly "black gold" that gardeners love. The soil introduces beneficial microorganisms that help break down the organic matter.
To get the most out of your old soil, don't just dump it on top of the compost pile in one big clump. A more effective method is to add it in layers, like a compost lasagna, alternating with your other green and brown materials. That will help create a balanced environment for decomposition and ensures your finished compost becomes the nutrient-rich powerhouse your garden will crave next season.