The Best Method For Staining Antique Furniture
We may receive a commission on purchases made from links.
Ignoring the color and instead focusing on a chair or table's quality is one rule that will help you thrift better treasures. After all, if the overall structure is solid, you can always stain the furniture to your liking. However, transforming a thrifted antique desk into a stunning DIY statement piece is all about following the right steps and taking the proper precautions. So, to find the best method for staining antique furniture, caught up with Bob Beacham, House Digest's expert carpenter and remodeler, for an exclusive interview. Sharing the primary requirements for handling pieces that have seen better days and have the battle scars to match, he advises, "Whenever you're working with antique furniture, you need to be patient and careful."
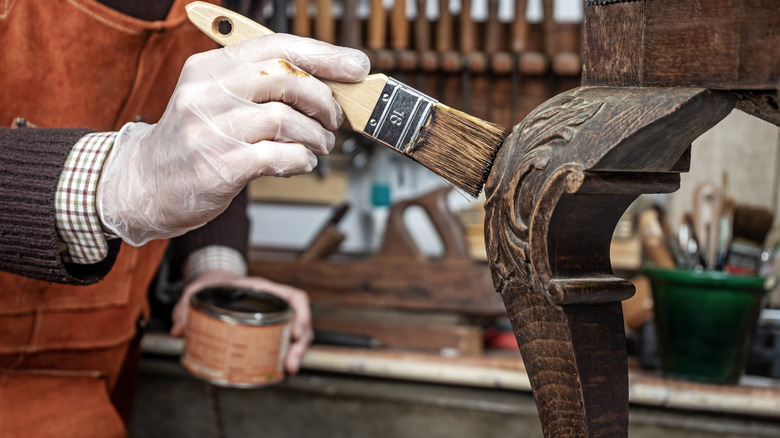
Beacham elaborates, "Stripping and staining will change the appearance [of the furniture]. The biggest danger is that the antique loses that aged patina." Plus, "You need to do the whole piece. Trying to stain different areas is doomed to failure. You'll never match the original color. Hence stripping/sanding." Normally, you might be willing to take a chance on a bargain find, but things change if you'll be working on a valuable or inherited piece. Beacham agrees, "If it's a bargain store or auction find that you just want to give a fresh finish, that's fine. If it's an important or heirloom piece, you could destroy its value." So, being cautious is important. In case you're a beginner-level DIYer or don't have faith in your abilities, Beacham says it's best to contact a pro. Otherwise, "Wear rubber or nitrile gloves, eye protection, and a face mask" to get started.
Preparation is key when staining antique furniture

"First strip the old finish," suggests Beacham in his exclusive interview with House Digest. You can go about it in two ways. "If the furniture is solid, you could sand the old finish off, but if it's veneered, this is risky. You can easily go right through. So use a chemical stripper. I've found gels very good, but this may need to be applied twice to cut through old varnish." We like Dumond's Smart Strip Advanced Paint Remover. Once you have the stripper, read the manufacturer's instructions. You'll mostly find details regarding the application, waiting time, and steps for removal right on the package. Follow them closely to avoid damaging your antique furniture. Now, "If the wood feels 'fluffy,' the grain has been raised. Give it a gentle once-over with 220 or 300 grit sandpaper by hand. Use a sanding block to avoid rounding the corners," advises Beacham.
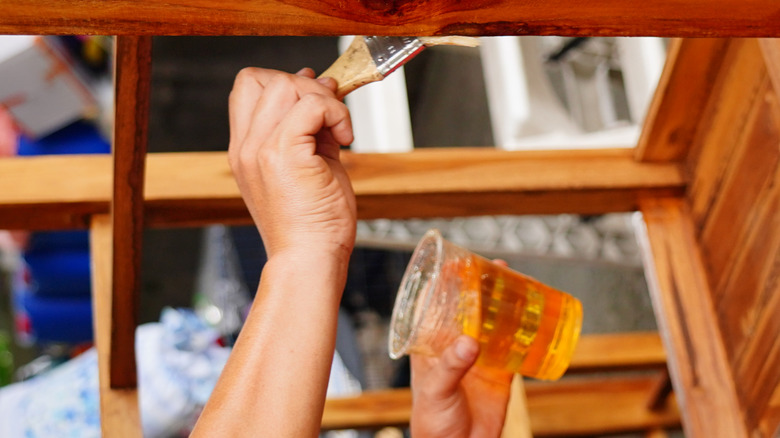
With your base ready, you can start looking for stains. Detailing the various types you can choose from, Beacham says, "Oil-based stains are the traditional choice and usually penetrate the wood well but aren't especially eco-friendly." On the other end of the spectrum, you'll find "gel stains make it easier to get an even color." They're available in oil and water bases, but stick with the former if you're on a tight budget. "Apply the stain with a soft cloth in the direction of the grain," explains Beacham. Lint-free cloths and old cotton t-shirts work well. Aim for even coats, and be prepared to repeat the process a second time if the wood is in bad condition.
Dos and don'ts for staining antique furniture
Although the process to bring your furniture back to life seems simple in theory, avoiding a few common pitfalls will help you achieve the desired results. For starters, Beacham recommends following the manufacturer's instructions to the T in his exclusive interview with House Digest. "Always read the instructions of any staining products carefully. People skip this. They may have used something similar before and think they know what they're doing, but different products produce different results." While your previous experiences will smooth the process, don't let them hinder your progress.
Since you'll be staining antiques, it's important to determine if a product is a good match for your furniture. Beacham adds, "Try a test patch in an area that won't be noticed before tackling the whole piece. Underneath a tabletop, the bottom of a cabinet or shelf, for example." Another thing you don't want to do? Forgetting to remove the stripper. "Don't leave the stripper on too long, or it may damage the glue holding the veneer on." On the flip side, you don't want to remove it too soon. "Be patient. Trying to rush will produce poor results," says Beacham. Finally, invest in a quality topcoat to prevent water rings, random scratches, and age from dulling its appearance. "Bear in mind, some form of topcoat (polyurethane varnish, for example) will be required once stained in order to protect the piece. Wipe-on varnishes are easy to use, and a final coating of furniture wax will add a warm glow," he concludes.