Fix Cracks In Your Wall Once And For All With A Screw Hack
Cracks in drywall are not uncommon and in many cases are nothing to be concerned about. There's plenty of mundane reasons for them — a house's foundations settle over a period of time, or the structure may move with changes in the seasons. You might be tempted to try painting over a crack or covering it with spackle, but that's unlikely to do more than hide it temporarily.
Fortunately, there are a bunch of cheap and easy drywall repair tips to deal with minor issues and even a simple screw hack should fix your cracks for good. Over on YouTube, a guy who goes by The BeefMaster runs through the process in detail. He's fixing a crack on a textured wall, but the repair technique is no different for smooth surfaces.
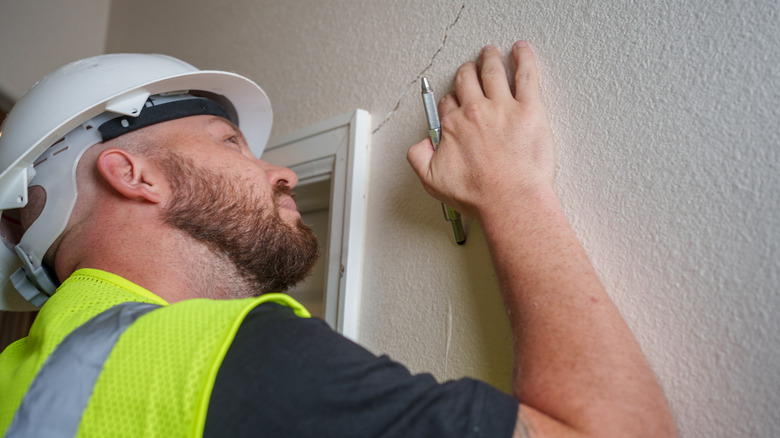
The problem with just trying to fill the crack is that the drywall can still move, and the filler will pop right out again. To prevent this, you need to find the studs, then fix screws on either side of the crack so that the drywall is held firmly in place (there are several ways to find studs without a stud finder if you don't own one). Although the video provides great information, there are a couple of small details we can clarify to avoid mistakes and make things safer.
How to repair cracks in your wall step by step
If it's just a hairline crack, it will need to be widened out to about a ¼ inch using a box cutter. This will give enough of a gap for the joint compound to be effective. Any dust and debris needs to be vacuumed out. Then the studs need to be located, and screws driven in either side of the crack to make sure the drywall can't flex. Drive the drywall screws in slowly because if you go too fast or apply too much pressure, they could go right through. If that happens, you can hide the holes during the next step, but you'll have to drive in more screws a little further out from the crack. Make sure the screw heads are not sticking up. They need to be level with the drywall surface or slightly below.
Now you need to fill the crack with joint compound (often just called mud). Make sure you know the difference between joint compound and spackle before you start. Press the compound in firmly so the crack is properly filled, but try to get as little as possible over the rest of the wall.
Strengthening the crack repair and creating a smooth finish
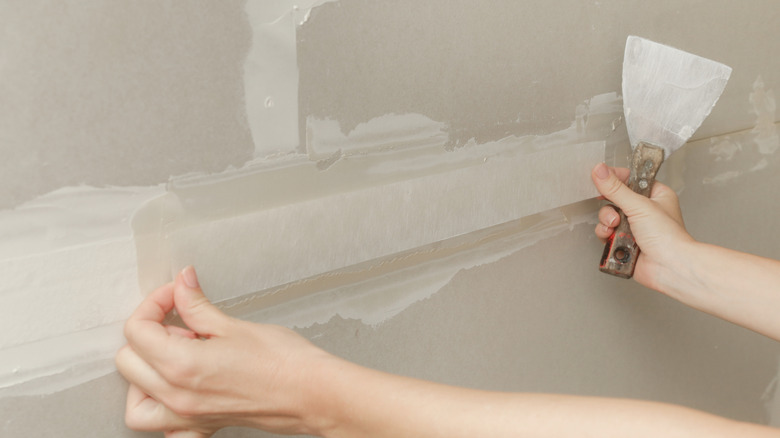
The next step is to reinforce the crack repair. You can use either drywall tape or fiberglass mesh to do this. Over on TikTok, diy_handyman uses mesh. It has a self-adhesive backing that novices may find easier to work with. Tape is usually considered stronger and better for a professional finish. However, with tape you need to add a thin layer of joint compound first to stick the tape to it.
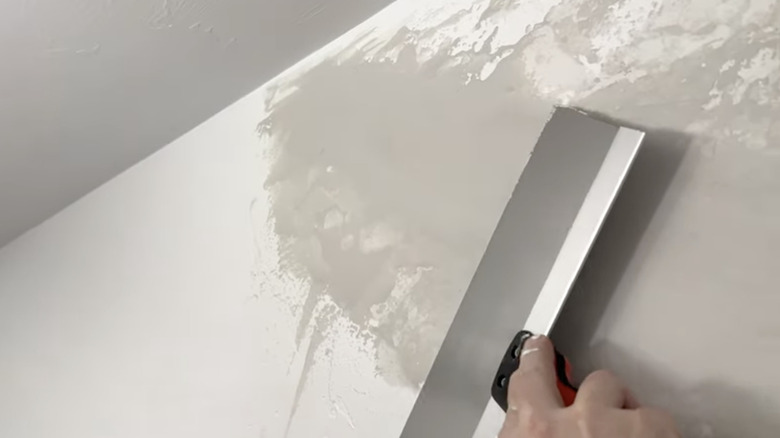
In either case, the mesh or tape has to be concealed with a covering of compound, spread as smoothly as possible, and feathered (thinned out) into the drywall. A broad drywall knife helps, and The BeefMaster uses a 12-inch model. A narrower one can work if you're careful. Once the compound has dried, it can be sanded smooth. Go slowly, and be careful not to sand through the mesh or paper. Although you'll often see people working without any kind of protection, the dust is quite unpleasant, so wearing goggles and a mask is strongly recommended.
If you find small voids or gaps in the joint compound, you can apply a little more and sand back again. Once you're happy, vacuum the wall and floor thoroughly — that dust gets everywhere. Although if you look closely you might see a slightly raised area on the wall, once it has been primed and repainted the crack repair will be all but invisible.