How To Propagate A Snake Plant Using Just A Jar
Love the look of your snake plant and wish you had a few more? You might be surprised to learn how simple it is to get new plants for free using nothing but a glass jar. Snake plants (Dracaena trifasciata) are low-maintenance when grown indoors where temperatures are stable. They're equally easy to duplicate if you want to fill rooms with these sculptural succulents. The water propagation method is one of the best ways for any beginner to grow their plant collection. Bonus: You get to watch new roots grow through the glass.
Snake plants are native to tropical environments and prefer temperatures between 65 and 80 degrees Fahrenheit. Maintaining these conditions is important to keeping your snake plants healthy all winter (or in any season, really), which is why they only grow well outdoors in USDA Hardiness Zones 10 to 12. Also, because these plants prefer dry conditions, rooting them in water is riskier than using soil. The method requires more care to prevent the cutting from rotting. However, if you're committed to keeping a close eye on the water in the jar, the condition of the snake plant cutting, and your indoor temperatures, you'll have success with this propagation technique.
Carefully prepare your snake plant cutting for propagation success
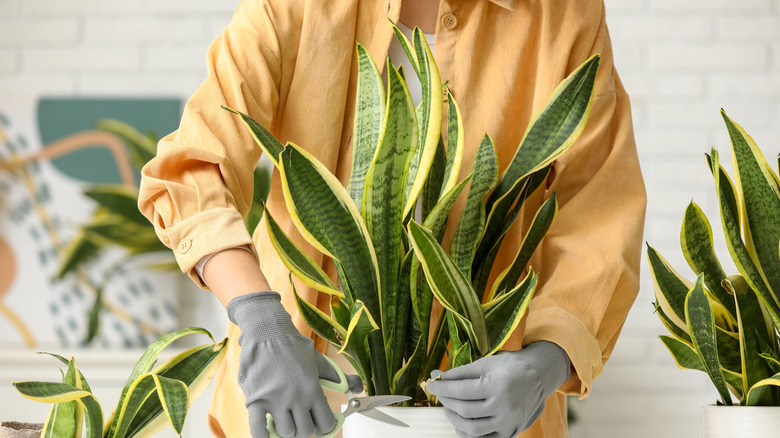
Propagating a new snake plant starts with picking and preparing the right leaf from your parent plant — well before anything even touches the water. Choose a mature leaf that looks healthy and is free from damage or discoloration. Using a clean, sharp tool like a pair of gardening scissors or a knife, remove the leaf just above the soil line. If the leaf is really long, cut it into shorter segments, with each piece measuring 4 to 5 inches in length. This is a good way to get more plants out of a single leaf.
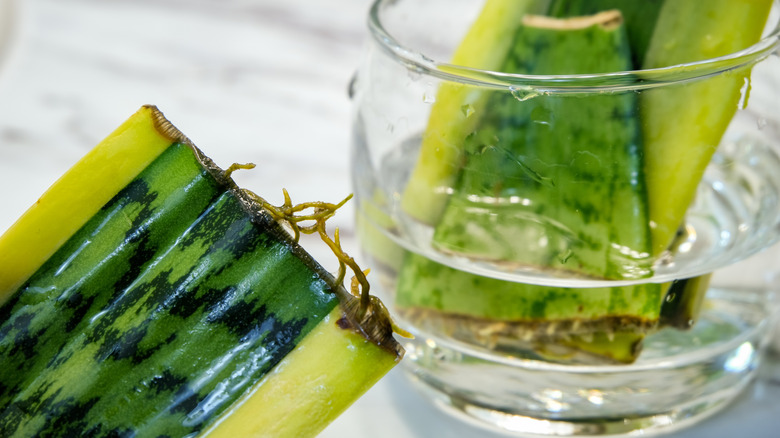
The roots will only sprout from the end of the leaf that was closest to the soil. To encourage rooting, make an inverted V-shaped cut or notch on that end of each cutting. This reminds you which end to immerse in the water. After making these cuts, place the segments somewhere dry, with indirect light, for one or two days. This allows the segments to heal, with a callus forming over the wound, and lowers the chance of bacterial infection and rot later in the propagation process. Skipping this step is a common mistake to avoid when propagating a snake plant. Note that cuttings taken from variegated snake plants will revert to solid green as they grow.
Clean water is key for snake plant cutting root growth
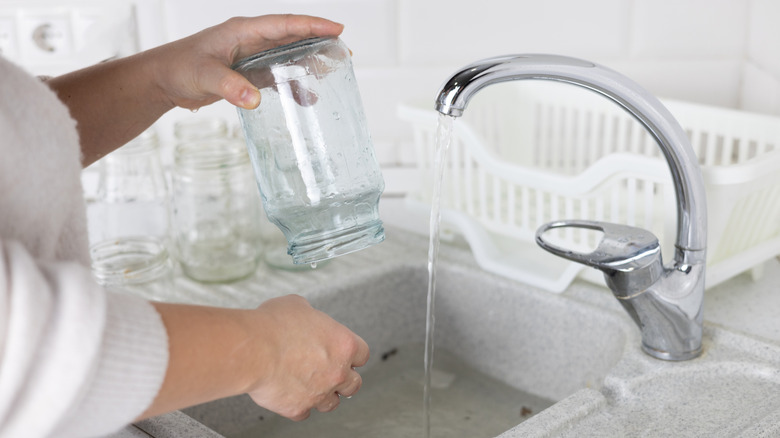
Once the cut end of each snake plant leaf segment has callused, you can move them into glass jars. First, sanitize the jars and fill them with a few inches of water. Use filtered or distilled water over tap water. The latter can cause mineral buildup that might harm the new roots that will form. Submerge the callused end of the cuttings in the water until about a quarter of the leaf segment is underwater. Don't let an entire cutting sit in the water or it may rot. Place the jars in a warm spot that gets plenty of bright, indirect light.
Your snake plant cuttings need fresh oxygenated water to develop roots, so replace the water every week. You should also clean the jars during this weekly water change to remove any bacteria that might have started to grow on the surface of the glass. This propagation method requires some patience; it may take the roots a couple of months to reach the size needed for transplanting. When the new roots are about 1 inch long, move the cuttings to small flower pots filled with a well-draining houseplant or succulent soil mix. Snake plants don't do well with soggy roots. Look out for signs that it's time to repot your snake plants as they grow larger — for example, slower growth, wilted or yellowing leaves, or roots coming out of drainage holes.