Keep Your Faucets From Freezing: 7 Easy And Affordable DIY Faucet Cover Ideas
We may receive a commission on purchases made from links.
Inside your home, there's a lot of prep work that needs to be done to prepare for the winter season. Tasks like cleaning and servicing your HVAC system, reversing the ceiling fans, and choosing a window insulation kit should all be done before temperatures drop too low. With all those indoor jobs on your winter to-do list, it can be easy to forget about exterior preparation. However, tasks like winterizing your outdoor faucets are just as important.
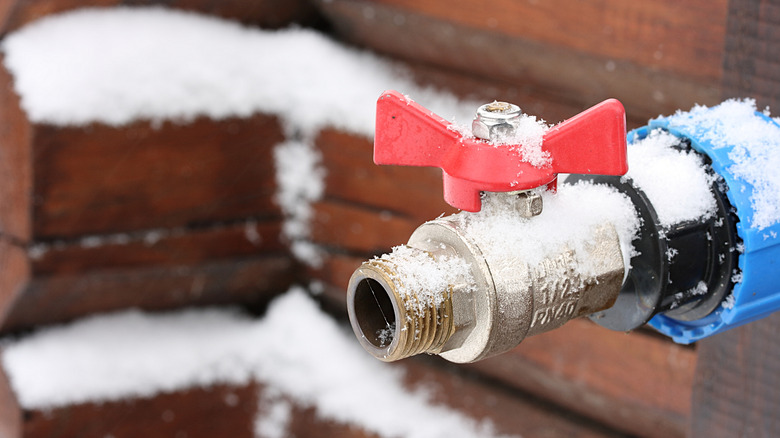
Winterizing your outdoor faucets will help prevent your pipes from freezing and bursting when the temperature dips below 32 degrees Fahrenheit. To do this, you need to detach and drain your hose, shut off the water supply and drain any remaining water from your pipes, and close the spigot. To finish off the winterizing process, place a cover over the faucet to keep it warm and safe. Of course, you can buy these covers from the store, but making your own faucet cover is an easy way to save a few dollars. Most of the DIY faucet covers listed below use materials you likely already have, such as pool noodles and takeout cups, so you can make them virtually free of charge.
Old towel and duct tape
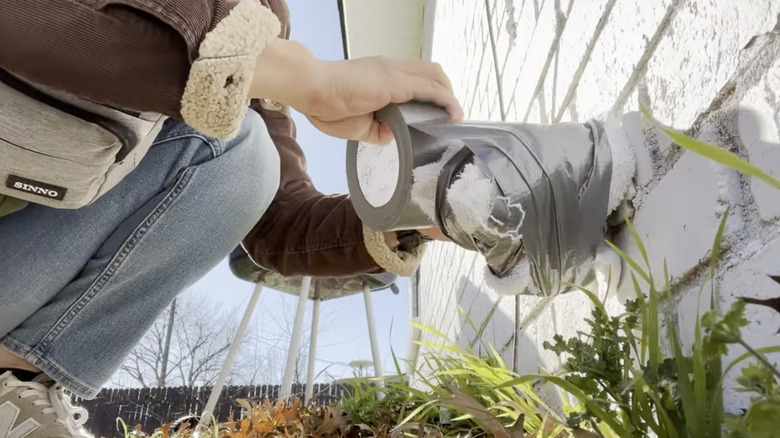
This method couldn't be any easier. Simply take an old hand towel or rag and wrap it snugly around your faucet. Then, to secure and conceal the towel, add a few layers of duct tape. Although this option utilizes materials you most likely already own, it may not be as secure or waterproof as other techniques. For extra protection, consider placing a plastic bag over the towel before wrapping the entire DIY cover in tape.
Pool noodle and tape

This faucet cover is just one of many surprisingly genius pool noodle hacks and DIYs to try in your home and garden. First, cut off a portion of your pool noodle that's big enough to cover your faucet. Cut a slit in the noodle halfway down in the center to help the noodle open wide enough. Place the pool noodle over your faucet, and stuff the exposed end with a scrap piece of noodle foam. Finally, wrap everything in tape to close the opening.
Socks, plastic bag, and a rubber band
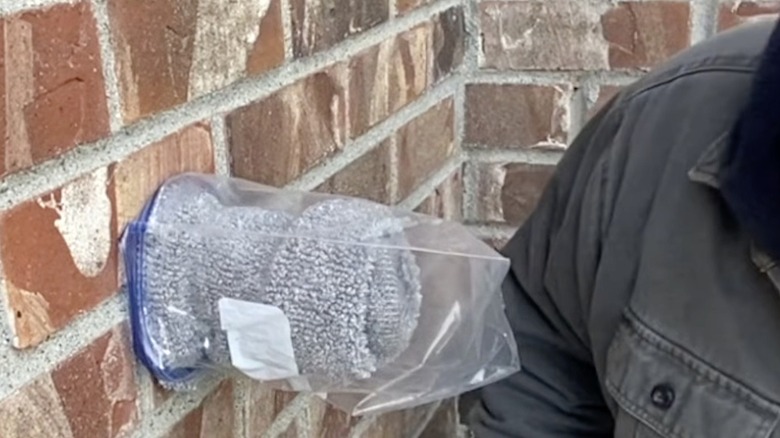
Got an old pair of thick or fluffy socks lying around? Don't throw them out. Instead, wrap your outdoor faucet with them, then place a plastic bag over the top. Secure the bag in place as close to the wall as possible using a rubber band. You can also use zip ties, tape, or string instead.
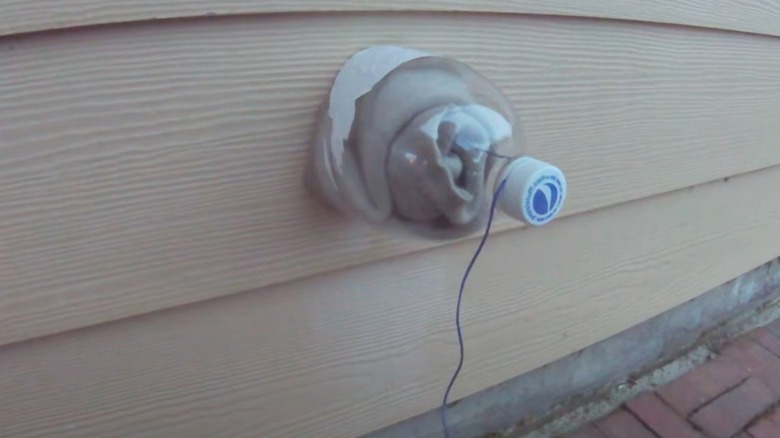
Takeout cup, string, and a stick
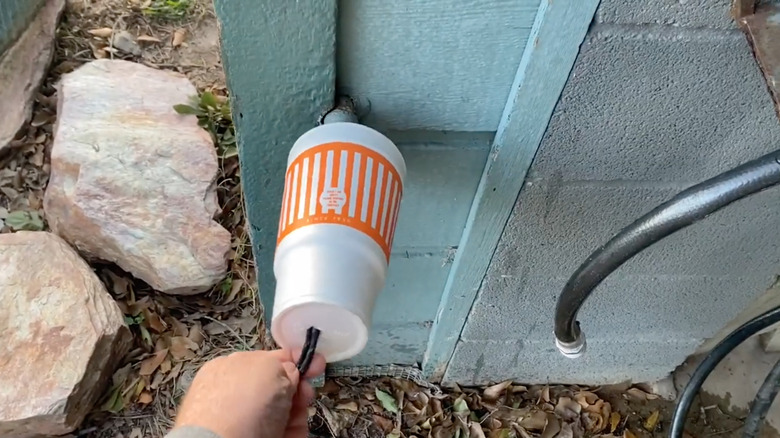
Foam takeout cups offer a little bit of insulation — it's how they keep your sodas cold and your coffees hot — so using them as a faucet cover makes sense. First, puncture a small hole in the bottom of a large cup (the cups from Whataburger have worked well for other DIYers). Then, fold a piece of string in half and push the "loop" end inside the cup. Hook the loop over your faucet, pull the cup flush to the wall, then tie a stick on the end to keep the cup in place.
String, soda bottle, and old socks
If you're a soda drinker, then you probably have old bottles lying around often. Great, cut off the top cone portion of a two-liter bottle. (You can save the bottom half for a future DIY.) Start by tying a long string to your faucet, then wrap it with a pair of old socks or another warm fabric, leaving the tail of the string accessible. Once the socks are in place, cover them with your bottle top. Pull the string through the mouth of the bottle and use the bottle cap to secure everything in place.
Plastic mixing container, spray foam, and zip ties
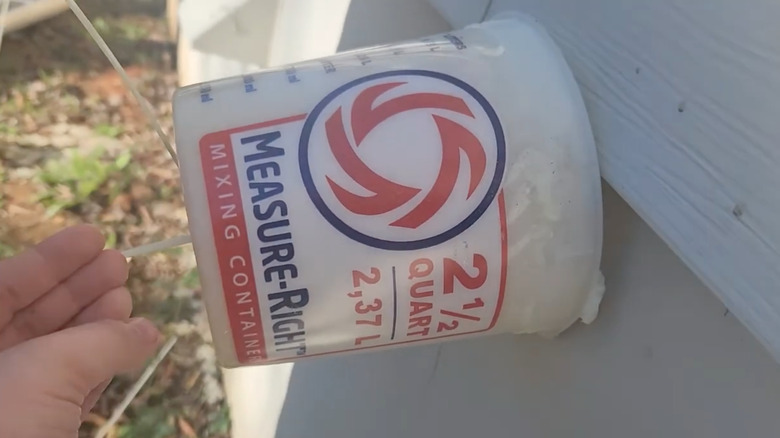
For this DIY faucet cover, you will need a bottle of Great Stuff Gaps and Cracks foam, zip ties, two plastic mixing containers (one 1 quart and one 2 ½ quart size), and a heavy weight. Fill the larger container about halfway with foam, and place the smaller one in the middle, allowing the foam to expand up the sides. Place a heavy weight on top of your containers and wait for the foam to dry. Once dry, drill a hole in the bottom of your containers and use two zip ties to attach the containers to your faucet.
Coffee canister, insulation, and string
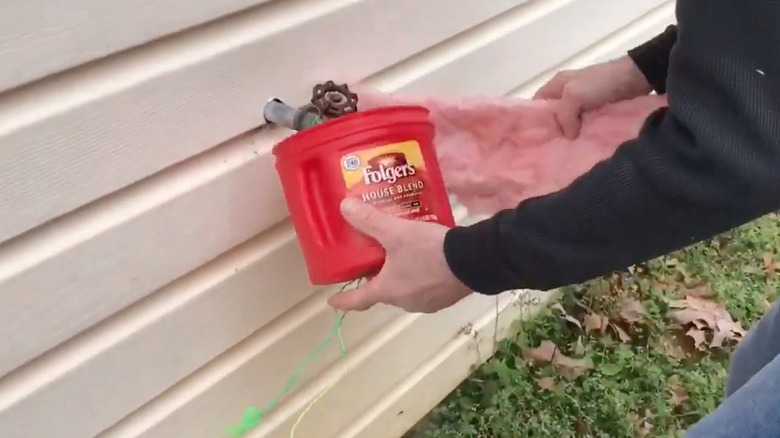
For this method, you will need a plastic coffee canister, some string, and some pink insulation. This is a great opportunity to use leftover materials from a recent renovation. Be sure to use PPE when handling insulation, as it can irritate your skin. Start by cutting a small hole in the bottom of your coffee can. Then, tie your string to the faucet, leaving a long tail. Slide the tail through the hole in your coffee can, stuff the canister with pink insulation, and finally pull it tight and tie it off.