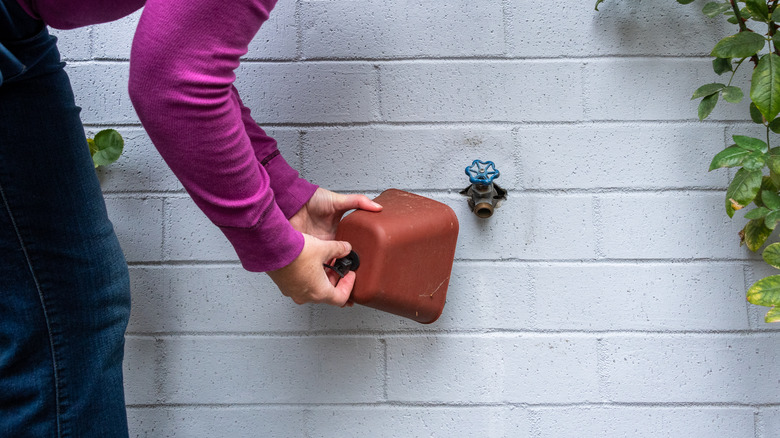
How To Make Your Own Faucet Cover

Refusing to prepare your home for winter can lead to some expensive damage. In preparing your home for the winter storms, a vital part of your home to care for is the plumbing system. This includes the pipes and, most importantly, the outdoor faucets.
Most people think insulating their pipes alone is enough to prepare for winter. However, insulating your pipes may just be a waste of your time and money if you aren't making other preparations, explains Hunker. If you get blizzards and your faucets are bare, they may be damaged. Today we will be looking at how to make a faucet cover for your outdoor faucet.
You may be thinking, why not just purchase a faucet cover? Well, we love to think ahead. What if a sudden blizzard occurs and your local hardware store runs out of faucet covers? Don't fret; we have you covered. Here are some easy DIY faucet covers that will protect your outdoor faucet and a few more tips, such as installing a faucet cover and preventing further damage to your plumbing system from the frigid cold.
What you need for a DIY faucet
The materials that go into creating a DIY faucet cover are easy to find, and the tools required are your basic everyday tools. Even if you don't have them, your next-door neighbor surely would.
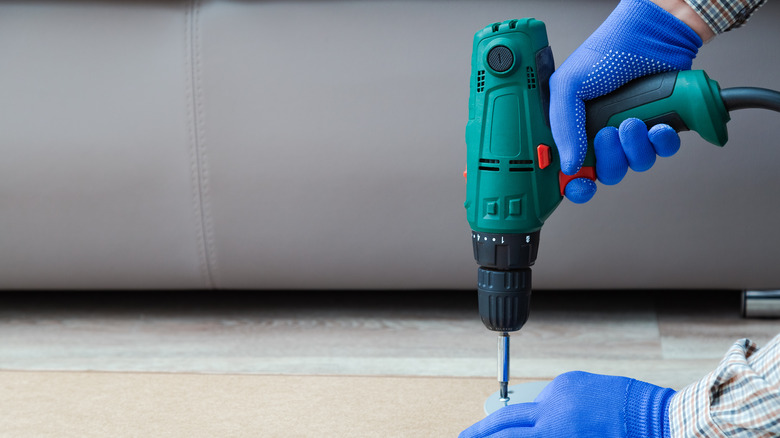
For the tools, you will need gloves for protection. We cannot stress this enough, when doing any form of DIY, please purchase cotton or leather gloves. EHS Insight writes that these are the first safety precautions for workers, even DIY workers. Next, you will require a pair of scissors for cutting materials and a wire cutter. Lastly, you will need an electric drill and a variety of drill bits.
For materials, you will need fiberglass insulation, a 1 to 2-liter size plastic bottle, or three disposable cups. Any of these materials can be used as long as they fit your faucet. You will also need some duct tape and wire.
DIY method 1
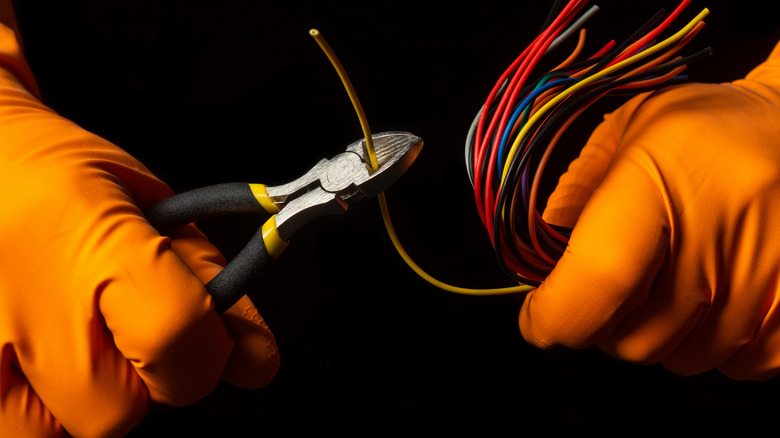
For the first method, start by drilling a hole in the plastic container's bottom. The hole should only be about a quarter-inch wide. Then cut about 60 centimeters of wire and fold it in half. Once the wire is folded, it's time for the hard work. Tighten the wire for a sturdy bend, and then insert the wire into the hole in the plastic container, Make: explains.
Next, take your fiberglass insulation and cut it into unequal strips. You want some pieces that are 12 inches long and some that are 6 inches long. Take the shorter strip of insulation and stuff it into the bottom of the plastic container. The 12-inch insulation, on the other hand, will be used in the interior of the faucet cover. Take the 12-inch piece and wrap it one in the inner bottom of the container and one in the top, leaving about an inch of insulation bare, says The Pinnacle List.
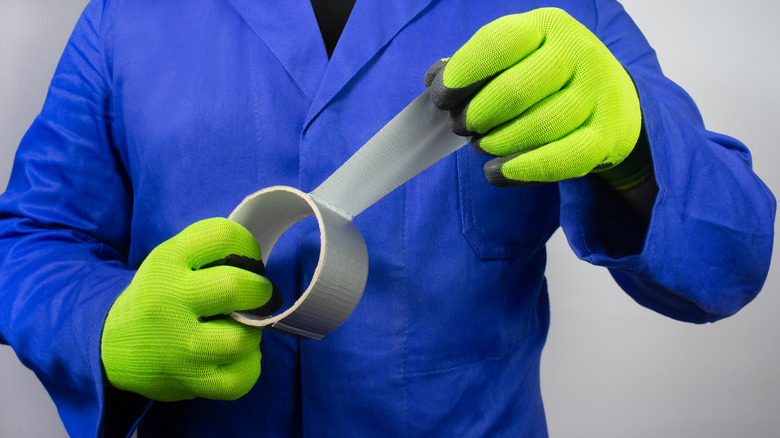
The last step is to cut another 4-inch wire, which we will use to create a loop at the faucet's opening. Create your loop and then join it to the existing wires and wrap it at the faucet's opening. Once that is in place, use your duct tape to provide extra insulation and hold the entire faucet cover together.
DIY method 2
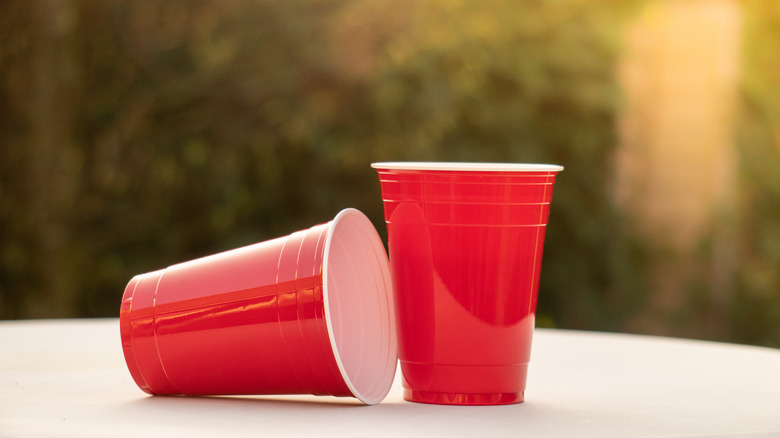
Another DIY faucet cover is to use plastic cups. You will need about three or four plastic cups for this DIY project. Stack the cups inside each other and, using your scissors, cut off the top, rolled-up part of the top two cups. This is essential because it makes all three cups the same height, explains Hunker. Next, cut off some duct tape, about enough to tape the cups to the faucet.
Afterward, get your bottle and cut off the bottom half. Carefully lay some insulation in the bottom of the bottle before attaching it to your stacked cups. This will provide some extra protection for your faucet. Keep in mind that you can always use some socks or heavily threaded cotton cloth for insulation, says Greed Head. This is especially helpful if you can't find fiberglass insulation or if this is an urgent DIY project. The last step is to tape the entire faucet cover over your faucet.
No cost alternative to a DIY faucet cover
If you're not a DIYer and don't want to create an intricate DIY faucet cover, your first instinct may be to purchase a faucet cover. But if your local hardware store is sold out, what do you do? Don't worry; we have your back.
One underrated hack is to use an old cloth, a plastic bag, and some duct tape as a faucet cover. That's all you need. Bobbie, who lives in Houston and manages Clumsy Crafter, explains that this technique has worked for her for years.
To use this simple method, first get a thick cotton shirt or towel and wrap it around your faucet. We recommend cotton because Vernier says it is an excellent insulating material. Once the fabric is wrapped around your faucet, cover the faucet with thick polythene or a plastic bag. Then use duct tape to hold it in place or to cover all the unsightly areas.
What to know before installing a faucet cover
Contrary to the uninformed popular opinion, covering your outdoor faucet with a faucet cover is not enough to winterize your home. There are a couple of additional steps to take to winterize your home, even before you install a faucet cover.
One of these winterizing steps is to make sure the wall hydrants are frost-proof. The first step, according to The Spruce, is to disconnect all your hoses, especially the ones leading to a garden. Then inspect the faucets for leaks and repair any. If you cannot repair the leaks, simply replace the entire wall hydrant to reduce your chances of experiencing freezing pipes. The next step is to drain all the water from your pipes. Love to Know explains three easy steps to drain your pipes effectively. First, shut off the water supply. Then drain the pipes and apply pressure to force out all the extra water.
How to insulate your pipes
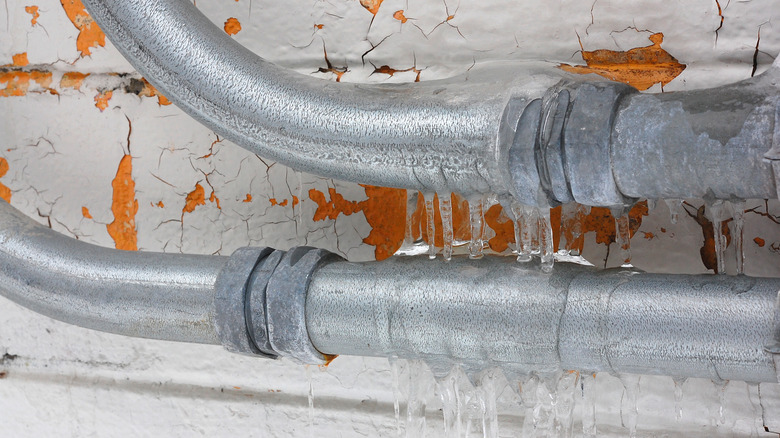
One more step that goes into winterizing your home is to insulate your pipes. Remember, winterizing your home is more than just protecting your faucets or pipes. You have to do both because doing either alone is pointless.
The first step of insulating your pipes is to seal all the leaks to avoid cold air from coming in. Seriously, caulk them up, writes State Farm. Then, you need to insulate all of the pipes in the attic or other crevices of your home. The Ohio Basement Authority says that your best bet is employing foam insulation. Do not forget to use some heating tape too.
Another great way to prevent damage to your pipes in the winter is to ensure proper circulation of warm air in your home. Simply leave the cabinet doors open so that the heat from the rest of the house warms up your pipes too. For the best results, leave all the cabinet doors in the home open, explains The Balance Small Business.