DIY A Simple Vanity Organizer With The Help Of An Old Shoe Box
We may receive a commission on purchases made from links.
If you're looking for a fun little project that lets you play with your creativity and put your craft skills to the test, we've found the perfect one. Repurpose an old shoe box into a simple holder that will help you organize your bathroom vanity by storing makeup, lip glosses, and even nail polish in tidy compartments. With a little glue and some patience, your shoe box will turn into the cutest thing, almost like playing with that Caboodle box you probably owned in the '90s. And just like that one, you'll have plenty of layers to tuck in all your glam goodies. The only difference is you get to customize this vanity organizer exactly how you want it.
To create an affordable vanity organizer, you'll need a large shoe box, preferably one with a detached lid (attached is fine, you'll just have to cut it off). You'll also need a hot glue gun, spare glue sticks, two or three types of fabric (following a few tips to perfectly mix patterns), and some extra cardboard, like that box that just arrived in the mail and is headed for recycling. You'll also want to add some E6000 (or another strong crafting glue) and a knob to the list of materials, since we're making a drawer in this vanity organizer and you'll need something to pull on. One option is the Kyuionty Solid Brass Cabinet Knobs on Amazon, but go for the style that really speaks to you. Lastly, grab your X-Acto knife, and you're ready to get to work.
Create an adorable vanity organizer from a shoe box
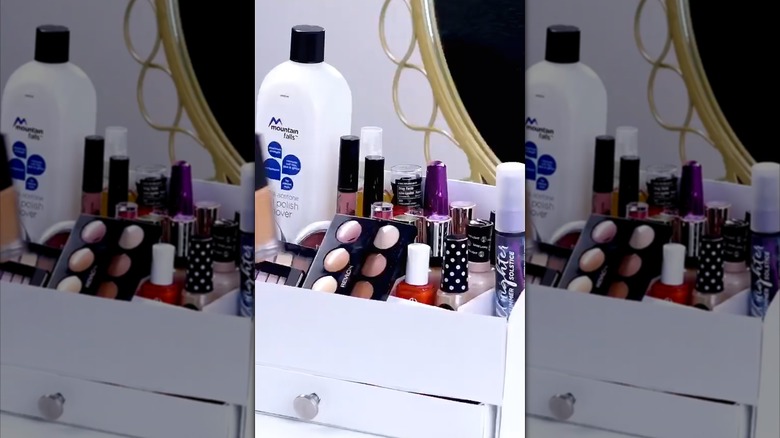
To start, remove the lid and, using it as a guide, measure it against the long side of the box. This is where you're going to cut out a slot to insert the lid as a drawer. Measure how high the lid reaches, leaving just a slight bit of room above that, and cut out a rectangular slot from the front of the box. If needed, replace or sharpen your X-Acto knife blade to ensure a clean, easy cut. Your shoe box lid should slide in like a drawer. Now, before you get into creating compartments, use hot glue (or spray adhesive) to adhere your fabric on the interior and exterior and give your shoe box some character. If that feels too advanced, spray paint is always an alternative.
Once your box is lined with fabric, measure out a piece of cardboard to fit inside the full box when lying flat. This will be glued right above where the drawer slides in and out, so don't place it too low. You'll also want to cut out a few other pieces that can be used to form dividers within the top portion of your DIY organizer. Be sure to wrap these with fabric before gluing them into the box.
Next, wrap your lid with fabric, and attach your knob with E6000 glue. Once it's dry, slide the drawer in. Use some cardboard (also wrapped in fabric) to create compartments within the drawer. You'll then have a top portion with sections and a drawer with sections. And if you really want to give it that vanity feel, you can even attach a book light, like the KTEBO Rechargeable Book Light, to the back of the box to shine over your items.