Deck Your Walls For The Holiday Season With This Genius Temporary Wallpaper Hack

We may receive a commission on purchases made from links.
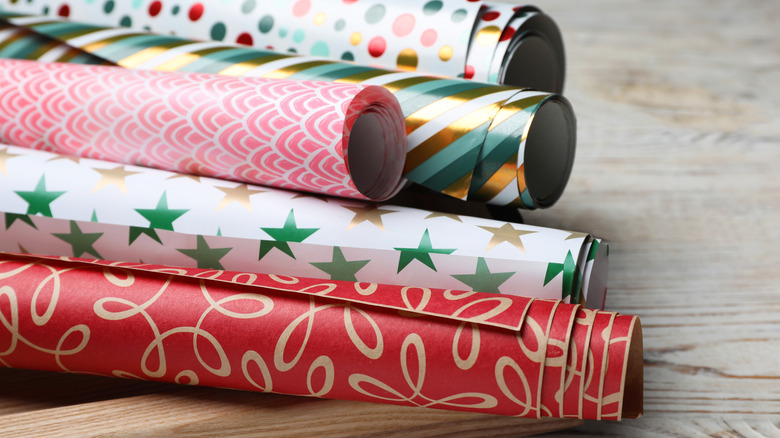
Buying jumbo rolls of wrapping paper seems like a budget-friendly move until you're still using the same patterns five years later, trying to disguise gifts from the North Pole with prints your kids recognize on sight. Does Santa actually have a workshop, or is he hoarding those weird gingerbread and candy cane patterns left over in the clearance aisle like the rest of us? There may very well be no such thing as too many Christmas cookies. But if you've overestimated how many square miles of gift wrap your family goes through each decade, and can't let yourself indulge in new rolls until nothing's left of the old ones except their long cardboard tubes, there's one genius Christmas decor hack you need to add to your wish list immediately. Leftover wrapping paper turns into cozy Christmas wallpaper on itsmeshelbyturner's TikTok. She decks the walls for the holiday season with nothing more than a few rolls of double-sided tape, a wallpaper smoother, and plenty of pattern-matching patience.
This project takes considerably more time than decorating with holiday garlands, but the process itself couldn't be easier. You don't have to be an expert crafter to pull it off, but since the process is somewhat similar to hanging wallpaper, you may want to bribe a helper with a few Christmas cookies. Whether you're attempting to use up those never-ending rolls or you found a sweet deal on brand-new ones, make sure you have enough to cover your desired walls. Most wrapping paper packaging will tell you both the width and length on the roll, but a measuring tape will come in handy for sizing up the room itself.
Simple tips for decorating your walls with wrapping paper
You won't struggle with messy paste or infuriating peel-and-stick adhesive when decorating with wrapping paper. But you should try to avoid the mistakes DIYers make when hanging wallpaper, since keeping your designs square and matching prints will still be the hardest parts of your task. Save your sanity by starting in a seldom-seen corner instead of the most conspicuous spot in the room, in case your pattern doesn't line up perfectly.
As you cut your panels, a sharp pair of scissors works fine, but for crisp lines that look neater against wainscoting or baseboards, a specialty tool like the highly-rated Little ELF wrapping paper cutter will give you cleaner results. Measure and trim each sheet to size before using double-sided tape to adhere it in all four corners and at even intervals down the center. If you're working with industrial-strength wrapping paper (like that one print grandma keeps saving year after year), a tool like the Rust-Oleum flexible smoothing tool may help you get the best application. But for more delicate papers, rely on your hands and a helper to gently pull the sheet taught to avoid tearing.
For budget-friendly Christmas decorating, this might be one of the cheapest DIY projects you can do with materials you already have on hand. Still, there's one final precaution to bear in mind. Whether you're covering a single accent wall or turning your bathroom into a life-sized gift box, opt for low-adhesive options like Secopad scrapbooking double-sided tape dots to protect painted or wallpapered surfaces when it's time to take this temporary wallpaper hack down.