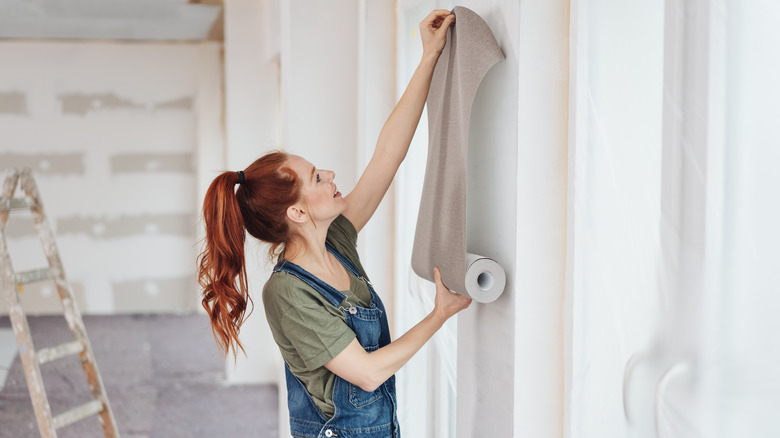
The Biggest Mistakes DIYers Make When Hanging Wallpaper
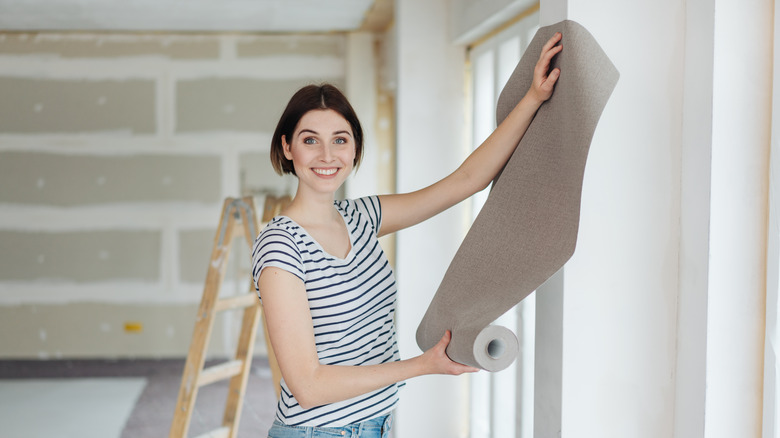
Wallpaper can totally bring a bold statement to just about any room in your home. As a matter of fact, the right wallpaper can do everything from sprucing up a rented home, to hiding uneven texture and wall imperfections. You can consider doling out some serious cash and hiring professional paper installers or decide to take on the strenuous task yourself. But if you go the latter route, there are some wallpapering mistakes to avoid when taking on this project. There are plenty of wallpaper brands that have revolutionized the ease of wallpapering, enabling DIYers to transform entire rooms pretty impressively. But just because the process is now easier than ever before, that doesn't mean it's totally foolproof.
We've rounded up some common mistakes to avoid while hanging wallpaper on your own. After all, you wouldn't want to spend hundreds of dollars on rolls of paper only to be left with an amateur looking mess on your walls. While you may love DIY home projects, you will want your finished design to look as professional as possible.
Below are some of the biggest mistakes DIYers make when hanging wallpaper, in addition to tips on how to avoid making them. If you take your time and keep our do's and don'ts in the front of your mind, your finished wallpaper project is sure to look absolutely stellar.
DIYers order too little wallpaper
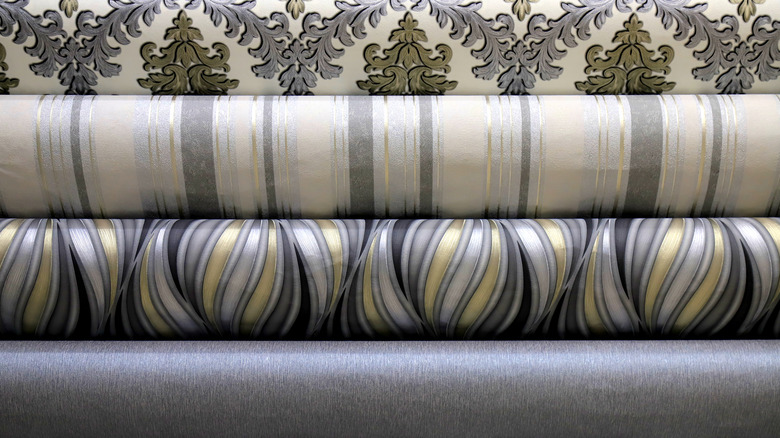
One of the first pitfalls to avoid is to not order enough wallpaper for the area or room you are working on. Even "budget-friendly" wallpaper can become expensive when a person is planning to paper an entire room. Many DIYers limit themselves by ordering just enough paper for the square footage of the project and not taking a few things into consideration.
There are mistakes that inevitably happen while papering, whether you accidentally mismatch the pattern or unwittingly tear a piece of paper while adjusting a panel. Keep in mind that it's also smart to have an extra roll on hand for future touchups after the wall experiences normal wear and tear. "It's always better to buy more of the same batch number in case something goes wrong," DIY expert Jo Behari told House Beautiful. "You can always return unused rolls. You might want to keep one back in case you need it for future repairs." Order anywhere from 10% to 25% more paper than you need to anticipate these DIY mistakes. If you order short, in the end, you will pay more than expected — especially in shipping costs — because mistakes will inevitably force you to buy more paper. You also may not be able to get the same batch number, and the colors can be a bit off.
They forget to order lining paper
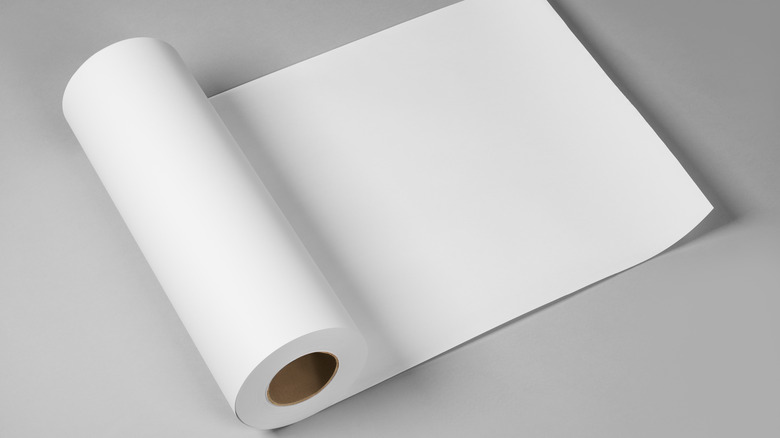
As in any DIY project, the prep work is a crucial step. Just like priming raw wood before you paint it, you have to prime walls before you wallpaper them. One easy way to do so is by ordering lining paper. Lining paper will give you that lovely even base on the walls for your wallpaper, and it will also block your wall color from bleeding through from behind the pattern. If you have dark wall colors such as purple or red, the lining paper is a must. The same precaution should be used if you have uneven, bumpy walls or walls with cracks in them. The lining paper will help create a smooth base for your project and a really professional finished look.
In addition, lining paper will help your wallpaper better adhere to your walls and help it last for an extended period of time, according to Graham & Brown, a wallpaper and paint company. Wallpaper sometimes has a hard time adhering to plaster, but the lining will ensure that it will stick seamlessly for years. This is definitely a step you don't want to skip.
There are trapped bubbles under the paper
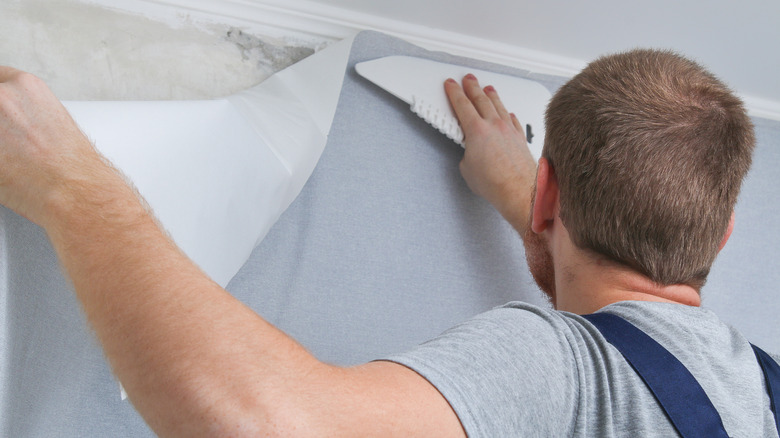
There are certain tools you will need to use to hang wallpaper, and choosing to not buy those tools to protect your overall cost can lead to frustrating results in the end. Specifically, you can end up with trapped bubbles under the wallpaper or curling seams. To avoid getting air bubbles in the first place, you need to go slowly when applying the wallpaper and smoothing the wallpaper down with a credit card or plastic smoother as you apply it. If an air bubble does arise, wallpaper and paint brand Lick Home recommends cutting a slit on the side of the blister with an X-Acto knife, and applying wallpaper paste with a glue syringe. Once the glue is applied, press the paper back down, and be sure to clean off the extra adhesive.
To avoid getting curling seams, make sure you apply enough adhesive on the edges of the wallpaper so it stays against the wall. If you didn't apply enough adhesive and notice a curling corner, Lick Home recommends lightly dampening the curling area with a sponge or cloth, adding more adhesive under the edge or seam that is not cooperating, and pressing it back down to get it to stick.
So make sure you don't skimp on the tools you need for this project, and take your time with each small step along the way.
DIYers begin papering in a bad, noticeable spot
In order for wallpaper to look professional, the pattern in the paper needs to match up seamlessly. That is sometimes incredibly hard to do — especially when trying to match the first strip of paper with the last when you are papering around a room.
In order to work with that issue, Martha Stewart recommends hanging the first strip of wallpaper in an unnoticeable spot. That way, if the pattern of the first panel doesn't align with the last one (which it most likely will not), the mismatch won't be an eyesore. Martha Stewart recommends beginning the papering process behind a door, but you can also start papering in an overlooked corner, near a window, or by a closet. In an article on "How To Measure And Hang Wallpaper," Annie Selke, a company that sells home décor and more, recommends ending the pattern by the entrance door. The wall opposite the entrance is the first place your eye lands when coming into a room, but the entrance door is the last place you will notice. "The goal is to have any unpattern matched areas near the entrance, hopefully behind the door to the room where they will go unnoticed," which is a great tip from the article.
Avoid these common mistakes DIYers make when hanging wallpaper, and you won't end up researching the best ways to remove wallpaper by the end of your project! Much luck, and happy papering.