Turn Affordable Dollar Tree Items Into The Cutest Holiday Bow With An Easy DIY
We may receive a commission on purchases made from links.
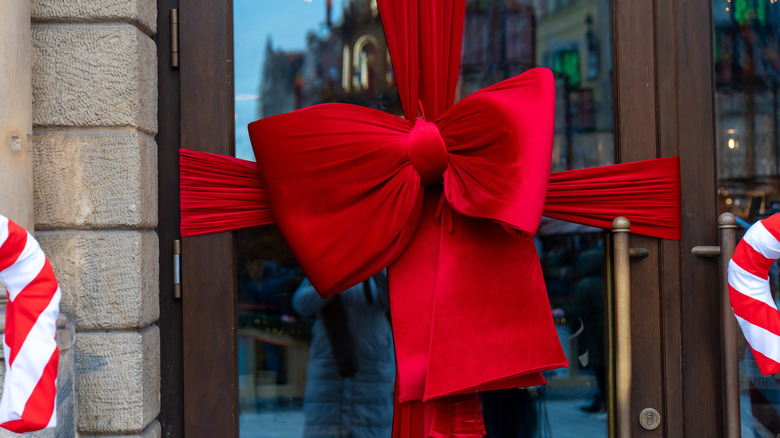
The holidays are upon us, and that means parties, great food, plenty of company, and just a little more spending than we're used to. For those still trying to get their decor up but who don't have the budget to buy everything new, there's a simple answer, but it involves getting your hands dirty: DIY. Discovering how to craft creative Christmas decorations you can make with household items is a fun way to save and personalize your home for the festive season. And if it's not on hand, the second-best option is visiting your local discount store. That's precisely what you'll do for this project, which involves transforming placemats into gorgeous plush bows to hang on the door, your tree, and anywhere else you'd like.
The best part about this DIY is that you can make it as intricate or simple as you like by using a sewing machine or hot glue. You can complete this craft with only four items, including two Dollar Tree holiday placemats for $1.50 each, cotton batting like the Fairfield poly-fil found at Walmart for approximately $6, a good pair of scissors, and either a sewing machine and thread or a handy dandy hot glue gun. If you don't want to spend on the base materials, don't sweat it. Use a placemat you already have, and rip open a pillow that's seen better days for the stuffing. Either way, you'll save on Christmas ornaments with this festive Dollar Tree DIY, plus wind up with decor nobody else on the block has.
Putting your DIY Dollar Tree bow together
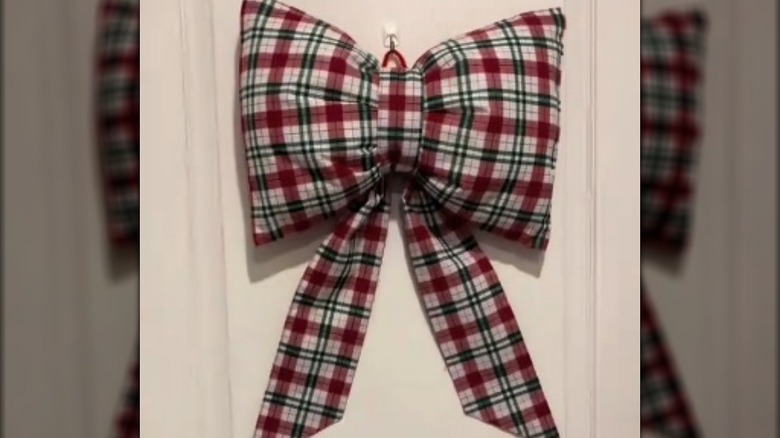
Cut the end of one placemat open and stuff it with polyfil. Seal the end by sewing it shut or using hot glue. You can also use another no-sew option, like Dritz liquid adhesive. Tie a piece of yarn or twine around the center to create the crease of the bow. Cut the second placement into three strips, two of which are about the same size. Taper the ends with scissors and hem them with the adhesive or a needle and thread before attaching them to the base of the bow: These form the tails of the ribbon. Finally, cover the twine by wrapping your final strip of fabric around the center and securing it on the back of the stuffed bow.
@lavenderlabelsbyemz I swear this is the CUTEST DIY from dollar tree I've make this year! #christmasdecordiy #tiktokcrafters #dollartreediy #christmasbow #ralphlaurenchristmas
This is such a gorgeous Christmas ornament to make on a snowy day, or with a group of friends as a festive activity. Customize these hangable items by adding Dollar Tree's Crafter's Square jingle bells, dipping the ends of the bow into glue and glitter, or sewing on sequins, pompoms, and other adornments. Change things up by using a different color of material for the bow's center. If you've been looking for a way to decorate for the holidays while maintaining a minimalist aesthetic, keep it clean and hang it as is. The base craft can be made for under $10, not including the tools you use, such as your hot glue gun or sewing machine. With this gorgeous DIY, you'll save money and have a lovely celebratory bow to ring in the new year.