Unlock Hidden Pantry Storage With This Surprisingly Simple Wall Niche DIY
We may receive a commission on purchases made from links.
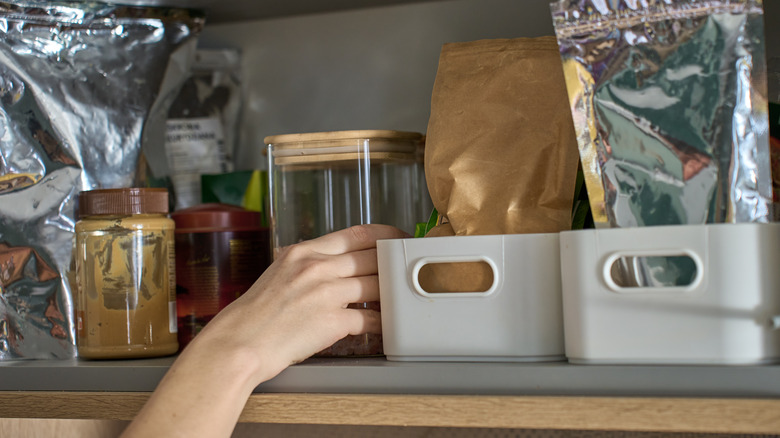
If there's one thing homes never seem to have enough of, it's storage. That's especially true when it comes to pantries, where baking supplies, cereals, snacks, and canned goods are all competing for space. The good news is, there's a simple DIY that can help. As shown in a TikTok video from creator @yourlifeiswhatyoumakeit, adding a wall niche — or even a few — can be a great way to add more storage to your kitchen without having to undergo a full kitchen pantry renovation.
A wall niche is a recessed cubby built directly into the wall. While the concept is hardly new, it's one that designers and homeowners have been increasingly embracing as an easy and cost-effective way to increase storage space. As a DIY project, it requires a few steps, but with basic tools, some lumber, and a bit of patience, it's something many DIYers can tackle. When choosing where to install this addition, you'll need to find the wall studs and decide whether the shelves will sit between them (this will typically give you about 14 inches of space) or whether you'll need to cut a stud to widen your niche.
Start by cutting the drywall to your desired size and shape using a drywall saw or oscillating tool with a drywall blade. If there's a stud in the way, cut out the section where the shelves will go. If you do so, however, just keep in mind that you'll need to use beams — 2x4s work well — to frame out the inside of the cubby and ensure the cut stud is properly supported.
@yourlifeiswhatyoumakeit More storage in between the studs!? I think yes! Only 1 stud was hurt in the making of this reel! 🤣
Easily build DIY shelves with plywood and nails
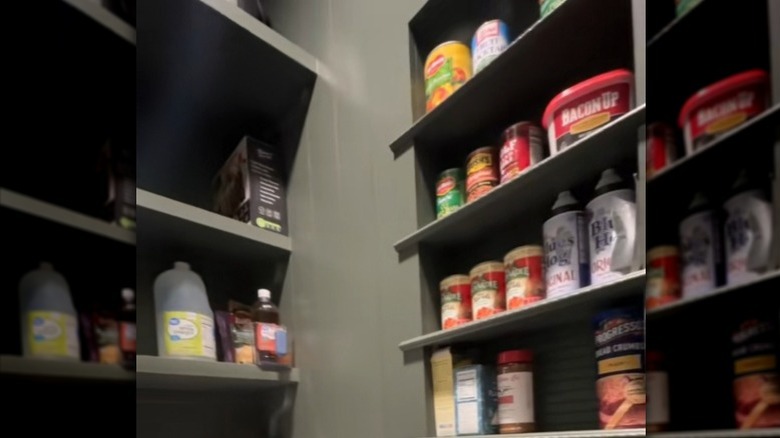
The next step is to install your shelves. You can purchase a pre-made option, like this four-shelf 14x36 Recessed Medicine Cabinet that's available on Amazon for under $200, but if you want to save money or customize the look, building your own is fairly simple. Cut pieces of plywood to form a box that fits inside the space, then secure it with wood glue and nails. To give the shelf unit a more finished look, add a veneer panel to the back of the frame. Install the frame inside the opening by nailing it into the studs.
Next, attach the shelves, cut to size, inside the frame. You'll typically have 3½ inches of depth to work with, though you could slightly extend the shelves beyond the frame for a bit of extra space. Add trim pieces around the frame's perimeter to cover up any gaps or rough edges. To elevate the look, you could also add decorative molding to the front of the shelves. Finally, paint the unit as well as the trim. Consider using a trim color that isn't a tired white to make your niche pop.
One note: Before you cut into the drywall, make sure there are no pipes or electrical wires in the way. If there are, you'll need to choose a different spot or have the lines moved, which may mean calling in a pro. If you can avoid that hassle and cost, creating a pantry niche is a simple and cost-effective project that can have a big impact on your pantry, giving you the extra storage you need.