How To Clean & Prepare Your Grill For Outdoor Storage During Winter
We may receive a commission on purchases made from links.
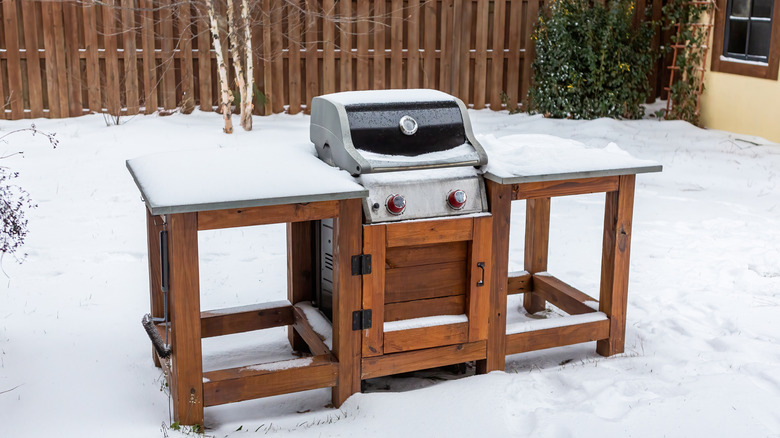
It happens around the same time every year: the days get a little shorter, the air a little cooler. In other words, time to pull out the outdoor furniture covers, tuck away that deck umbrella, and roll back the patio shade. But there's one outdoor item that's a little harder to tuck away come winter: your grill. While its bulk is handy during prime grilling season, trying to find a spare spot to store it during the colder months is tricky. But with some simple prep, your grill can be stored outside and be ready to fire up come spring.
While regular cleaning during the warmer months helps keep your grill safe and clean, doing a deep clean and a few winterization steps before the cold hits can ensure your grill is around for the long haul. This prevents any lingering food bits or grease from turning into mold, and locking your appliance down for winter keeps out moisture, helping hold corrosion at bay. Besides being hard to remove, corrosion is a huge safety risk for your grill. Plus, cleaning helps discourage any critters from moving into your grill during the off-season.
The good news? You don't need a special storage unit or fancy equipment to winterize your grill. Just basic cleaning materials (think a wire brush, mild detergent, water, heavy-duty scouring pad, and rags), some high-heat cooking oil, a heavy-duty grill cover, and a dry, safe place to store some of the grill pieces.
Key steps to ready your grill to store outside
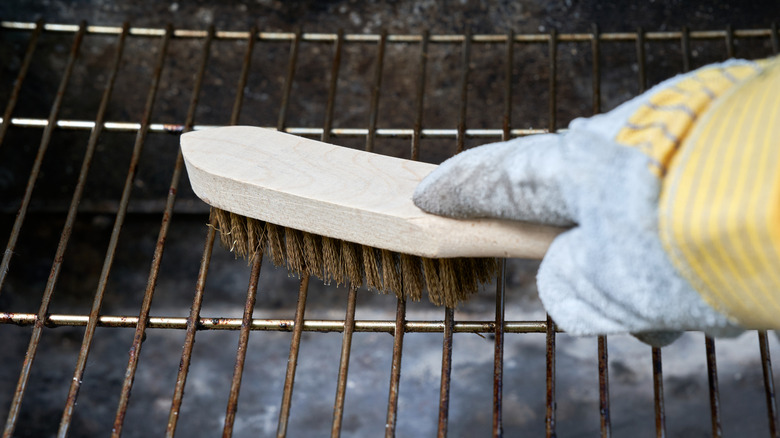
No matter what kind of grill you have, the process is similar: clean, protect, and store. First, clean. Turn your grill up to high heat for half an hour to loosen any grime or residue. Use your wire brush to lightly scrub the inside. Turn off the grill and wipe away gunk. Once cool, remove the fuel source: disconnect propane, dispose of charcoal, or remove pellets. Then grab your hot water and soap — a top cleaning hack for a spotless grill — and start scrubbing everything from drip pans to the grates. For stubborn grime, grab a heavy-duty scouring pad, like Scotch-Brite Heavy Duty Scouring Pad. If your grill has burners, brush them to remove debris, and use a toothpick or a straw cleaner to clear plugged burner holes. Then, grab a high-heat cooking oil — think grapeseed or canola oil — or vegetable shortening and lightly coat the grates to prevent rust. Finally, use a gentle cleaner to wipe down the outside of your grill.
Next, winterize. Apply a rust-preventative lubricant, like WD-40, to bolts to keep them lubricated throughout the cold weather, slip the burners into plastic bags to keep pests out, and remove any batteries (including the ignition battery). For charcoal and pellet grills, check to make sure the fuel source is completely removed. Experts disagree on whether to leave the disconnected propane tank in the grill or remove it. They do agree on making sure the tank's valve is shut and storing the tank upright. If you decide to remove the tank, store it on a paved area or a wooden pallet to avoid rust.
Where (and how) should you store your grill outside?
The big question: where do you store your grill outside? The best place is a flat, covered surface away from your gutters, like an overhang or a covered patio. Keeping it out of the elements will help your grill stay dry and therefore reduce the chances of mold.
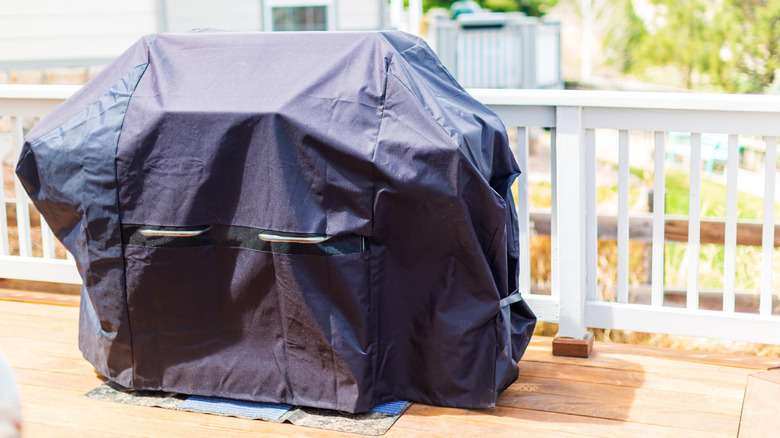
Move your grill to the ideal spot, then put on your grill cover. Grill covers are ideal to protect your grill this winter because they provide a physical barrier from the rain, snow, and cold. Look for a heavy-duty, waterproof cover that closely fits your grill. Too large and it might come loose in a windstorm; too tight, and it might trap mold- and rust-inducing moisture inside.
Grill covers aren't quite set-it-and-forget-it, but they're close. After rain or snow, take the cover off for an hour to dry out any moisture, and peek under the cover once a month to check for mold, rust, or any pests moving in. If you find any, don't panic. Just clean it out and put the cover back on. When you're ready to fire the grill back up, remove the cover and plastic from the burners, reconnect or refill the fuel source, and heat it on high for 30 minutes before cooking.