Turn Dead Space Under Your Kitchen Island Into Extra Storage With This Clever DIY
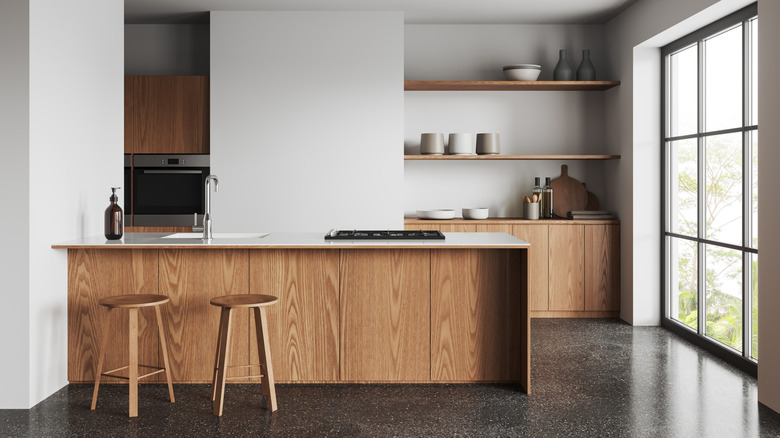
One of the things the Property Brothers would never do when designing a kitchen is leave storage space unused. Unfortunately, the Scott brothers can't remodel all of our kitchens. But luckily, TikTok creator @buildnblooms shared a clever hack that might just do the trick. If your built-in island or peninsula has a finished back panel (that's the side facing your living room or dining area), you probably have some completely wasted space hiding right behind it.
We're talking about the backside of your kitchen cabinets, sealed off by drywall and completely inaccessible. This DIY project transforms that hidden cavity into handy, usable storage by adding a secret access door. But, heads-up, you'll need several tools and supplies, along with some DIY knowledge, to pull off this project. It requires a drywall saw or an oscillating tool, some plywood, wood for framing and building the door, trim pieces, paint, and hinges. How much you spend depends on the materials you choose and what tools you already have in your garage.
Now, before you start cutting, there are a few important things you absolutely need to check. First and most crucial: make sure there's no electrical wiring, plumbing, or HVAC running through the section of wall you plan to open up. Second, confirm that the wall isn't load-bearing. Most island and peninsula backs aren't, but they could be if they are connected to a load-bearing wall. And this applies even if it looks like a simple partition or knee wall. When in doubt, call a contractor to have a look before moving forward.
How to add extra storage to your kitchen cabinet
First things first, find the studs in the back panel of your island or peninsula, and decide how big you want your opening to be. Grab a pencil and a level to mark your cut lines. Then, carefully cut out the drywall. Use a drywall saw or an oscillating tool to get those cuts nice and clean along your marks. Be prepared, though, as you might hit two layers of drywall, which means you'll also need to remove any support strips in between.
@buildnblooms This project was a fun challenge and now these kitchen cabinets are way more accessible! #cabinetrenovation #kitchendiy #construcion #DIYMom #diylife
Once you're done with that part, you'll need to reframe the opening to make sure everything stays stable. Cut some plywood to fill any space between the drywall edges and the cabinet frame. Next, frame out the opening. This gives you a clean edge for your new door to rest against. Speaking of the door, you can build it using solid wood boards or a quarter-inch plywood backing with a simple trim around the edges, or you might be able to find a premade cabinet door if you size the opening just right.
Make sure you size it so it overlaps the opening by about an inch on all sides. That'll give it a nice, finished look. And before you install the door, don't forget to paint it to match the existing color. For the next step, install the door using concealed hinges. You can add a magnetic catch so you don't have any visible handles. To finish it off, frame the opening with trim, like box trim or simple casing.
What could go wrong (and how to fix it)

For starters, the drywall could crumble or crack outside your cut lines. Don't worry, this happens, especially when there's a lot of impact. You can try any of these drywall repair hacks to save you time and money. If the damage is really bad, though, you may need to replace a larger section of drywall entirely. There's also a chance you'll finish the whole project only to find the door doesn't close perfectly flush. Usually, this means your framing isn't perfectly square or the cabinet itself isn't perfectly level. You can try fixing this by using shims behind your hinges to adjust the door's position, or you can carefully shave down the edges of the door a little bit for a snugger fit.
The secret to making this project look professional comes down to the trim work and getting that paint color just right. Take your time when you're caulking the seams, use painter's tape to get nice, clean lines, and consider choosing the same kind of trim you have anywhere else in your kitchen so everything looks cohesive. If you don't still have the same paint from the island to use on the door, you may want to repaint the entire wall to get a consistent finish.
Now, the inside of that cabinet space is probably a mess. Once you open it up, you're likely going to see raw wood, dust bunnies, and the exposed back of your existing cabinets. To clean it up, you can line the interior with painted plywood and add in a small shelf or two to make the most of that extra storage you just created.