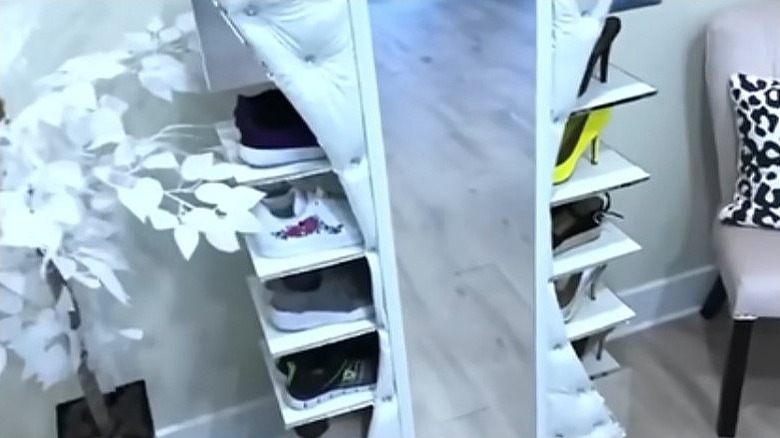
DIYer Shows How To Turn Old Drawers Into The Ultimate Shoe Storage Rack
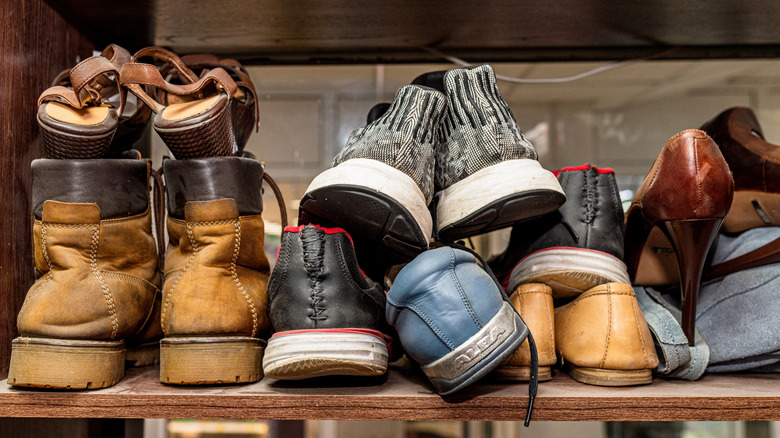
The best organizing system is one you'll use, but sometimes it can be hard to find a solution that is both stylish and well-functioning. Take shoe racks, for instance. They come in many different sizes and shapes, and there's an obvious shoe storage solution we should have been using all along — the top shelf of the closet. However, that may not work if you don't want to store your shoes above your clothing. To solve your shoe storage problem, you might want to follow YouTube DIY vlogger Yvonne Sama's (@Yoduvh Essentials) example and build an amazingly glamorous solution from a couple of old drawers and some inexpensive materials from Walmart and Dollar Tree.
Using the drawers for a base and a top, you can build an upright shoe rack that doubles as additional storage. Two sheets of plywood on the front and back create a frame that holds the shoe rack together, while drawer-width shelves of plywood hold a pair of shoes on either side. The project takes a little work, but the finished shoe rack is beyond adorable, functional, and highly customizable. A standard medium dresser drawer is about 28 inches wide and 16 inches deep, wide enough to fit two pairs of shoes, but it's a little deeper than needed. Start by cutting down the depth of the drawers to fit two pairs of shoes facing each other. You want the depth to be around 8 inches to comfortably accommodate two pairs of women's shoes. Screw a 1/4-inch thick plank of plywood in the center between the drawers, creating a 1-foot-wide back panel, which joins the two drawers on either end together.
Completing the project and adding embellishments
Turn the unit over and create four vertical dividers on the panel using more plywood. These pieces will form the shelves once the unit is placed upright, and should be the same length and width as the drawers. Space them around 18 inches apart to fit most pairs of shoes. Connect the dividers securely using wood glue and L-shaped brackets. If you plan to store boots or stilettoes on some of the shelves, vary the space between each divider to 24 inches, meaning you might end up with fewer shelves, once you're done. Screw a second, matching plywood plank on top of the dividers to match the first one, which will act as the front panel. As this unit is quite large, you might want to attach castors to the base of the bottom drawer, so that the unit is portable.
This stylish storage solution can easily be made to fit into your décor. Paint the shoe rack using an oil-based paint in a color of your choice. The drawers at the top and bottom ingeniously offer plenty of additional storage. You can also use the front panel to hang a full-length mirror, or screw in some hooks to store necklaces and other bits of jewelry. Another option is to use some simple Dollar Tree solutions, such as attaching a pegboard or hooks to the front panel for hanging purses or scarves. Or, you might like to attach a pretty curtain to the front to hide what's inside completely. Finally, if you've enjoyed this project, you might want to explore a few other ways to repurpose old dresser drawers.