Clever Ways To Repurpose Old Dresser Drawers
Finding ways to repurpose old furniture can help keep waste out of landfills and leave more money in your pocket. Moreover, you can make your home more stylish and functional by tackling a new DIY project and making something you know you'll use and love. If you have an old dresser that has seen better days or are trying to figure out how to best use that flea market find, consider breathing new life into one or more of its drawers.
With a little time, a few materials, and some creativity, you can take an old dresser drawer and transform it into an attractive accessory for your home. Believe it or not, one drawer has the potential to organize and display books and decorations in your home, serve as a comfy spot to put your feet up while you relax, add some character and functionality to your garden, and so much more. What will you do with those old drawers? Read on for some inspiration to help you start planning your next DIY project.
Turn them into a shelf
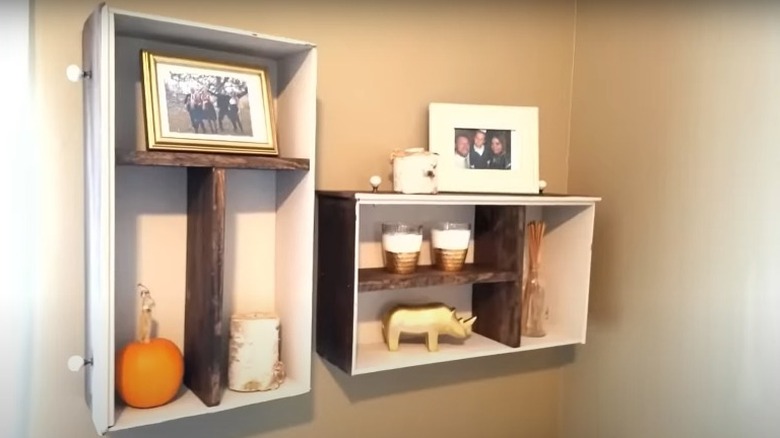
With a few hours of your time, you can make some new shelves for your home using your old dresser drawers. Keep in mind that the depth of the drawer will turn into the depth of the shelf, so think about where you'll be using each shelf and what you'll want to put on it to pick the right sized drawer. Once you've decided which drawer(s) to turn into mounted shelves, the rest of the project isn't too complicated.
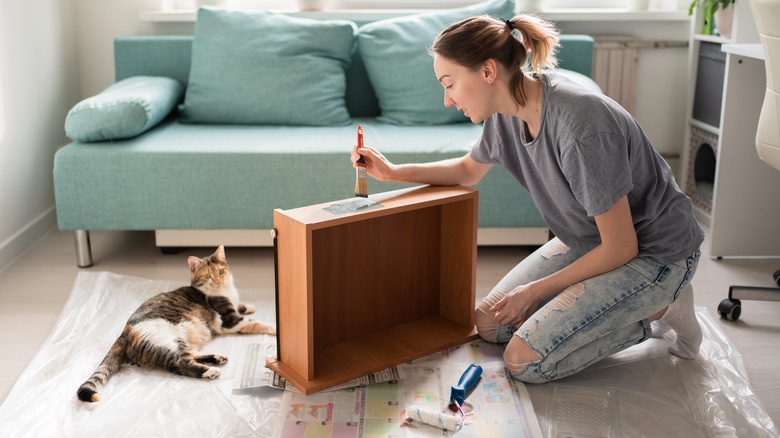
Start by removing the knobs or pulls from the drawers (unless you want to leave them on for a more unique look). Then, sand down the wood (or strip paint if necessary). Stain or paint the outside and inside of each drawer with the colors you desire. Think about the decor scheme in the room where they'll be going and whether you want them to stand out or blend in with the rest of the space. Finally, cut some 1-inch thick shelves, paint or stain them, and secure them to the sides of the drawer using nails. Use a level before nailing them in to make sure that they're straight. After this, your shelf is done and ready to be mounted on the wall.
Make a nightstand
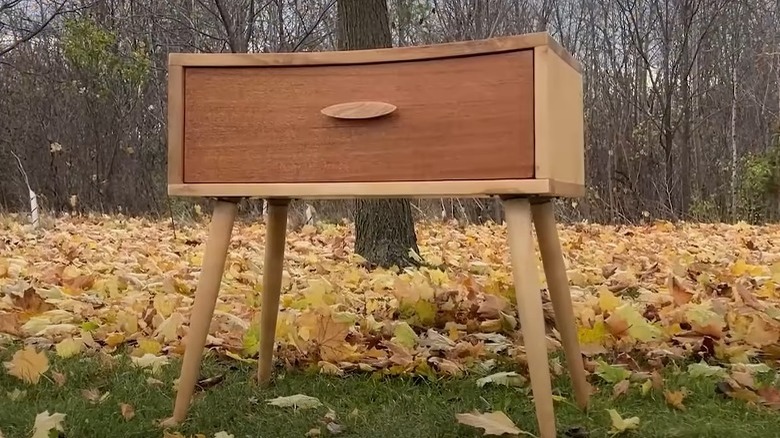
Turning an old drawer into a nightstand is a slightly more involved project, but still one that you should be able to tackle over a long weekend. The drawer will serve as the body (and still functional drawer) in the nightstand you'll be making. But, in order for it to be able to pull out and be useful, you'll need to cut wood to make a frame around the drawer with a base, sides, and a top. Once the frame is built, stain it and the drawer front to match (or choose coordinating paint colors to make the drawer stand out a bit more). If there is already paint or stain on the drawer, you'll want to start by stripping the color off and sanding it down.
After your frame and drawer are ready and stained, you'll just need to make four legs for the dresser. You could cut these from 2 x 4s or other lumber, or you could look for a banister post or baluster from your local home improvement store for a different look. Cut the legs to the same length, stain or paint them, and attach them to the base of your frame. Finish the project up by upgrading the hardware on the drawer. You can repeat the steps above with a second drawer to make a matching set for either side of your bed.
Build a coffee table
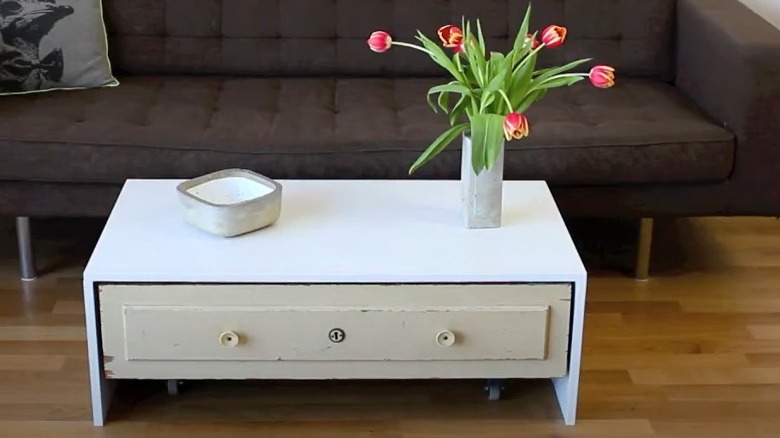
Did you know that an old drawer can also be repurposed into a coffee table? This is another project that even beginners should be able to complete — you'll only need a few pieces of wood, some basic tools, and a little bit of stain or paint. The first step for this project is to cut wooden boards to create a frame for the drawer and the top of the coffee table. You'll need one larger piece for the top of the table (just slightly wider than the drawer), one long piece to create the back of the table behind the drawer, and two side pieces that will enclose the drawer. Once all of your pieces are cut to size, lay them out and use some nails to secure them together.
Cover the nail holes with some wood filler, then stain and paint the frame you made and the front of the dresser drawer. Attach some new hardware, slide the drawer into place, and enjoy your new storage coffee table. For this project, you'll probably want to choose a wider and deeper drawer; the finished coffee table height will be more useful for people sitting on the sofa or chairs in your space.
Convert it into an ottoman

That wider and taller old dresser drawer you have may also be begging to be given new life as an ottoman or footstool. To turn a drawer into an ottoman, you'll need to cut a wood board that is the same length and width as the opening of the drawer. Add some batting and fabric to upholster one side of the board. You can coordinate its look with the rest of your living space — choosing to make it stand out as a focal point or making it blend in more by following the color scheme and style of the room.
Once you have your upholstered top for the ottoman, paint or stain the drawer in a coordinating color. Once the stain has dried, secure the upholstered cover into place. Then, depending on the height of the drawer, you may also want to attach some legs for a more elevated stool.
Give yourself more under-bed storage space
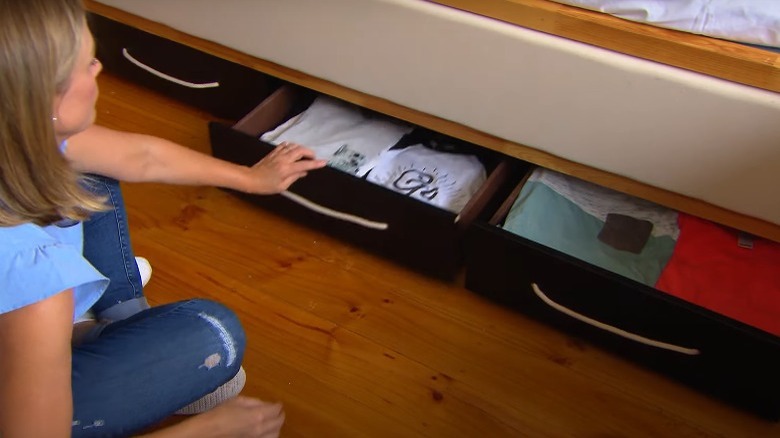
You can also use old dresser drawers to create an under-bed storage solution. One of the best things about this project is that you can make it easier, or a bit more involved, depending on the amount of time and energy you're willing to put into the project. Those looking for a quick and easy project that requires minimal time and effort can simply attach casters to each bottom corner of the drawers, slide them under their bed, and be done.
If you'd like to dedicate a little more time to the task, you can work on improving the look and style of the drawers to make sure they will look as if they belong in your space. This can involve sanding the finish and applying a few fresh coats of paint or wood stain and giving the hardware an upgrade. Even with these few added steps, this is still a simple DIY project that you'll only need a few hours to complete.
Make an end table
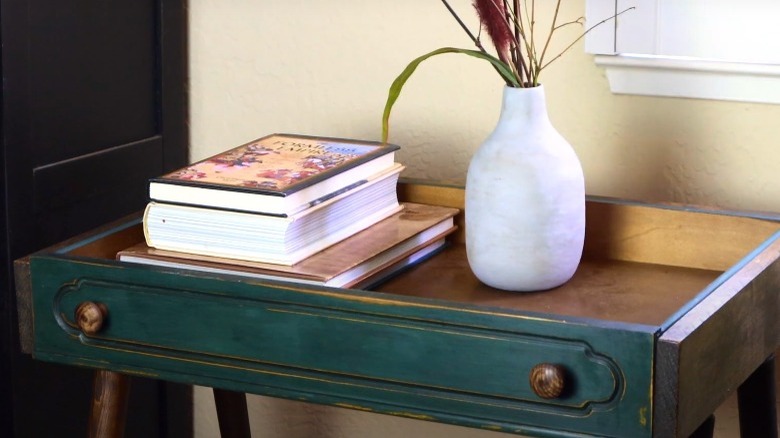
An old drawer can easily be turned into an end table for your living space. Or, even better, if you have two drawers of the same size, use them to make matching side tables to put on either side of your couch or seating group. While deeper drawers were better for some of the other projects mentioned above, you'll want to choose one that is shallower for this project. The sides of the drawer will create a natural border to keep your items contained. And if the sides aren't too deep, everything you put on the "table" will remain visible and easily accessible.
To complete this project, you'll want to start by deciding what you want the finished table to look like. Consider painting the drawer front with a different color than the rest of the wood to make it stand out more. You can leave the drawer knobs on to give it more visual interest, or remove them and fill in the holes for a cleaner look. Once you've determined your color scheme and painted or stained the outside and inside of the drawer, all that's left will be to cut, stain, and attach four legs for your new table.
Give your dog a new bed
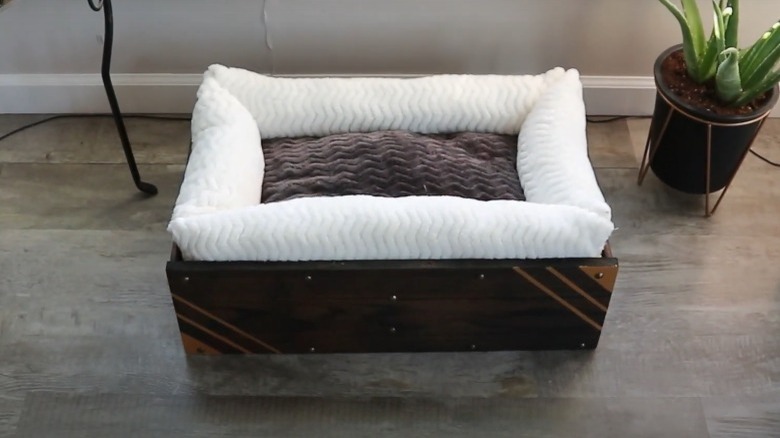
You aren't the only one who can benefit from repurposing a dresser drawer. You can also use an old drawer to make a comfy and cozy bed for your dog. Start by sanding down the wood to remove the old paint or stain and make sure that it is smooth and safe for your pup. Then, paint the exterior with a non-toxic paint that is safe for pets. Use paint, a permanent marker, or die-cut letters to personalize the front of the drawer with your dog's name.
The next step is to cover a comfy pillow using a soft material — an old comforter or chenille spread will work beautifully for this step. Sew the material you choose into a pillowcase — or just fill it with stuffing if you don't have an extra pillow lying around. Then, place the pillow inside the drawer, and the bed is ready. If your dog prefers beds with bolsters, you can sew some extra fabric and fill it with stuffing to surround the cushion you made.
Before you start this project, keep in mind that finding the right size drawer for your canine companion may take some time. You want to make sure that the drawer is large enough to keep them comfortable, but also not too deep that it will end up too high. You might find that this project is better suited for smaller dogs, but you could luck out and find a drawer large enough for a bigger pup.
Craft planter boxes
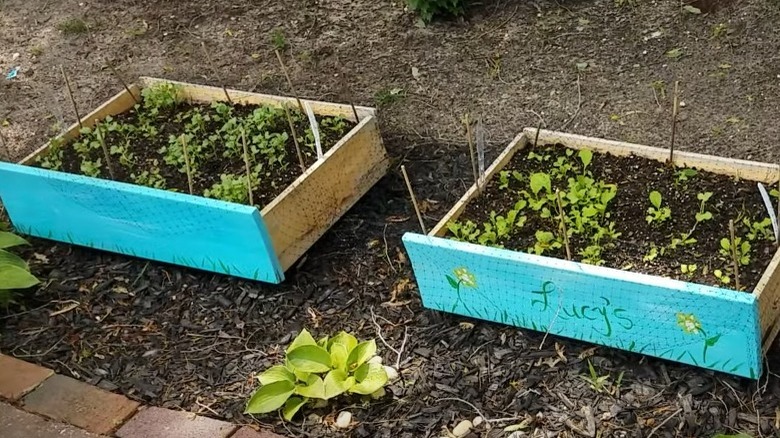
When deciding how to repurpose an old dresser drawer, think outside of the box, or at least outside of the house. While there are several ways to use drawers to add to the aesthetics or functionality of your home, their uses are not limited to the indoors. Dresser drawers can make cute planter boxes for your home garden. Start with an oil-based primer to help prevent the wood from rotting, then paint the outside of the drawer with some non-toxic paint to minimize the threat to the plants and any animals who visit your garden. Add some drainage holes to the bottom of the planter using a 1/4" to 1/2" drill bit.
You can leave the drawers plain, or paint them with a vibrant (and non-toxic) color to make your garden bed more fun and exciting. You can even add labels to identify the type(s) of plants that are in each planter or write a cute label for your garden across the front of several planters. Once your planters are finished, fill them with soil and the seeds or plants you want to grow, and then care for your dresser drawer garden as you would any other type of container garden.