Dupe $1k Custom Artwork With This Brilliant Dollar Tree DIY
You have a wall that's not meeting its full potential. It could use an impressive textural tableau as the room's focal point. There's no need to shop for something that costs a good chunk of your paycheck. Instead, hit Dollar Tree and the recycling bin for materials to make DIY wall art that looks high-end but costs almost nothing. Little more than yarn and cardboard join forces to become an imposing woven yarn wall hanging that rivals the looks of an ultra-luxe custom feature. Plus, you get to do a satisfying, meditative project that doesn't require much skill or many supplies. Crafty TikToker Nicole (@nicshomedecor) shared a tutorial for a woven wall hanging made with cream-colored yarn on a base of repurposed cardboard. The resulting artwork is an inexpensive and easy way to add texture to your home decor.
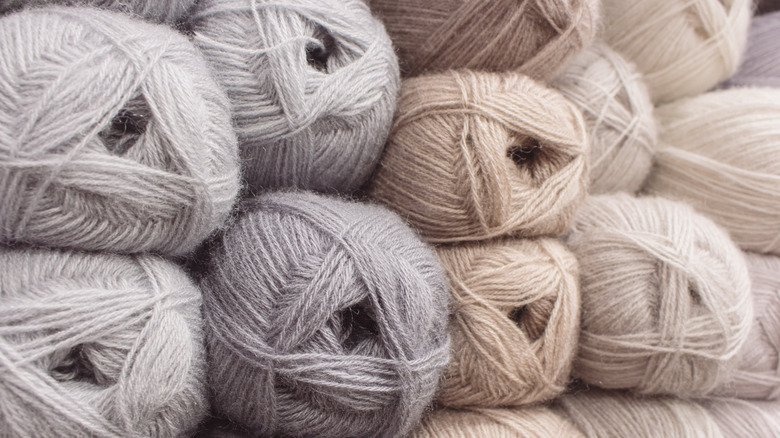
To make your own, you'll need a sheet of cardboard or foamboard from the Dollar Tree, wide double-sided tape, masking tape, and lots of skeins of yarn in cream or another color of your choice. Dollar Tree's yarn comes in different lengths per skein; Crafter's Square Acrylic-Polyester Yarn gives you the most yardage for your $1.25, but the colors are limited. The Premier Just Yarn line provides more options but gives you a little less yarn per skein. The size of the cardboard is up to you. If you want to frame it when you're finished, you can plan the size around a frame to use without the glass. Grab a pair of scissors, a pencil or marker, and a tape measure to weave up your own version of this easy fiber art craft.
Setting up and attaching the yarn sections for the wall art
A bit of planning goes a long way with this project. Start by measuring your cardboard sheet and deciding how large you want the warps and wefts to be (warps are the yarn sections going lengthwise and wefts are the sections going widthwise); they should be the same width. If you want an ultra-chunky weave, make each section about 4 inches wide. Sections about 2 inches wide will give you a crisper look but will take a bit longer to do. Measure and mark along the width and the length of the cardboard where you'll be placing each woven section. On the back of the cardboard, place double-sided tape along each of the four edges — this is what will hold the yarn in place.
On a large work space, prepare a generous amount of yarn cuts at least 8 inches longer than the cardboard is long. This gives you 4 inches on each end to fold over and attach the yarn to the double-sided tape on the back of the cardboard. On the back top edge of the cardboard, gradually peel the backing from the double-sided tape, and press cut ends of the yarn onto the adhesive closely enough together that the backing doesn't show through. Repeat these steps along a side edge of the cardboard.
Smooth out the strands so they lay flat against the backing. Divide the yarn on each side into equal sections that match up with your measured markings on the cardboard. Tape the loose yarn ends together in a flat panel in those smaller sections — that will make the weaving process easier and will prevent fraying.
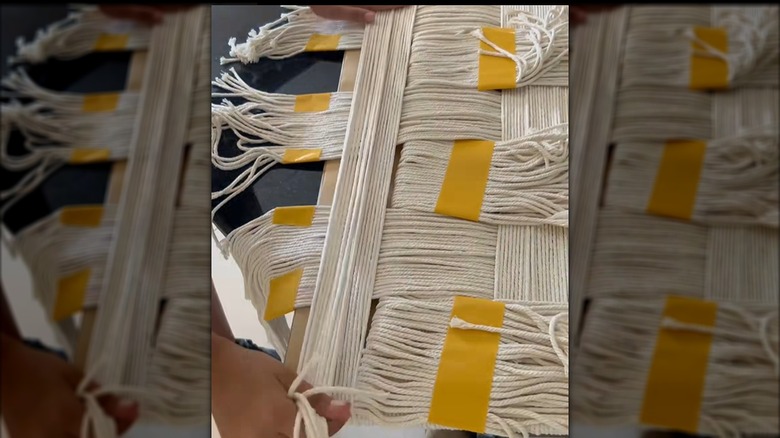
Weaving and attaching the yarn to complete the DIY artwork

Starting from the top edge, lay and smooth out alternating sections of yarn along the length of the cardboard. Lay the remaining sections flat on the table. So, the first section goes along the cardboard, the second goes on the table, the third goes on the cardboard, etc. Then, move to the sections along the side. Pick up the topmost yarn section attached to the side, and lay it across the alternating lengthwise sections of yarn on the cardboard, keeping each section as smooth and straight as possible. Attach the ends of yarn from this section to the double-sided tape on the back, taking care to attach each string as straight and as close to each other as possible.
Now, you're going to switch each of the lengthwise sections. Lift and fold back each of the first lengthwise sections you placed, and smooth the remaining alternating sections over the first widthwise piece. Carefully lift the next widthwise section, and lay it across the cardboard. Smooth and attach it in place over these lengthwise sections by pressing it into the double-sided tape. Repeat this process until all of the yarn sections along each edge are affixed across the cardboard.
Trim away any excess yarn from the back. Reinforce the yarn's hold by placing extra strips of tape over the ends on the back. If you're framing your piece, you can hold it inside the frame with framers points, since the backing your frame came with might not fit into the frame, given the piece's thickness. Now your one-of-a-kind wall art on a Dollar Tree budget is ready to hang!