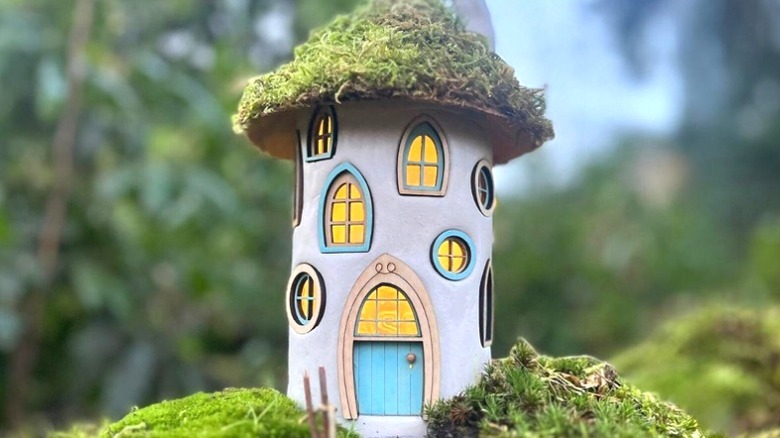
Transform A Glass Jar Into Adorable Fairy House Decor With A Crafty DIY
If you've ever found yourself holding onto an empty glass jar "just in case," this DIY gives you the perfect excuse to finally put them to good use with a fairy garden idea that is downright magical. Instead of tossing them into the recycling bin, transform those leftover jars into charming fairy house decor that works just as well in a garden bed as it does on a bookshelf or windowsill. This project by maryinthefairyland on Instagram is especially fun if you have kids who love imaginative play, but it's enchanting enough that adults will enjoy making it too.
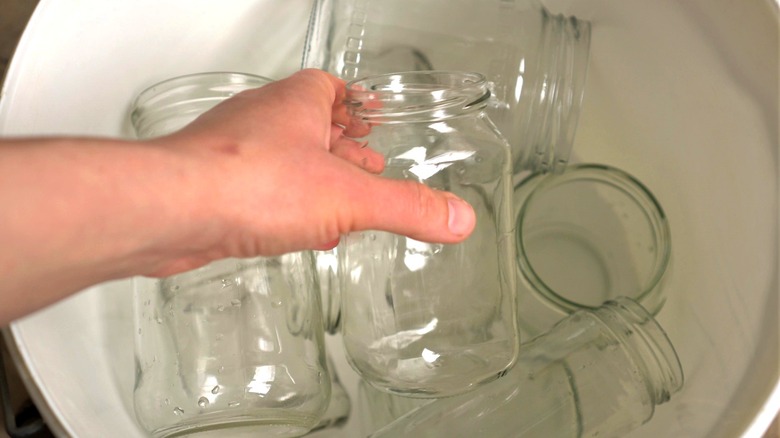
The beauty of this DIY (and the reason it's such a clever way to reuse old glass jars around the house) is that it doesn't require expensive tools, specialty supplies, or crafting experience. You're essentially wrapping a basic glass jar in texture and detail, turning something ordinary into a whimsical decorative piece. To get started, you'll need a clean glass jar with the label removed, self-hardening air dry clay, some polymer clay, miniature fairy door and window set (available on Etsy), a cork sheet, fake moss, and battery-powered fairy lights. As far as tools go, you'll just need a rolling pin, glue, a sharp craft blade, and a sealant, such as Rust-Oleum Painter's Touch 2X Ultra Cover, to protect the clay once it's fully dry.
How to DIY a cute fairy home with a glass jar and clay
To begin, roll out your clay into a sheet. Press the clay onto the jar (but not the bottom) so it wraps around the sides, smoothing it as you go. Next, cut away any clay overlapping the top area where the jar lid sits. Plan your design for where your doors and windows will go around the clay-wrapped jar. Press your miniature fairy garden window and door pieces lightly into the soft clay surface to create an outline. Use an X-Acto knife to trace those shapes, and remove the cutout clay to expose the glass.
From there, rest the window and door pieces into the openings so they sit directly against the glass, which will allow light to glow through when you put your LEDs inside the jar. If you don't want the light to shine through, you can press the pieces directly into the clay. You could also cut out squares of the clay so the fairy lights shine through even if you don't have any window pieces.
To add color, paint the clay with two coats of acrylic paint. Once the clay has dried, spray on your sealant. For the roof, cut an oval from a cork sheet with a small wedge removed. Bring the edges together to form a cone shape, and glue the seam closed. Then, glue on the moss. The finished roof sits loosely on the jar as a lid. Place fairy lights in the jar, and turn them on to complete just one of many illuminating Mason jar hacks that can light up your home and garden. To accessorize, make toadstools from polymer clay to stick around your jar or find adorable miniature chairs for your "fairies" to sit in.