The Best Ways To Amend Soil After A Cold Winter To Set Your Garden Up For Success
A lot of changes take place in your garden during the winter season. As the weather cools down and plant life above ground dies back, something different happens beneath the surface. Beneath the cover of snow and earth, winter is not a desolate wasteland, but a time of renewal and rest. Though the plants above ground may fade, root systems and soil microbes go dormant during the winter, saving their energy for spring.
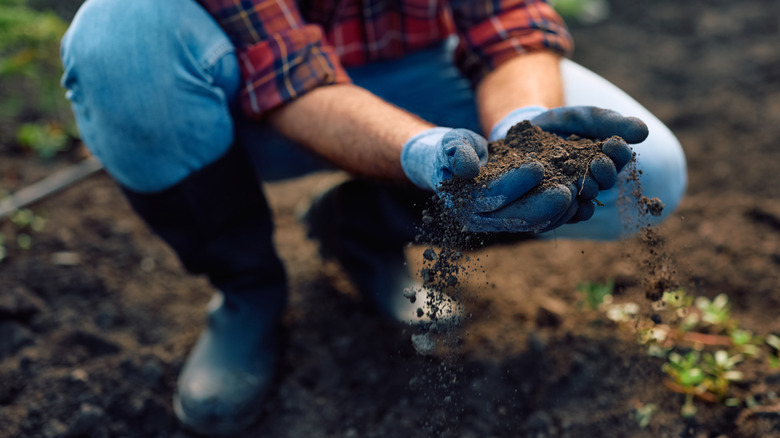
The winter season comes with its own set of both challenges and benefits to your garden. The biggest challenge that winter weather causes is structural. Winter can wreak havoc on the integrity of your soil, causing problems ranging from compaction to soil displacement, cracking, and instability. Nutrient levels and pH also can shift over the winter season, so it is important to test your soil before making any amendments once spring arrives. Fortunately, there is plenty you can do to amend your soil and set your garden up for a successful season after winter has passed.
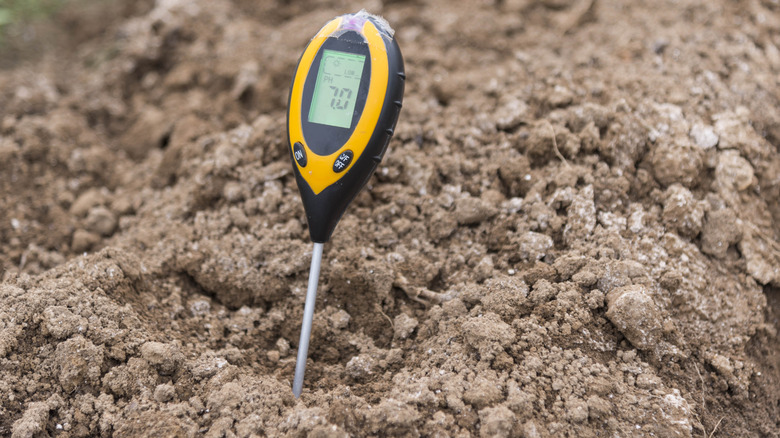
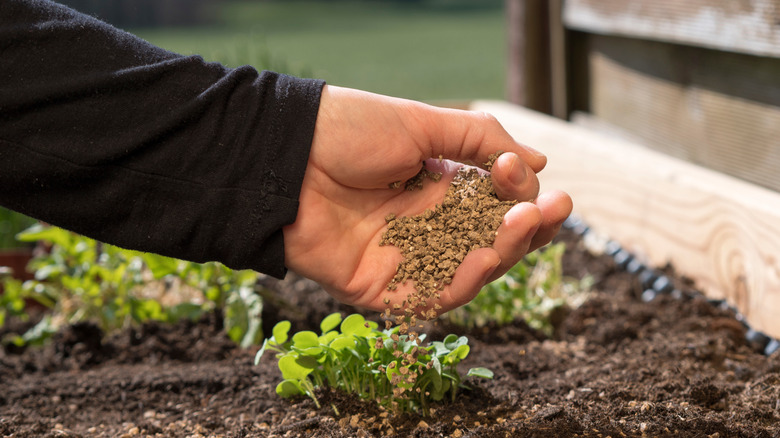
Check pH and nutrient levels before making any amendments
Contrary to popular belief, cold winters can actually improve the health of your soil. This is because soil microbes go dormant in cold weather, causing nutrients to accumulate. This period of rest means that areas with colder winter weather tend to have more nutrient-dense soil. The opposite is also true, and with climate change and warmer winters worldwide, it is increasingly becoming a problem. Without the vital period of rest and dormancy that winter cold provides, key nutrients can be used up and depleted in the soil.
You shouldn't amend your soil unless you know what to fix, so routinely testing your soil is a must. Also, keep in mind that different plants have different pH and nutrient needs. Knowing the needs of what you intend to plant will allow you to adjust accordingly. There are several types of test kits available for home use. Capsule tests (which involve mixing the contents of a capsule with soil and water and watching for a change in color) check the levels of several key nutrients as well as pH. An even easier method, if all you need is pH, involves the use of pH test strips dipped in a soil-water mixture. You can also use a soil analyzer — an electronic tool with metal prongs that are inserted directly into your soil. For the most accurate results, you can also collect a sample of your soil and send it off to a university for analysis.
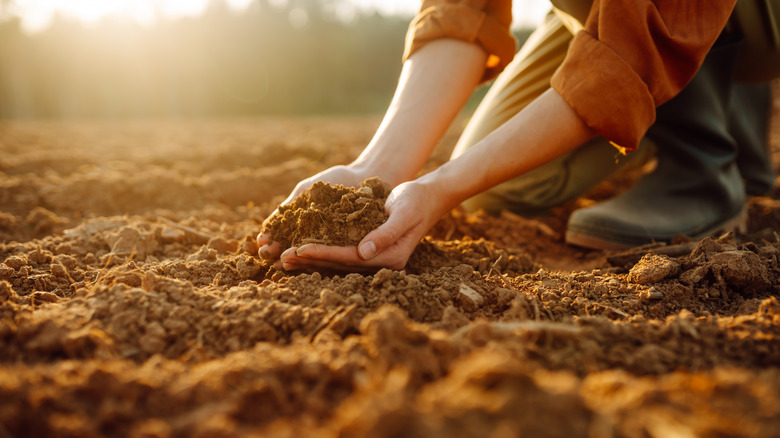
Assess soil structure, texture, and drainage
During winter, the natural thaw and freeze cycle can cause soil to harden and compact, as well as become unstable or displaced. Once spring arrives, you will need to assess the current condition of your soil. Compaction and instability can be assessed visually for the most part. Soil compaction can look like bare spots of ground with no vegetation or puddling, while instability can cause issues like cracking. Compacted soil will also be firm and difficult to dig into.
The simplest way to check your soil texture is by feel — just dig down a few inches, grab a handful of soil, and squeeze! Ideal soil will form a loose ball, but will crumble easily. What you don't want is soil that forms a tight, compact ball or that won't form a ball at all. Other, slightly more complicated tests for soil texture include the ribbon test and the jar method. The drainage can be tested by digging a 12-inch hole, filling it with water, and timing how long it takes to drain. The goal for healthy soil is 1 to 3 inches per hour.
Break up soil compaction caused by winter thaw and freeze cycles
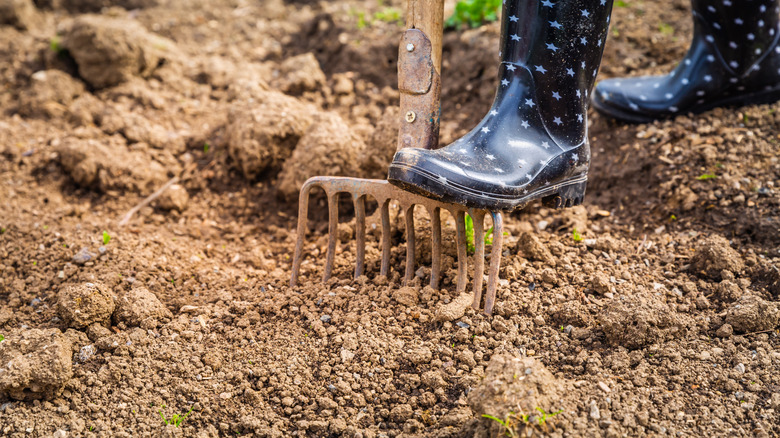
Once you know how your soil has been impacted by the winter season, it's time to fix any soil compaction or structural problems. This can be done by amending the soil to improve the texture and gently breaking up the compaction. Fortunately, there are plenty of ways to fix compacted soil for a healthier garden.
Soil that is too wet can become more compacted when it is disturbed, so it's important to wait until your soil is dry enough that it crumbles easily between your hands. Too much tilling can also cause compaction, so any manual breaking up of your soil should be done in moderation. To break up the compaction, you will first need to lay down a few inches of organic matter, like straw or chopped leaves. Then you can use a hand spade or hoe to break up the soil and till the organic matter into the top 3 to 6 inches. The manual tilling will help break up compaction, while the organic matter will improve overall structure and keep the soil from re-compacting again.
Compost is always a great all-around choice
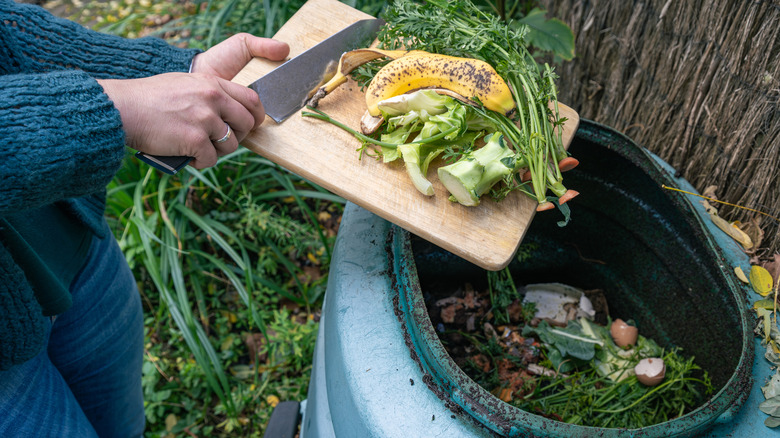
Compost is made up of decomposed organic material: yard waste, kitchen scraps, sawdust, straw, and manure, to name a few. It can be purchased ready-made, or you can make it yourself. Making your own DIY compost is a great way to reduce waste and save money, while creating food for your garden.
Compost is an extremely versatile soil amendment. It can be used to improve soil structure and texture, improve water retention, increase beneficial microbes, and add nutrients. Use it in your garden by layering it on top of your existing soil, along with any other amendments you plan to use, and tilling it into the top 8 to 12 inches of soil. New gardens will benefit from 3 to 4 inches of compost, while established gardens need much less — a quarter-inch to one inch is plenty. If tilling isn't possible, you can also spread it at the base of your existing plants.
Applying lime will raise your soil's pH and make it less acidic
Lime is a natural soil amendment that will raise the pH if your soil is too acidic. It is an affordable ingredient that you can add to your soil. Plus, it can be easily found at most garden centers and farm supply stores and is typically made from ground limestone. When the pH of soil is too low, some nutrients are harder for plants to use (like phosphorus), and some can even become toxic (like manganese and aluminum).
The general recommendation is to lime soil until it is at a pH of 6.5, but that number can change depending on what plants you have in your garden. Lime takes around 4 weeks to be significantly effective in your soil, so application should be done in fall or early spring, before you kick off your gardening season. To apply, simply sprinkle the amendment on top of freshly tilled soil and work it into the top few inches.
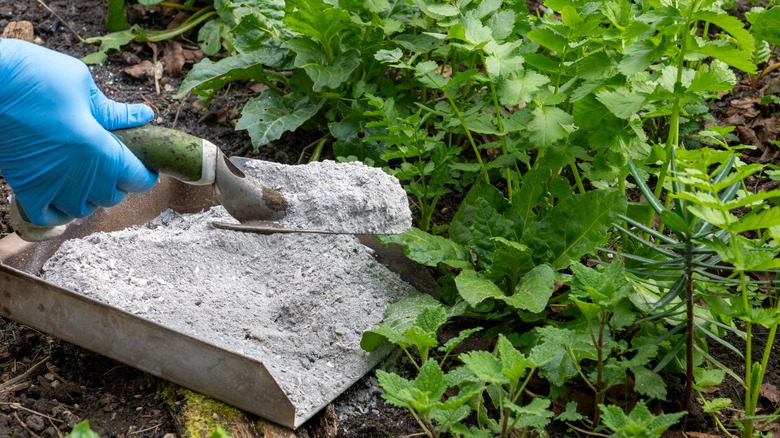
Applying sulfur will lower your soil's pH and make it more acidic
If your soil pH is too high, applying elemental sulfur is a good choice. This affordable addition is an effective way to make your soil more acidic. Early spring, before planting, is the best time to add sulfur, as it will not work when the microbes in your soil are dormant. This is because they break elemental sulfur down into sulfate, releasing hydrogen ions that lower your soil's pH (pH itself is merely a measurement of how many hydrogen ions are present). Because this is a biological process and not a chemical one, it will take time for the sulfur to change the pH of your soil, sometimes up to a year.
Sulfur is easier to apply before any plants have been added to your garden, but the amendment can be added after the fact as well. To use it, add it as soon as your soil is workable in the spring and till it into the top 6 to 12 inches. Since sulfur takes so long to change the pH, it is crucial to routinely test your soil so that you can track the progress and make any adjustments that might be needed.
Perlite can improve drainage of heavy and compacted soil
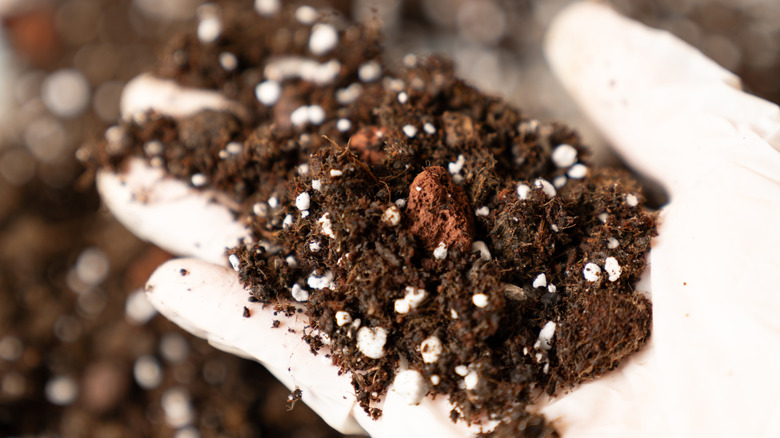
Sometimes, what needs to be amended in your soil is not the nutrient levels, but the texture. Certain types of soil (like those with a lot of clay) don't drain properly. In other words, they stay too wet for too long, leading to root decay and disease, compaction, and difficulty accessing nutrients. Heavy soil can be amended with perlite to improve drainage and allow oxygen to reach the roots of your plants more easily.
If you've ever purchased potting soil with those small white balls, you've seen perlite, a volcanic glass that is highly porous. This makes it great for water retention while also creating air pockets that help with drainage. Perlite is most commonly used in container gardening, where drainage is critical, but it offers the same benefits to your garden as well. To use it, you can mix it into your compost or sprinkle it on top of the soil and till it in.
Bone meal will provide phosphorus for plant growth
Bone meal is an organic fertilizer that is a natural source of phosphorus and calcium. It contains other nutrients as well, including nitrogen, zinc, and magnesium. It is made from — you guessed it, bones — that have been dried and ground into a fine powder. Both calcium and phosphorus are important for plant growth, but most non-agricultural soil already has enough of these nutrients. Because too much can actually be harmful to your plants, it is extremely important to test your soil before adding any more.
If you do find that your soil doesn't contain enough of these key nutrients, adding bone meal can correct the imbalance. Bone meal can be added to the bottom of your planting holes, or it can be mixed into the top few inches of soil. The biggest downside of using bone meal is that it attracts animals. Fortunately, mixing it into your soil rather than using it as a top dressing can help minimize this issue.
Blood meal is great for adding nitrogen to soil
Blood meal is a great amendment for soil that needs more nitrogen. It is made from dried animal blood that would have otherwise been discarded. Blood meal is particularly helpful in areas with sandy soil that don't tend to have a lot of naturally occurring nitrogen. Because it is so high in nitrogen, it lowers the pH of the soil, which makes it great for plants that love more acidic conditions. Plus, blood meal has been shown to repel animals like deer and rabbits and can be used to activate compost by improving its carbon-to-nitrogen ratio.
Blood meal should be applied in early spring, when you notice new growth. It should be mixed into the top couple of inches of soil, about a pound or two per 100 square feet. Too much blood meal can cause yellowing and small fruits and blooms, so it is important to use a light hand. It can also be sprinkled around the base of plants and then watered in, added to compost, or used as a liquid fertilizer. Just make sure to keep it away from new seedlings, because nitrogen can burn delicate leaves.
Leaf mold is a good choice for improved soil aeration and water retention
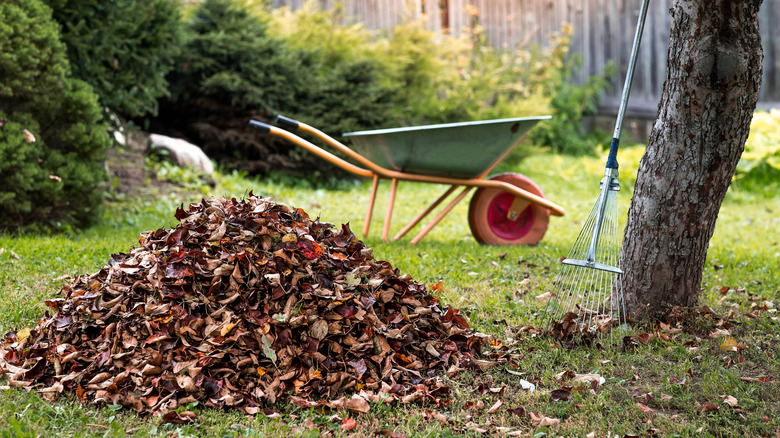
Leaf mold is essentially composted foliage, though there are some key differences. It is an excellent soil conditioner and offers a lot of benefits. It can be purchased in bags, but it is also easy to make your own! DIYing a leaf mold bin is a fantastic way to give your garden a boost. However, keep in mind that making the mold is a long process — several years long to be exact. Fortunately, aside from the time it takes to shred and pile the leaves, it is relatively hands-off. You can speed the process up by turning your pile over occasionally, adding water, and covering it with a tarp.
As the leaves continue to decay, they release nutrients into the soil, including calcium, potassium, and magnesium. Leaf mold can be spread like mulch in your garden. It can also be mixed into your compost or used on its own. It can also be used to modify clay or sandy soil, and can even be spread in a fine layer on your lawn.
Epsom salt will increase the amount of magnesium in your soil
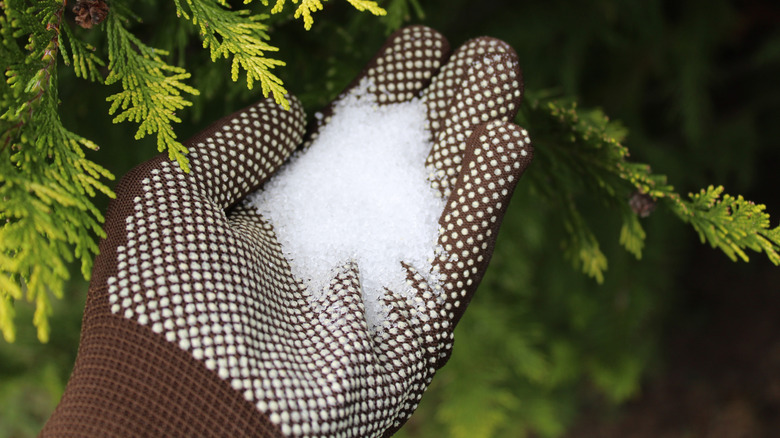
Epsom salt is a commonly suggested amendment for soil. Some gardeners believe that Epsom salt can deter pests, make leaves greener, reduce transplant shock, and even grow sweeter fruits and veggies. Also known as magnesium sulfate, Epsom salt will add the mineral to your soil, but it is important to test first and only use it if your soil is actually deficient.
To apply to your garden, Epsom salt will first need to be dissolved in water. A little goes a long way in this case — just 2 tablespoons for every gallon. The solution should only be used once or twice a month, and can either be sprayed directly on the leaves of your plants (called a foliar spray), or poured into the soil around the roots. Epsom salt that has not been diluted can burn leaves, so make sure you use a light hand and fully dissolve the salt in water before use.