The Subtle Painting Tip That Everyone Should Know—it Makes All The Difference

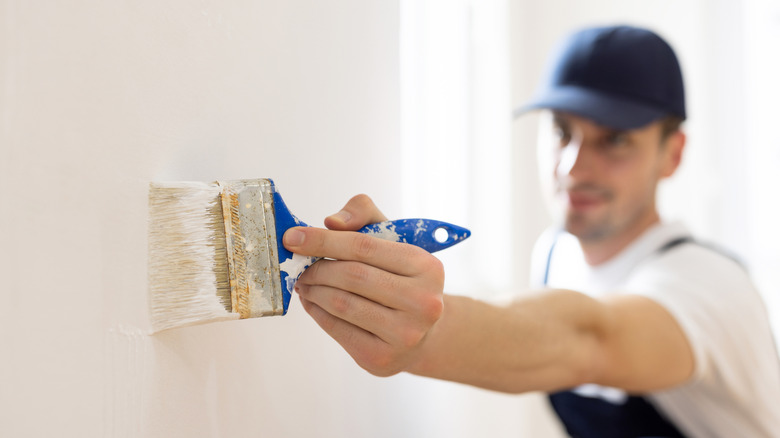
Anyone with a penchant for DIY paint jobs will be familiar with this frustration: you're painting around a tight spot and when it dries, brush ridges catch the light, the finish looks blotchy, and the job looks botched. The trick that makes all the difference is paying attention to where the light is coming from and brushing in that same direction, so any remaining texture runs parallel to the light instead of cutting across it. When brush marks run across the path of light, they cast tiny shadows that make every ridge more visible. When they run with the light, those same marks blend into the surface. It's a small adjustment, but it has a big impact on how smooth the wall looks once the paint dries.
This is why the same paint job can look perfectly smooth at night and suddenly flawed during the day. It's not that the paint changed, it's the light. Sunlight coming in through a window, bathroom lighting near a mirror, or even a lamp in a hallway all hit the wall from specific angles. If your brush strokes cut across that angle, the texture is highlighted. If they follow it, the texture is minimized. It's a simple yet effective approach that highlights the impact light has on the way paint looks, which might sound obvious at first, but it's very easy to overlook. In addition to your choice of tool, light has a significant effect on the finish and is one of several factors to consider when you're looking for paint techniques that make walls look professional. As demonstrated by this simple tip, the direction and intensity of light can reveal ridges, roller lines, and uneven coverage that might otherwise go unnoticed, especially in small or awkward areas like corners, edges, and around fixtures.
Why light, direction, and finish matter in tricky paint spots
The great thing about this hack is it doesn't require any special tools, just an understanding of how light interacts with fresh paint. Angled light skimming across a wall makes brush strokes and roller lines jump out, which is why something as simple as a handheld light bulb can help ensure a paint project is flawless by revealing uneven strokes you might otherwise miss. Before you start painting, take a moment to notice where the dominant light in the room is coming from. Making that last smoothing pass with the light rather than against it helps keep any remaining texture visually subdued, which is especially helpful around tight spots like shower fixtures, trim, and corners where paint naturally gets pulled in multiple directions. In these areas, changing your stroke direction as you go and finishing with the light can help prevent heavy lines from forming and keep the surface looking more even once it dries.
Of course, no single trick solves everything. In spots that start to look overworked, switching to a mini roller can also help blend the surface and soften any remaining texture that a brush might leave behind. Paying attention to light, adjusting stroke direction when needed, and choosing the right finishing method for the space you're working in are simple fundamentals that go a long way toward a clean result. When these fundamentals are in place, it becomes easier to take advantage of the other DIY paint hacks worth trying in your home, including time-saving tips for painting your home more efficiently. Once you get into the habit of working with the light instead of against it, even small paint jobs start to look more polished.