DIY Paint Hacks Worth Trying In Your Home
We may receive a commission on purchases made from links.
Painting the interior of your home may seem like a daunting task, but thanks to the internet, social media platforms, and even home improvement television shows, it's become easier than ever. That's because professional and novice painters alike have been discovering and sharing hacks that make the process easier, cleaner, and even more fun.
Doing your own interior paint job can be beneficial. As Sold notes, there are positives associated with the idea of painting your home yourself. For instance, going the DIY route allows you more control over the final outcome. Complete the job on your timeline and your way! Plus, doing your own painting will help you save money, as hiring it out can get pricey fast. With all that being said, there's never been a better time than now to try your hand at painting – and you can make the entire process easier by taking advantage of these clever hacks.
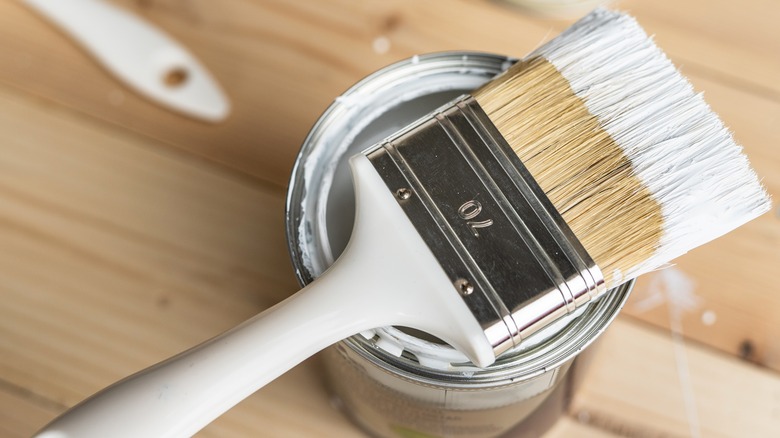
Soak your brush in fabric softener
One struggle with painting can be cleaning your brushes well. Brushes that aren't clean will have residue and leftover paint on them and will become stiff and harder to use. This can cause a lot of frustration, as you'll end up feeling like you have to keep buying new brushes to get the job done. That's where this clever hack comes in.
Instructables shares how you can more thoroughly and efficiently clean a paintbrush with the use of fabric softener. To do so, blot off as much paint as possible from the brush, using a rag or a piece of paper towel. The more paint you're able to remove, the quicker the cleaning process will be. Then, pour an eighth cup of fabric softener into a bucket or large bowl, mixing it with four cups of warm water. Thoroughly mix the two solutions together. Then, put your paintbrush in the liquid and you'll see the paint come off into the fluid, eventually resting at the bottom of the bucket. Once all paint is off the brush, rinse it under cold water to get the remaining fabric softener off, then dry it. Just like that, your brush will be clean as a whistle!
Do this to reduce the odor of paint
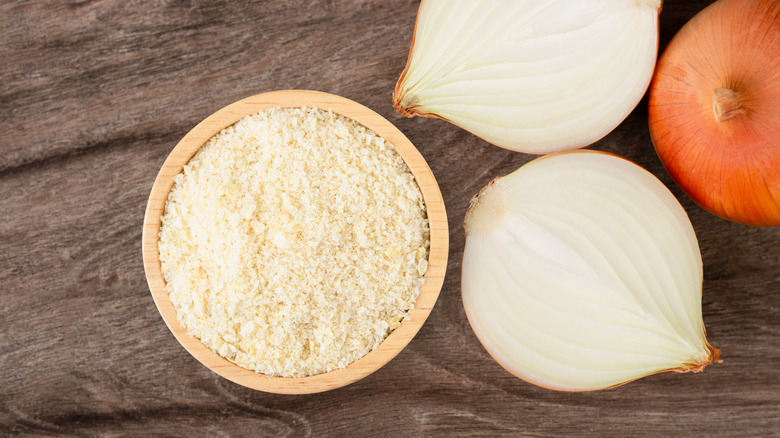
One downside of painting the interior of your home is the odor that comes along with it. These fumes can be quite overwhelming. Thankfully, Valspar Paint has some helpful tricks to help reduce the smell throughout the project.
Their first suggestion is to use onions to get rid of the paint smell. This may sound counterintuitive, but it actually works. Plus, it's easy to do. Onions have a chemical in them that neutralizes the scent of paint. Just chop an onion in half and place it in the room you're painting to get rid of that distinctive paint smell.
Another tip they offer is to use a common pantry staple: Baking soda. As you probably know, baking soda is good at naturally absorbing unwanted odors in your home. To get rid of the smell of paint chemicals, pour a good amount into small bowls and place them throughout the room you're painting. Let the bowls sit overnight to soak up the smell. Then, in the morning, toss the baking soda and replace it as needed until your project is finished and the smell has subsided.
Use a sponge to aid in fixing paint mistakes
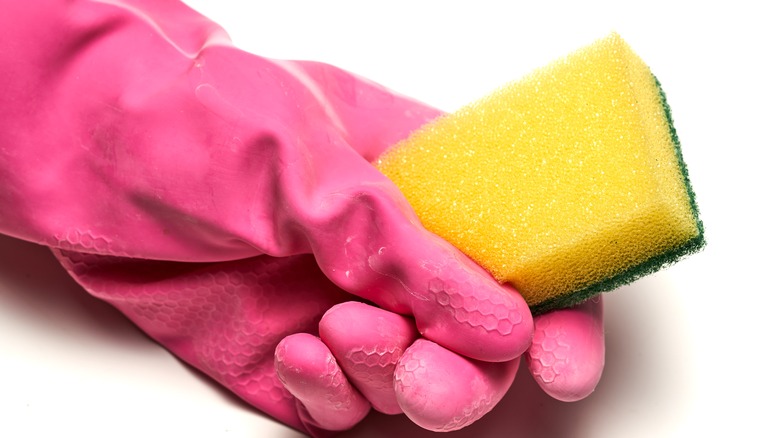
Paint mistakes can cause frustration, but it's unlikely that you'll get through the entirety of a project without making at least a few. The good thing is that there are easy ways to fix them. One way is explained in this video, produced by Benjamin Moore. The source explains that if you end up with a rogue drop of paint that dries unevenly, you can use a flat razor to gently shave off the uneven dried paint. Then, use sandpaper to smooth it out. From there, use a damp sponge to clean off the area and allow it to dry. Then, you can use a brush with a small amount of paint on it to touch up the spot as needed. Alternatively, a cotton swab is another great way to precisely add paint to the spot that you shaved off and sanded. From there, you may need to do a couple more coats on that area and around it to blend it with the rest of the surrounding paint. After that, you won't ever be able to tell there was a mistake!
The surprising use for petroleum jelly while painting
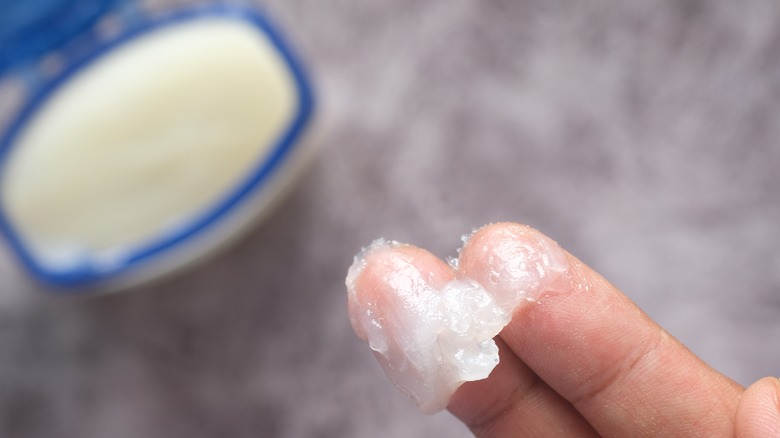
Believe it or not, you can use petroleum jelly to help with your paint job. Love Grows Wild shares a tutorial for distressing paint with this common household item, and it simply couldn't be any easier! You'll need only three simple materials: a rag, petroleum jelly, and a paintbrush. From there, apply a thin layer of petroleum jelly to the edges of the project or anywhere you want the paint to look distressed. It's important to note that paint won't stick to spots with petroleum jelly, so make sure you are using it somewhat sparingly. You may want to do this with a cotton swab or even your fingers. It doesn't have to be perfect for your desired distressed look!
Then, paint the area as you normally would. Let it dry somewhat, until it's still wet to the touch. Then, dampen the rag and rub it over the petroleum jelly spots. This will allow you to easily wipe away the paint, creating the desired weathered look. It's as easy as that!
Use this clever masking tape trick
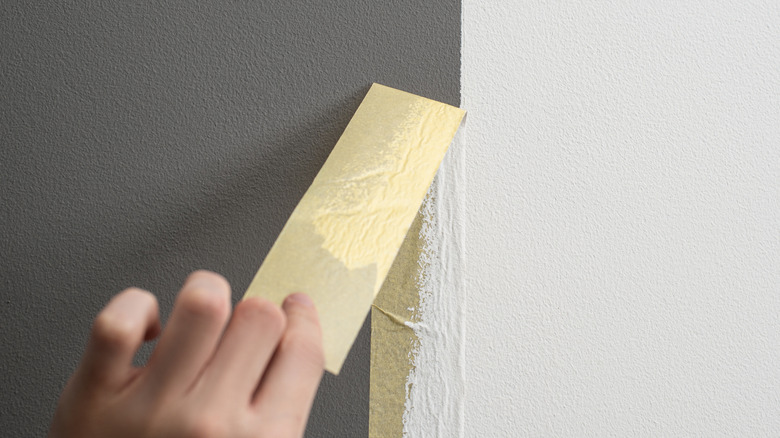
Masking tape is a huge help for DIY painting. Believe it or not, using this simple product can help ensure that you get clean lines in your painting ventures. According to Diply, it's easier than you'd think to ensure straight edges every time. First, apply masking tape over the spots you want to block from the paint. This is usually used when you're looking to paint in a striped or even chevron pattern.
Next, paint over the edge of the tape with the color already on the wall. The purpose of this step is to create a seal. Any paint that bleeds under will match what you've already painted. Clever, right?
Let that dry, then paint the new color in the pattern on top of that spot. Once you let that dry and remove the tape, you'll have crisp, straight, and clean lines.
Keep paint brushes from drying out during breaks
When you are done painting for the day or even just looking for a bit of a break from the job, you certainly don't want your brushes and trays to dry out. Thankfully, there's a handy trick to prevent this from happening. Real Simple shared an easy way to prevent this inconvenience. All you'll need is a garbage bag. "If I'm using a roller tray, I will get a standard garbage bag and put everything in that—tray, roller handle with a roller, and brushes. Be sure to close it tightly to keep the air out," Rick Watson, director of product information and technical services at Sherwin-Williams, suggests.
The source notes that if you're done for the night and want to keep painting the next day, take this wrapped tray and place it in the fridge to ensure it's fresh and ready to go. There's nothing worse than ending up with a stiff and dry brush that has to be put in the trash, so take care to use this hack to avoid the hassle.
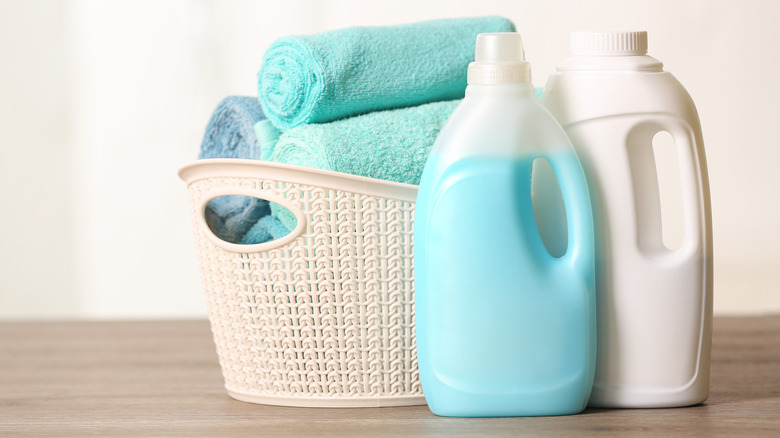
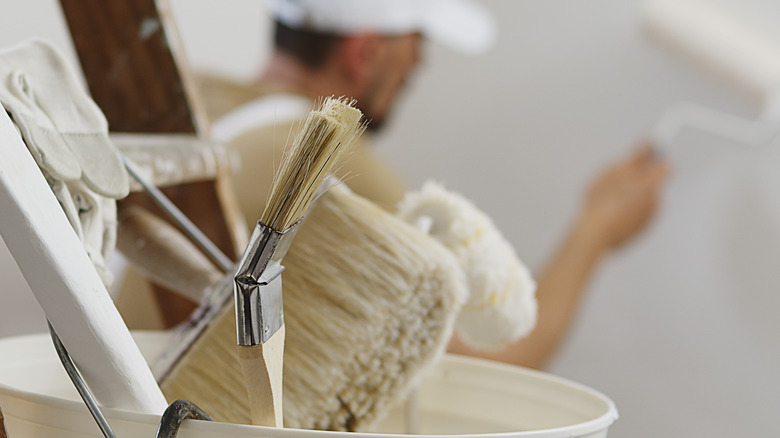
Keep the base of your brush clean - and your clothes stain free
The bristles of your paintbrush aren't the only part of the tool that tends to get dirty on the job. The base of the brush can get dirty too, which can really cause frustration as it makes it easier to get paint on your hands and stain your clothes. To avoid this pesky issue, wrap painter's tape around the base of the brush and handle. When paint gets on the handle, you can just replace the tape. This keeps your brush like new!
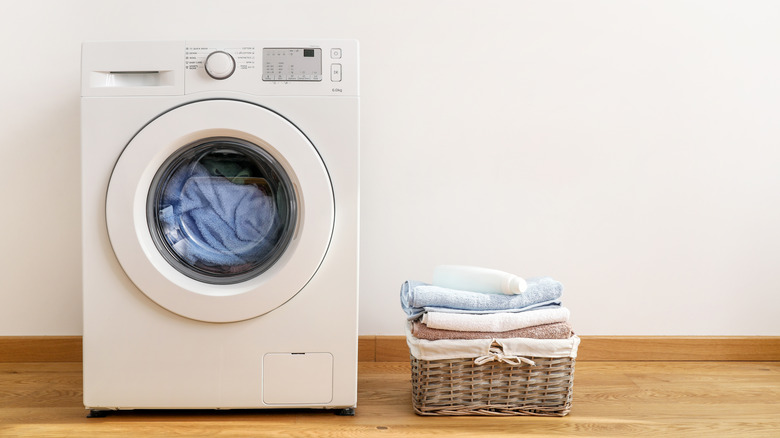
If you do end up with paint on your hands and clothes, though, Whirlpool offers some insight into how to get it out of your garments. For water-based paints, flush the back of the paint with warm water from a faucet. Alternatively, try blotting it with a clean rag or paper towel, working to remove as much paint as possible. Then, mix half laundry detergent with half warm water and blot it onto the stain with a rag. Keep repeating this until the paint is gone or fails to show up on the rag. Then, apply a stain remover if you feel it necessary and wash the garment in your washing machine.
Keep your paint roller clean with this dollar store item
The dollar store is a great place to pick up some packing tape, which can help you clean your paint roller with ease. Many paint rollers that come at a cheaper price than the high-end ones come with a lot of fuzz on them. This fuzz can make it harder to paint like a professional. That's where the packing tape comes in. Use it like a lint roller on rollers before you get started, which will quickly and thoroughly remove excess fuzz.
Fun Cheap or Free further details items you can buy at the dollar store to save a buck. There are several items on the list that are helpful with a paint job, such as buckets, sponges, gloves, and cleaning supplies. Additionally, the site notes that disposable baking pans are a good thing to buy from your local dollar store, which could be helpful for pouring paint into as a makeshift tray.
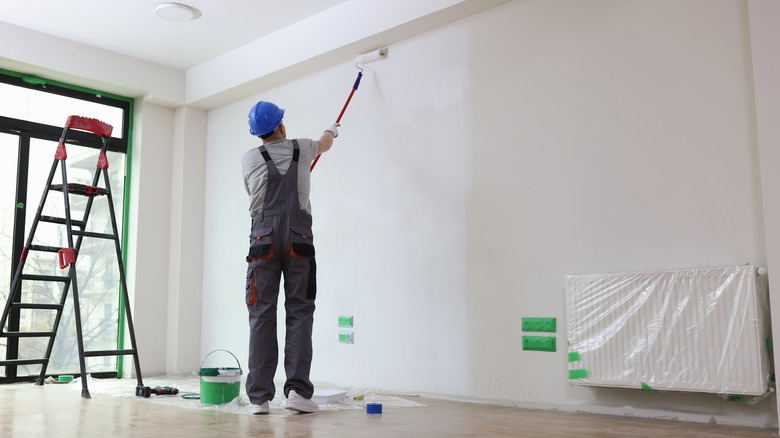
Use a Swiffer to prep your walls for paint
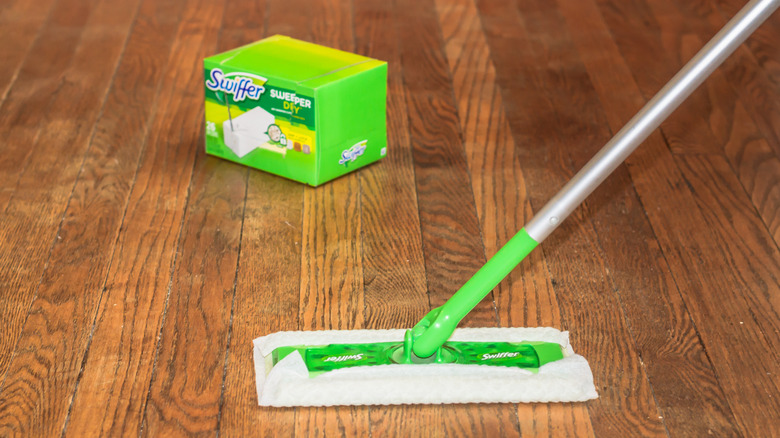
If you have a Swiffer at your house that you use to clean the floors, it can really do double duty for a paint job by helping prep your walls for the occasion. You'll need to prepare your walls by getting them clean and dust free. Sherwin Williams notes that this step is important to remove any grime, cobwebs, stains, or dust that is lurking on your walls. Leaving this on your walls could cause your paint to not stick well. You can use a wide floor nozzle vacuum or brush along the bottom of the wall to get any large dust bunnies, but to clean the actual walls, use a Swiffer. Equipped with Swiffer dry cloths or washcloths or dishtowels, you can clean the walls with ease. Just dampen your cloth of choice, attach it to the Swiffer, and wipe it up and down the walls to clean them completely.
Store roller brushes with ease
Roller brushes may seem large and bulky to store, and you want to ensure you're storing them in a way that doesn't dry them out too much. Natural Handyman suggests wrapping the actual brush part of rollers with aluminum foil instead of plastic wrap. While plastic wrap has been historically recommended for the job, it's tough to seal, which makes it hard to keep air from entering and drying the roller out.
Using thick, heavy-duty foil is less likely to tear and does a great job keeping paint from drying out. Natural Handyman suggests putting a good amount of paint on the roller before wrapping and storing it to keep it in its best condition. Additionally, you can always double wrap the rollers to keep them safe while they're not in use. Finally, the site suggests putting the rollers in the fridge or even the freezer to keep them fresh. Keep in mind, though, that rollers with latex paint on them should not go in the freezer.
Easily turn acrylic paint into handy spray paint
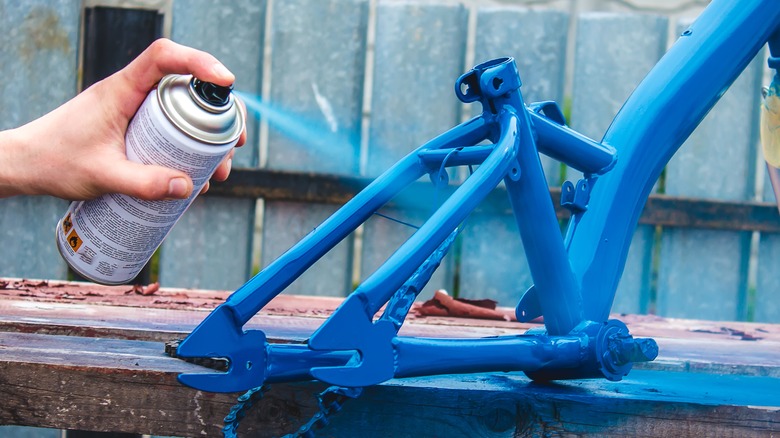
Want to use spray paint but don't feel like investing in more paint if you already have cans of it on a shelf? Well, if you already have acrylic paint on hand, you're in luck! As Little Birdie Secrets shares, you can turn your acrylic paint into custom spray paint with ease. To do this, get a spray paint medium kit, which you can find at most craft stores. From this, pour equal amounts of the spray paint medium and acrylic paint into a mixing bottle. Typically, the spray paint kit comes with the bottle for this. Shake it up to mix the paint and then attach the included sprayer to the top of the bottle. From there, all you have to do is spray the paint to complete your desired project! It's as simple as that. This is a great use for paint you have sitting around that you don't have a use for, as spray paint is a wonderful way to refresh an item in or outside of your home with ease.
Prevent cracks in your paint job
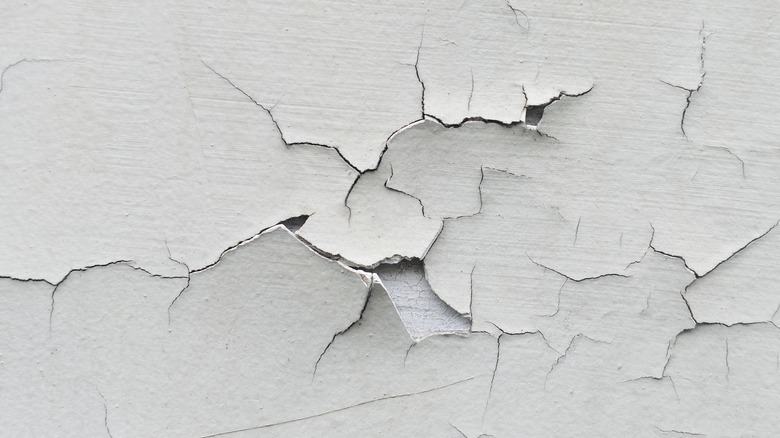
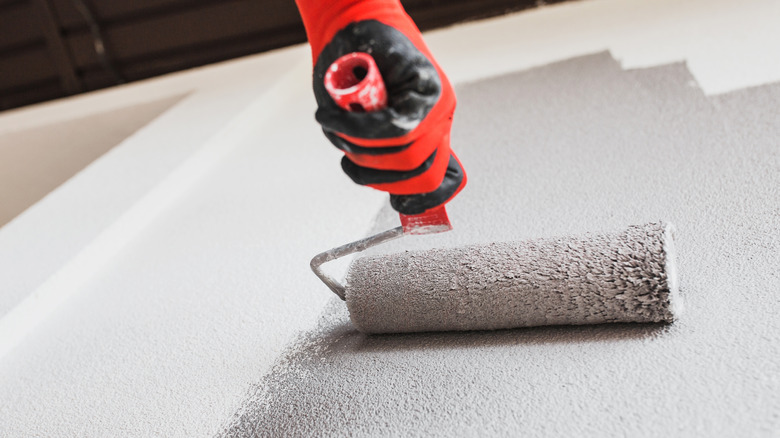
Cracks in a paint job can be unsightly and pretty disappointing. After all of your hard work, you don't want the eyesore of a paint crack. To prevent the issue, you can use an item from your pantry: vinegar. Ask Anna shares this hack, denoting that applying a coat of white vinegar before painting can allow a cement floor or wall to keep its coat of paint crack-free for a longer period of time. Simply apply it to the area and then wait for it to dry completely. Once you add the paint, your floors or wall will shine brightly and be crack-free for a long time to come!
Benjamin Moore offers further insights on how to keep your paint job crack-free. The expert paint company suggests ensuring that all walls are well primed before painting, meaning that they are clean and sanded. Additionally, never paint over cracked paint.
Squeeze more paint out of every can by scraping
Buying cans of paint for a project can add up quickly, which means that you'll want to get the most out of every container that you purchase. Mad in Crafts has a method of saving paint that will help prevent waste and that can keep some extra cash in your pocket. The website notes that there is a lot of paint lurking in a roller cover, and you can salvage it by doing some simple scraping. Once you're done painting for the day, use a putty knife to scrape down the roller before you rinse it off. Position the roller over the edge of the paint can, using the putty knife to scrape down the sides methodically. You'd be surprised to learn that you can probably save a few ounces of paint by doing this. Every little bit helps, right? The best part is that this effort takes only a couple of minutes to do, and you'll certainly be glad you did!
Make sure your paint brushes don't dry out when you're done
The last thing you want after a paint job is complete is to let your paintbrushes dry out so that they can't be used again in the future. You want to keep supplies fresh for the next time you decide to paint, right? To prevent this from happening, Get Jerry suggests that you'll want to use the same method with aluminum foil as mentioned above. It's important to add a lot of paint to the brush before you wrap it with foil, though, as failing to do so could lead to stiff and dry brushes.
Ugly Duckling House has another method: You can use a sandwich bag to keep your brushes in great condition. Put a paint-covered brush in a bag, squeeze out all excess air, and then close it tight. From there, wrap excess plastic from the bag around the base of the brush. Tape the end of the bag to the rest of the plastic to prevent it from unwrapping. These methods should be helpful in ensuring your brushes are ready to use next time you're ready to slap more paint on the wall.
Use a file folder to line the trim
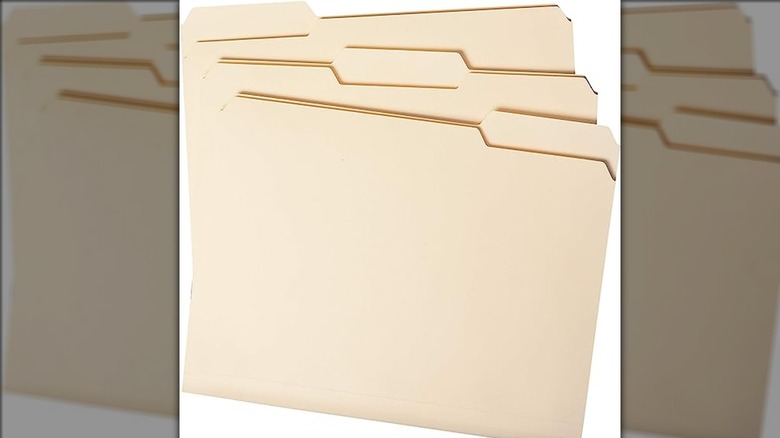
Painting trim can be tedious. However, the prep work that needs to be done before you can even dip your brush in the can is probably even more tedious. Unless you want to end up with white (or whatever trim color you're using) splotches and streaks all along the bottom of your wall, you are forced to spend what feels like forever lining the baseboards with painter's tape. Believe it or not, a simple file folder can completely revolutionize and simplify your experience.
Instead of taping off the trim in the entire room, just line up a file folder with the edge of the trim. It will cover the wall, leaving you free to paint the section of trim beneath it. If your hand slips slightly as you work, the brush will swipe over the file folder, not the wall itself. Work carefully and don't rush as you move your way down the wall with the file folder.
Plastic wrap can protect bulky items from paint drips
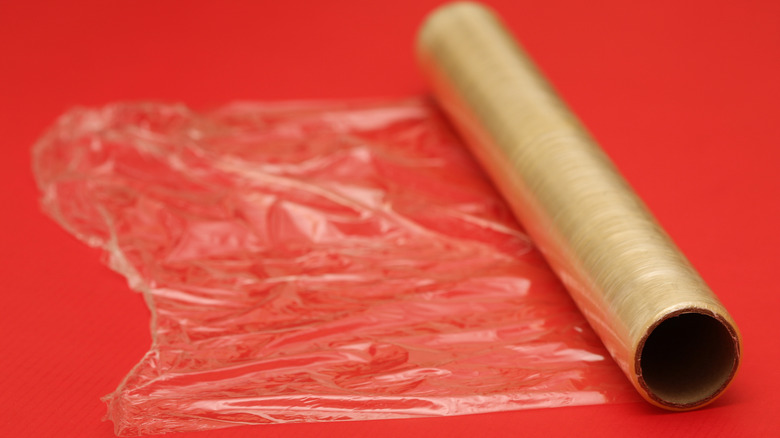
If you've ever painted a bathroom, kitchen, or anywhere else with awkwardly shaped items, then you already know how difficult it can be to protect them from drips. In many cases, as with toilets or sinks, you can't simply move them out of the room to keep them in the clear, so you have to find a way to work around them without splattering their surface.
To make your life easier, run to your kitchen and pull out a box of plastic wrap and use it to cover the item. Because of how flexible it is, you can easily wrap it around the item in question, leaving it protected from potentially devastating drops of paint. The protective cover will be easy to remove after you've finished the project and no longer need to worry about a few drips or splatters ruining its finish or appearance.
Remove stubborn painter's tape with a hair dryer
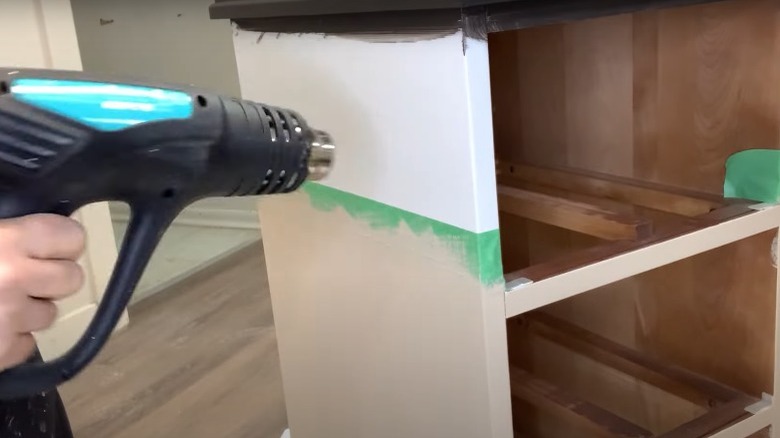
One of the most satisfying things about finishing a painting job is peeling off the tape to reveal the finished look... unless the painter's tape splits, peels, or just won't peel off the wall. That is anything but satisfying, it is beyond frustrating. Fortunately, there is a simple solution that will help remove the stuck-on tape without damaging the paint finish or your nerves.
Grab a hair dryer, set it to low heat, and point it at the tape. Make sure to keep it about three inches away from the tape as you work. The warm air from the hair dryer will work to soften the adhesive binding the tape to the wall. After a little bit of time, you should find that it is ready to peel off much more easily than before. Then, you'll be able to finally enjoy that feeling of satisfaction when you admire your freshly painted walls and trim.
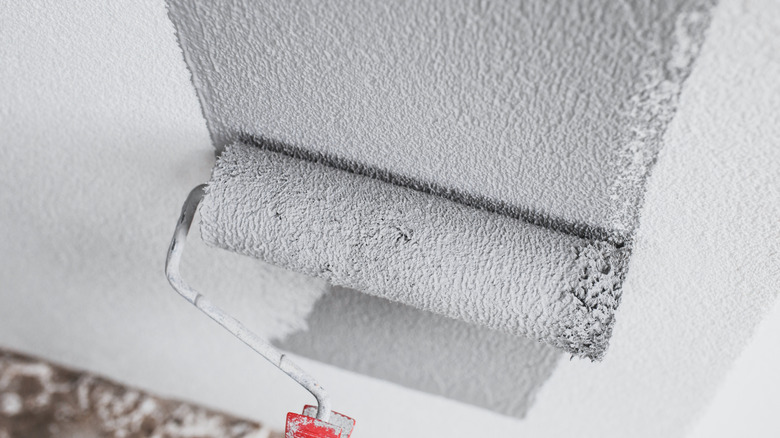
Condition new paint roller covers with warm water
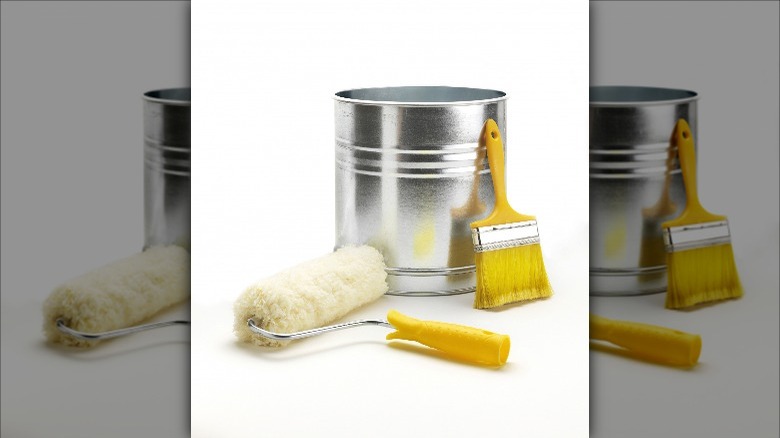
Before you use that new paint roller cover you just bought, don't skip the important step of conditioning it. Otherwise, you're likely to see traces of the loose synthetic or wool fibers it is made from on your freshly painted walls. Conditioning the roller helps to remove the loose fibers from it so that they don't end up mixing in with the paint you're applying to your walls.
Conditioning doesn't take very long at all. Simply spray all sides of the roller using some water. You want to spray enough to get it pretty damp. Then, use your hand to spin the roller around so that it releases any excess water it's holding. Finally, roll it over a clean piece of butcher paper or cardboard to release any remaining fibers. Follow these steps if you're working with a water-based paint. However, if you're working with an oil-based product, then use whatever paint thinner you'll be adding to the can to condition the roller cover.
DIY a roller extension pole using a broom handle
If you're painting an entire room, you really need a roller with an extendable handle. Otherwise, you're not going to be able to reach all the way up to the top of the wall or be able to paint the ceiling without going up and down a ladder too many times to count. Extension poles are not cheap, however. And, you may not want to spend that much money, especially if you're not going to use it for multiple jobs.
Did you know that you may already have something in your home that will allow you to easily DIY an extension pole for your roller? Check the mops and brooms in your home. If any of them have a detachable handle, it might just screw in perfectly to the paint roller. If the mop or broom you have is designed with an extension handle, it could work even better.
Simplify clean up by covering paint trays with aluminum foil
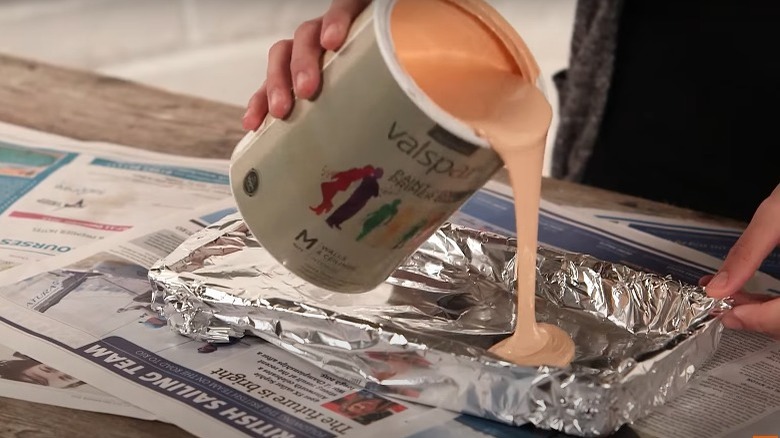
After spending hours painting, do you really want to waste more of your time cleaning up? While some cleanup is inevitable after a project, you can minimize how much time it will take. Cleaning the trays is one of the most time-consuming tasks. The paint always seems to stick to the tray. Moreover, if you accidentally turn the water pressure up too high, your sink, clothes, and anything else close by is going to get splattered with watery paint.
Save yourself some time and headache by covering the trays with aluminum foil before pouring paint into them. The foil won't get in the way of your brush, but it will make it so much easier to clean up the mess after you finish painting. Just carefully remove the foil — and any paint covering it — and toss it into the trash can.