Turn An Old Door Into A Gorgeous Entryway Statement Piece With Shoe Storage
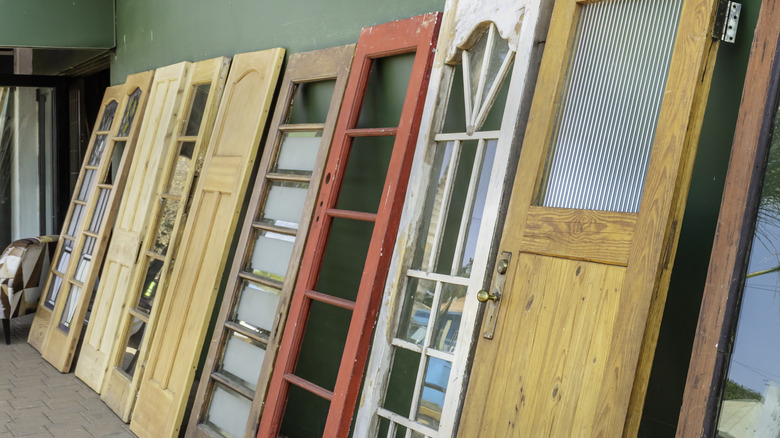
Maybe it shows off a beautiful grain, a beveled window, or hardware with a lovely patina. It might just be a hollow-core door that's seen better days. Regardless of its origin, you can repurpose an old door into any number of home items, like a table, a headboard, a hutch, a porch swing, and countless other upgrades that depend on a large, rectangular piece of wood. If your foyer is in dire need of shoe storage but a utilitarian shoe rack doesn't sound aesthetically appealing, an old door can be the backbone for a handy and attractive hall tree.
As seen in a TikTok video from creator @lifeonwillowcreek, a salvaged door combined with a DIY shoe rack can be a handy spot for slipping footwear on and off. Add a few hooks, a mirror, or a chalkboard on the vertical surface, and you can elevate this project from a cool idea to a household essential.
Grab some low-VOC paint in a color you like, a large sheet of 1-inch MDF (medium-density fiberboard), and an untreated 1-inch-by-8-inch piece of lumber with a pretty grain. A durable wood like oak is a smart choice, since this will act as the bench of your shoe rack. You'll also need a drill, 2-inch and 3-inch wood screws (or a nail gun), a saw, a tape measure, sandpaper, wood glue, and a stain for the bench top. Set aside a pair of trigger clamps, too. Some furniture restraint straps attached to the wall behind your hall tree are also a smart addition — the door may be much heavier than its MDF base and may tip.
Preparing the pieces of your hall tree
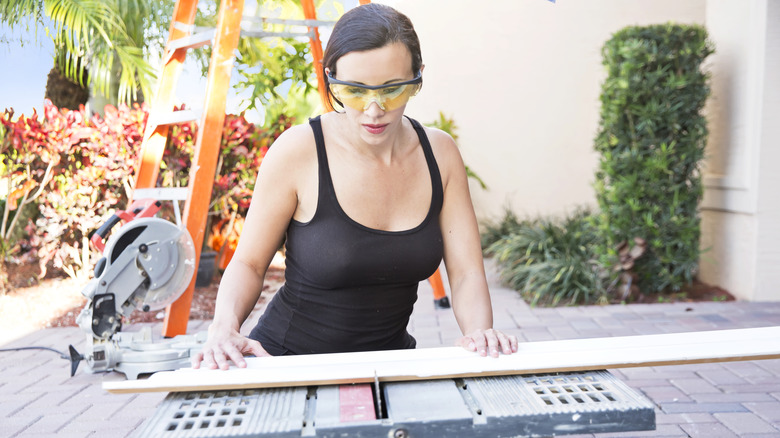
To start this DIY project, measure the width of your salvaged door, then measure and mark a rectangle at that length by 16 inches on the MDF. Cut two pieces at this size, one each for the cubbies' top and base. A good depth for an adult-sized shoe cubby is 16 inches. That said, you can make the cubbies as shallow as 12 inches if needed. Aim for cubbies between 18 and 22 inches tall. (For our purposes, we'll say 20 inches.) Cut three 16-inch-by-20-inch pieces of MDF for the cubbies' sides and center divider. Lastly, cut a backing piece that's 20 inches long by the width of your door.
MDF has a reputation for splitting when screwing into areas near its edges. To avoid this, prepare two pilot holes when attaching two pieces. Line up the two pieces so they're perpendicular to one another, then drill a hole in the top piece with a bit that's slightly wider than the screw. For the piece below it, drill a pilot hole that's slightly narrower than the screw. Dipping the screws in paste wax before using them is also a savvy tip to avoid splitting wood.
Using nails or 2-inch screws, join the edges of the cubbies' top piece perpendicular to the edges of two 16-inch-by-20-inch MDF cuts. Measure and mark the midpoint of the top piece on the underside, then attach the third 16-inch-by-20-inch cut there (perpendicular to the top piece) with both wood glue and screws. Secure the cubbies' base and back with glue and screws (or nails), also attaching the middle divider piece to the base.
Assembling and finishing your hall tree
Ready to put the final touches on your hall tree? Send 3-inch wood screws through the back of the cubbies and into the lowest portion of the door, one at each corner of both cubbies. Sand the unit, cover the doorknob and any other hardware with painters' tape, and give the whole thing a couple coats of paint. While it dries, make two cuts in the 1-inch-by-8-inch wood piece that are as long as the unit is wide. You'll be making a butt joint between the two pieces to create an attractive bench top. Stripe one of the long edges with glue, lay the boards side by side, and clamp them together, checking that the arcs in the grain on the ends curve in opposite directions, as this can help prevent warping.
Once the glue has dried and cured between the clamped boards, stain the side that will be facing up, as well as the three visible edges. Glue the piece onto the cubby compartment and secure it with screws through the underside of the cubby's MDF top.
If you want, at this time you can adhere a few hooks and/or a mirror to the door at useful heights. Affix the furniture restraints to the back of the door, and make sure to anchor the wall components into studs and not drywall. Push the unit into place to instantly make your entryway more functional and attractive.